Welcome to Bursting Bubbles – How to Photograph Bubbles! If you have ever been captivated by the dreamy and ethereal beauty of bubbles, then you have come to the right place. In this step-by-step guide, we will explore the fascinating world of bubble photography, revealing the secrets to capturing stunning and mesmerizing shots. From high-speed photography techniques to mastering the art of abstract compositions, get ready to dive into this captivating journey of freeze motion and create breathtaking images.
Table of Contents
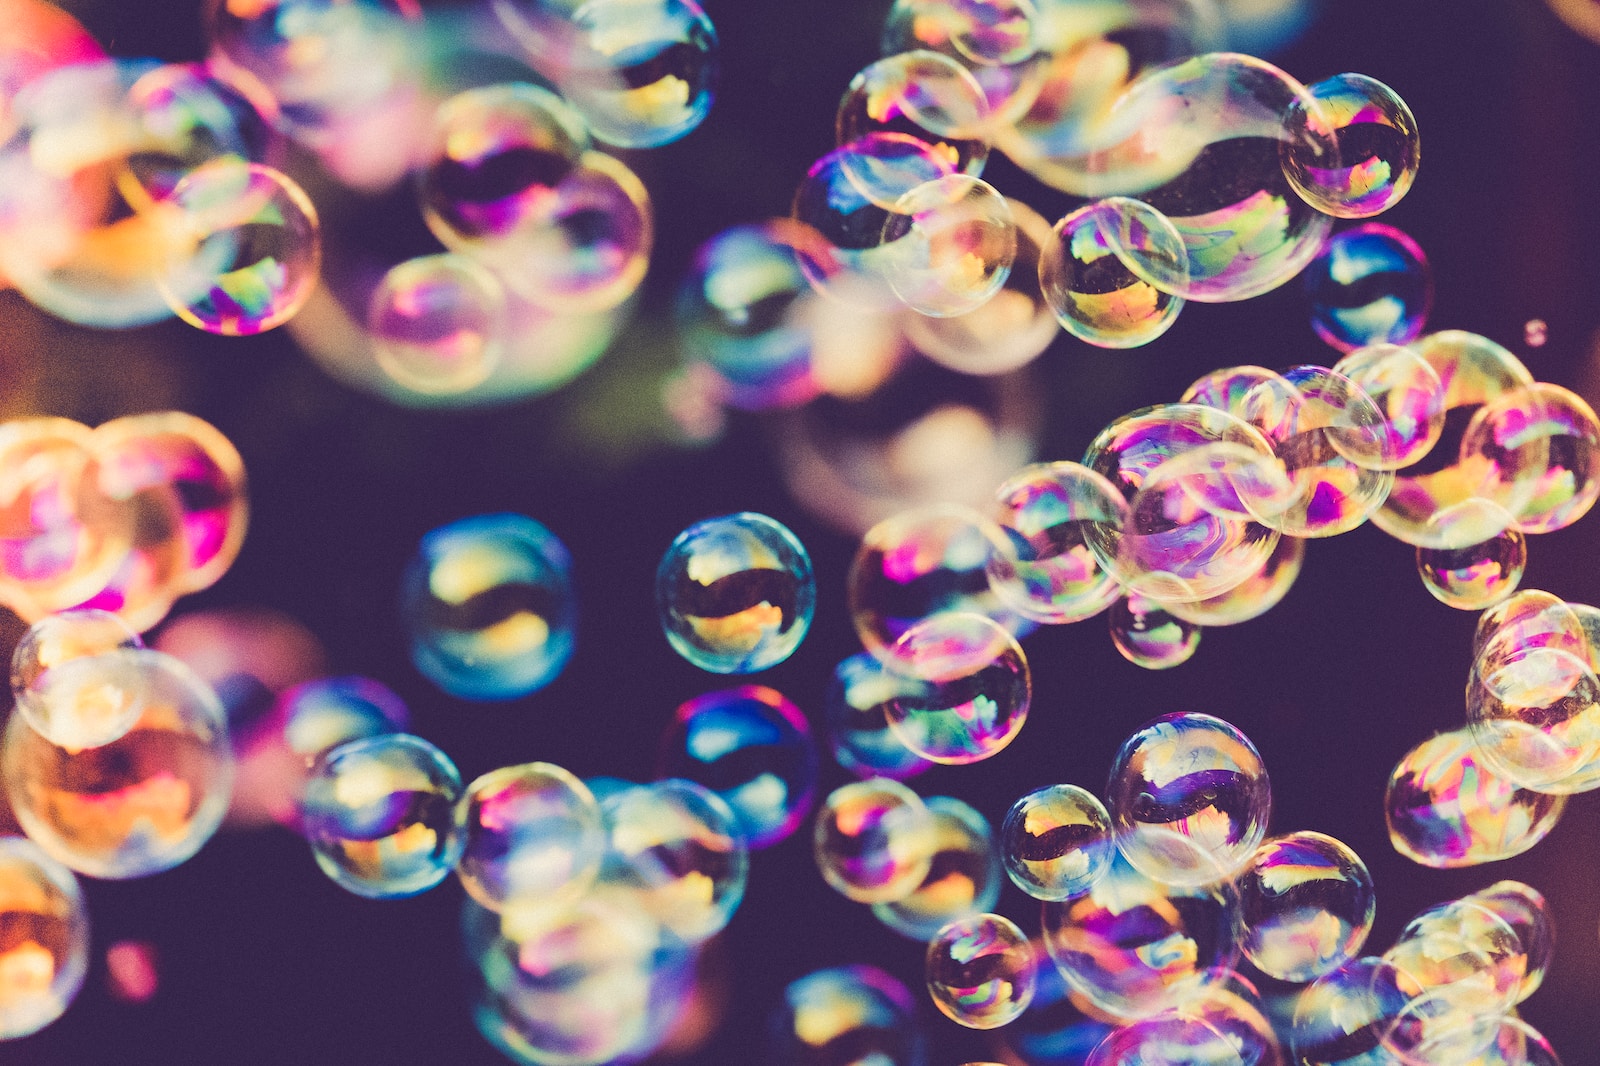
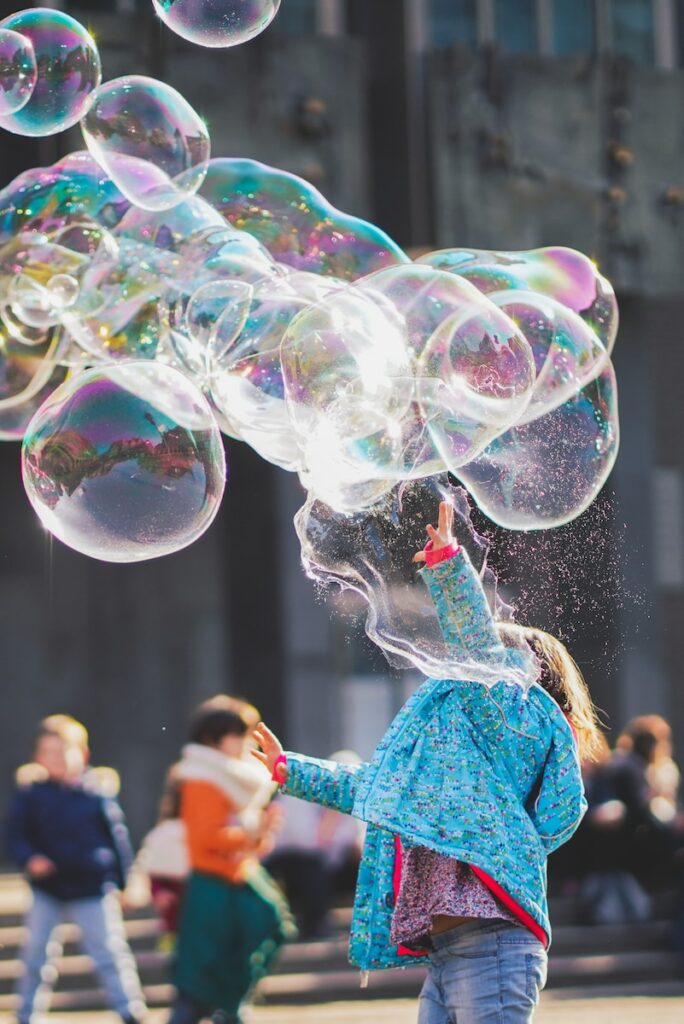
Bursting Bubbles – How to Photograph Bubbles
Photographing bubbles can result in mesmerizing and unique images that capture the fleeting beauty of these delicate spheres. From capturing the vibrant colors to freezing the motion of a bursting bubble, there are plenty of techniques to explore in order to create stunning bubble photography. In this step-by-step guide, we will delve into the essential aspects of bubble photography, including lighting, backgrounds, and ways to freeze motion.
Lighting: Bringing Bubbles to Life
The right lighting can transform a simple bubble into an ethereal and captivating subject. When photographing bubbles, consider using natural light as it adds a soft and magical touch to the images. Choose a location with ample natural light, such as near a window or outdoors on a slightly overcast day.
Experiment with different angles to capture the light as it interacts with the bubble’s surface. Observe how the light plays with the colors and reflections, creating a dynamic and visually striking effect. Try shooting with backlighting to emphasize the translucent quality of the bubbles and enhance their radiance.
Backgrounds: Creating Contrast and Interest
The choice of background can greatly influence the impact of your bubble photographs. Opt for backgrounds that provide contrast to the vibrant colors of the bubbles, such as a dark cloth or a textured surface. This contrast will make the bubbles stand out and add depth to the composition.
For a more abstract approach, experiment with capturing reflections on different surfaces. Place a reflective material, such as a mirror or foil, below the bubbles and observe how the reflections add an artistic and dreamlike quality to the overall image.
Alternatively, consider using colored backgrounds to create a harmonious or contrasting color palette. Play around with different shades and hues to enhance the visual appeal of the bubbles. Don’t be afraid to think outside the box and try unconventional materials or patterns as backgrounds to add an extra touch of creativity to your photographs.
Once you have chosen your lighting and background, it’s time to freeze the motion of the bubbles to capture them at their most interesting moment.
Did you know that bubbles have a lifespan of only a few seconds? Capturing their beauty in a photograph requires speed, skill, and careful planning. Let's dive into the world of bubble photography and learn how to freeze these ephemeral moments forever!
Capturing Bubble Photography: Camera and Lenses
When it comes to bubble photography, choosing the right camera and lenses can greatly enhance your results. While there are various options available, here are a few recommendations:
1. Macro lenses: These lenses are perfect for capturing the intricate details of bubbles. With a high magnification ratio, they allow you to get up close and personal with your subject. The shallow depth of field produced by macro lenses also creates a beautiful bokeh effect, adding an ethereal quality to your images.
2. Telephoto lenses: If you want to capture bubbles from a distance, telephoto lenses are an excellent choice. They provide greater reach and allow you to photograph bubbles from various angles without disturbing their delicate nature. This is particularly beneficial when shooting bubbles in outdoor or natural settings.
3. Wide-angle lenses: While wide-angle lenses may not be the first choice for bubble photography, they can create unique and captivating compositions. By including the surrounding environment, such as reflections or interesting patterns, wide-angle lenses add context and increase visual interest in your shots.
Other Essential Equipment
In addition to your camera and lenses, there are a few other equipment options you may want to consider for capturing stunning bubble photography:
- Tripod: Using a tripod is essential for minimizing camera shake and ensuring sharp images, especially when photographing bubbles with high-speed movements. It provides stability and allows you to experiment with longer exposure times without worrying about blurriness.
- Lighting equipment: Proper lighting plays a crucial role in bubble photography. To bring out the delicate details and vibrant colors, consider using off-camera flash, diffusers, and reflectors. Experimenting with different lighting setups will help you achieve the desired effects and highlight the magical qualities of bubbles.
- Bubble solution and wand: While not directly related to camera equipment, having a high-quality bubble solution and a reliable wand is essential for creating beautiful, long-lasting bubbles. Opt for solutions that produce large, long-lasting bubbles, as they provide more opportunities for captivating shots.
Remember, the specific equipment you choose will depend on your budget, photography style, and personal preferences. Experiment with different options to find the perfect combination for capturing breathtaking bubble photos.
Timing is Everything to Capture Stunning Photos of Bubbles
When it comes to capturing the beauty of bubbles through photography, timing is crucial. The best time to photograph bubbles is on a bright, sunny day. This ensures ample natural light, which allows you to capture the vibrant colors and delicate textures of the bubbles. Ideally, schedule your shoot during the early morning or late afternoon when the sun is lower in the sky, creating a warm, golden glow.
Additionally, consider the weather conditions. Avoid shooting on windy days, as it can make it challenging to keep the bubbles still and in focus. A calm day will provide more control over the bubbles and allow you to capture intricate details.
Choosing the Perfect Vantage Points and Positions
Experimenting with different vantage points and positions can yield spectacular results in your bubble photography. Here are a few options to consider:
- Shooting from Above: By positioning yourself directly above the bubbles, you can capture their unique shapes and patterns from a top-down perspective. This perspective can create stunning abstract photographs.
- Getting Closer: To capture the fine details and intricate textures of individual bubbles, consider getting closer to your subject. Use a macro lens, if possible, to showcase the stunning reflection and refraction within each bubble.
- Shooting through Bubbles: For a creative twist, try shooting through the bubbles themselves. Position your camera with the bubble in the foreground, capturing another scene or subject through the transparency of the bubble. This technique can produce fascinating and dreamy results.
- Capturing Reflections: Look for reflective surfaces nearby, such as a still pond or a shiny tabletop. Place the bubbles strategically to capture the reflection, adding depth and visual interest to your photographs.
Remember, don’t be afraid to try different angles and perspectives. Experimentation is key in discovering your own unique style of bubble photography.
A helpful photography tip for capturing bubble photos is to use a fast shutter speed to freeze the motion of the bubbles. This will allow you to capture the details and reflections on the surface of the bubbles. Experiment with shutter speeds of 1/1000s or faster to get crisp and clear bubble shots.
Frequently Asked Questions
1. What equipment do I need to photograph bubbles?
To capture stunning bubble photos, you’ll need a DSLR or mirrorless camera with manual settings, a macro lens or extension tubes, a tripod, and a remote shutter release.
2. What lighting should I use for bubble photography?
For bubble photography, natural light works best. Position your subject near a window or shoot outdoors on a cloudy day to avoid harsh shadows. You can also experiment with diffused studio lighting or use a reflector to soften the light.
3. How can I create a captivating background for bubble photos?
To create an interesting background, use colored paper, fabric, or watercolor paintings. Experiment with different textures and patterns to add depth and dimension to your bubble shots. Remember to avoid distracting elements that may take away from the beauty of the bubbles.
4. How do I freeze motion in bubble photography?
To freeze the motion of bubbles, set your camera to a fast shutter speed (around 1/1000th of a second or higher). This will ensure that the bubbles appear sharp and crisp in your photos. Additionally, using burst mode can help capture multiple shots in quick succession, increasing your chances of capturing the perfect moment.
5. Any tips for capturing abstract bubble photography?
For abstract bubble photography, experiment with different angles, focal lengths, and compositions. Get creative with your framing and focus on capturing the unique shapes and patterns formed by the bubbles. Try shooting from below, above, or through the bubble to create captivating and unconventional images.
Wrap Up
Now that you have all the tools and techniques to capture incredible bubble photos, it’s time to burst into action! Remember to experiment with different lighting and backgrounds to achieve unique and visually stunning results. Freeze the motion of bubbles with high-speed photography and explore the abstract beauty they hold within.
If you have any questions or tips to share, we’d love to hear from you! Leave a comment below and let’s keep the conversation going. Don’t forget to share your own bubble photography creations and inspire others in this colorful and mesmerizing world of bubbles!