Welcome to Capturing the Spark – Matchstick Ignition Photography! If you’re fascinated by the mesmerizing beauty and intensity of matchstick ignition, then you’ve come to the right place. In this comprehensive guide, we will explore the thrilling world of high-speed photography, specifically focusing on the captivating art of capturing the spark. From mastering camera settings to understanding lighting techniques and timing, this blog will provide you with all the knowledge you need to create stunning fire photography. Let’s dive in and ignite your passion for matchstick ignition photography!
Table of Contents
- The Art of Matchstick Ignition Photography
- Capturing the Essence
- Share Your Spark with the World
- Ignite Your Passion
- A How-to Guide: Tips and Techniques for Matchstick Ignition Photography
- Frequently Asked Questions
- 1. What is matchstick ignition photography?
- 2. What equipment do I need for matchstick ignition photography?
- 3. What camera settings should I use?
- 4. How should I light the matchstick?
- 5. What’s the best way to focus on the matchstick and the flame?
- 6. How can I capture different angles and perspectives?
- 7. Are there any safety precautions I should take?
- Wrap Up
The Art of Matchstick Ignition Photography
Mastering Camera Settings
To capture the essence of matchstick ignition, it’s crucial to have a firm grasp on your camera settings. Set your camera to manual mode, allowing you full control over the aperture, shutter speed, and ISO. Use a wide aperture (low f-stop number) to achieve a shallow depth of field, highlighting the spark while blurring the background. Experiment with different shutter speeds to freeze the motion or create mesmerizing trails of light. Adjust the ISO to maintain optimal exposure without introducing excessive noise into your images.
Essential Lighting Techniques
Lighting plays a key role in matchstick ignition photography, shaping the mood, and enhancing the spark’s intensity. For a dramatic effect, consider using a single light source, such as a flashlight or a dedicated strobe, to illuminate the scene. Play with different angles and distances to create striking shadows and highlights. Alternatively, diffuse the light by using a softbox or placing a translucent material in front of the light source, resulting in a softer and more diffused spark.
Precise Timing for Perfect Shots
Timing is everything in matchstick ignition photography. To capture that ephemeral moment when the match ignites, use a remote shutter release or the self-timer function to minimize camera shake. Since the ignition happens in a blink of an eye, utilizing a high-speed trigger can be incredibly helpful. These devices detect the initial spark and trigger the camera at the precise moment, ensuring you never miss the magical ignition.
Stunning Macro Photography
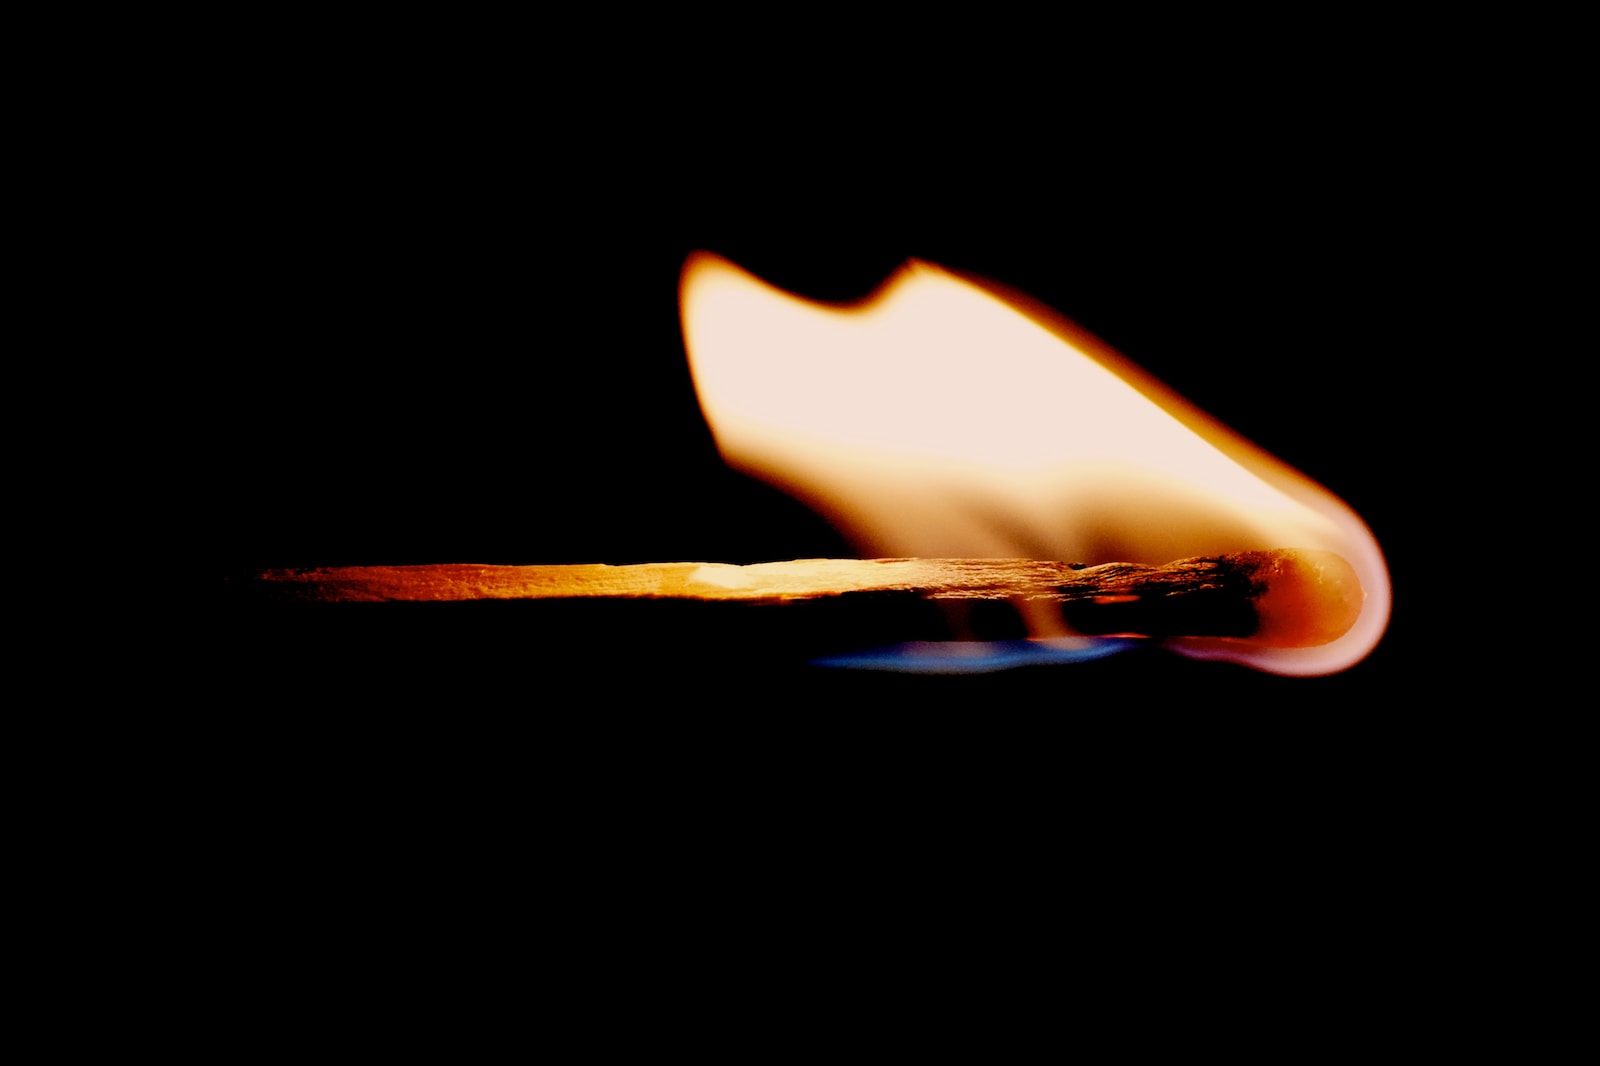
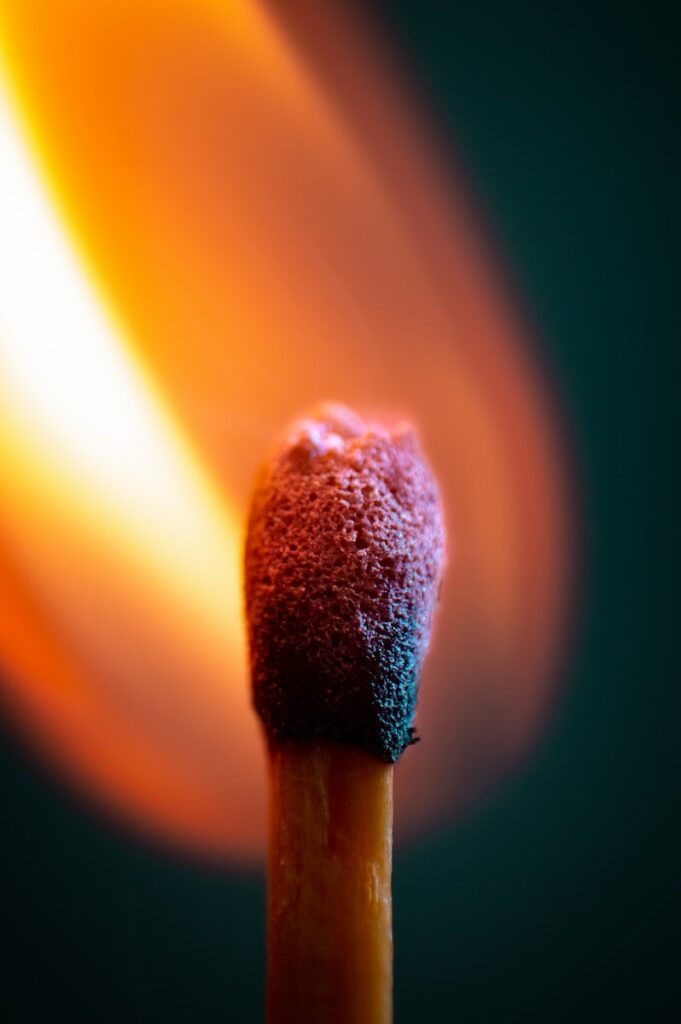
Exploring the world of matchstick ignition through macro photography is a captivating endeavor. Macro lenses allow you to capture intricate details, splashes of color, and the delicate wisps of smoke that accompany the spark. Get up close and personal with your subject, filling the frame with the match head and creating an immersive visual experience. Combine macro photography with precise timing and creative lighting techniques to elevate your matchstick ignition images to a whole new level.
Capturing the Essence
The Art of Composition
When creating impactful matchstick ignition photographs, composition plays an integral role in conveying the desired emotions and telling a captivating story. Experiment with different angles and perspectives to add depth and interest to your images. Consider using leading lines, such as the matchstick itself or bold contrasts, to guide the viewer’s eye directly towards the spark. Utilize negative space strategically to give your photograph a sense of balance and focus.
Exploring Different Props
Adding props to your matchstick ignition photography can bring a whole new dimension and narrative to your images. Experiment with different materials, such as colored gels or transparent objects, to enhance the spark’s vibrant glow. Incorporate reflective surfaces, like mirrors or glass, to create intriguing reflections and added visual interest. Play with the placement of props to create dynamic compositions and evoke a range of emotions with your photographs.
Safe Practices for Matchstick Ignition Photography
While captivating, matchstick ignition photography must always prioritize safety. Always work in a well-ventilated area, away from flammable objects. Have a fire extinguisher and a container of sand nearby for emergencies. Remember to close the aperture after each shot to prevent stray sparks from reaching the camera sensor. Never leave a match unattended, as safety should always be the top priority.
Post-Processing Techniques
Post-processing is an essential step in bringing out the full potential of your matchstick ignition photographs. Use photo editing software to fine-tune the exposure, contrast, and colors, ensuring that the spark truly shines. Experiment with different filters and effects to enhance the mood and create a unique aesthetic. However, always strive to maintain the authenticity and integrity of the original image, allowing the spark to remain the star of the show.
Did you know that matchsticks were originally made from small wooden sticks dipped in sulfur and ignited by striking them against rough surfaces?
Building an Online Portfolio
Showcase your matchstick ignition photography skills by creating an online portfolio. Choose a reliable photography platform and curate a selection of your best and most captivating images. Craft compelling descriptions and titles that engage and entice viewers. Share your work on social media platforms, photography communities, and even consider entering photography competitions to gain recognition and inspire others with your unique perspective on matchstick ignition photography.
Printing and Displaying Your Work
Print and display your matchstick ignition photographs to truly bring the spark to life. Select high-quality printing services to ensure the colors and details are accurately reproduced. Choose the appropriate paper type to match the desired mood and aesthetic of your images. Consider framing your prints or displaying them in carefully chosen locations, allowing others to be captivated by the mesmerizing beauty of matchstick ignition photography.
Ignite Your Passion
Capturing the spark through matchstick ignition photography is an exhilarating journey that combines technical precision, creative vision, and a true love for photography. With this comprehensive guide as your companion, you are well-equipped to embark on this mesmerizing adventure. Explore, experiment, and allow your creativity to ignite, as you capture the magic of matchstick ignition through your lens.
A How-to Guide: Tips and Techniques for Matchstick Ignition Photography
Are you ready to embark on the exciting journey of capturing the mesmerizing spark of matchstick ignition through photography? Look no further! In this comprehensive guide, we will walk you through the essential tips and techniques to help you create stunning images that are sure to leave a lasting impression.
Understanding Camera Settings
Before you start, it’s crucial to have a good understanding of your camera settings. To freeze the fast-moving flame effectively, you need to set your camera to a high shutter speed. Start with a setting of at least 1/2000 or higher to capture the moment with precision. Additionally, set your ISO to a relatively low value, such as 200 or 400, to minimize noise in your images.
To further enhance the impact of your matchstick ignition photography, consider shooting in manual mode. This allows you to have full control over the exposure and make necessary adjustments based on the lighting conditions.
Lighting for Maximum Impact
Lighting plays a significant role in matchstick ignition photography, as it can greatly influence the mood and overall impact of your images. To create dramatic effects, experiment with different lighting setups. For instance, using a single off-camera flash positioned behind the matchstick can produce stunning silhouettes against a dark backdrop.
Another technique to consider is using backlighting, which adds depth and highlights the fiery spark. Position a diffused light source behind the matchstick, slightly offset from the camera angle, to capture the glow around it. This can create a mesmerizing halo effect.
Perfecting the Timing
Timing is everything when it comes to matchstick ignition photography. You need to anticipate the precise moment when the matchstick ignites to capture the spark at its peak. This requires practice and patience.
One helpful technique is to use the burst or continuous shooting mode on your camera. By doing so, you increase the chances of capturing that perfect moment. Another useful tip is to pre-focus on the area where the spark is most likely to occur, ensuring that your image is sharp and well-defined.
Ensuring Safety
Safety should always be a top priority when working with fire and matches. Make sure you have a fire extinguisher or a bucket of water nearby in case of emergencies. Additionally, work in a well-ventilated area to avoid any risks associated with smoke inhalation.
It’s also important to protect your camera and lens from any potential damage. Consider using a protective filter to prevent ashes or sparks from landing on the lens surface, and be cautious of any heat that may be emitted during the process.
With these tips and techniques in mind, you’re now equipped to embark on your matchstick ignition photography adventure! Remember, practice makes perfect, so don’t be discouraged if you don’t achieve the desired results right away. Keep experimenting, refining your technique, and before you know it, you’ll be capturing stunning images that showcase the awe-inspiring beauty of a spark’s dance. Happy shooting!
Frequently Asked Questions
1. What is matchstick ignition photography?
Matchstick ignition photography is a form of high-speed photography that captures the moment a matchstick is ignited. It allows you to freeze the motion and capture the beauty and intensity of the flames in stunning detail.
2. What equipment do I need for matchstick ignition photography?
To get started with matchstick ignition photography, you’ll need a camera that allows manual control over shutter speed and focus, a macro lens or lens extension tubes for close-up shots, a tripod for stability, and, of course, some matchsticks.
3. What camera settings should I use?
For matchstick ignition photography, use a fast shutter speed (around 1/2000 sec or faster) to freeze the motion of the flame. Set your camera to manual mode and adjust the aperture based on the amount of light available. Experiment with different settings to achieve the desired effect.
4. How should I light the matchstick?
Ensure you have a safe and controlled environment to perform matchstick ignition photography. Ideally, use a candle or a lighter to light the matchstick. Avoid using flammable materials or open flames that could pose a safety risk.
5. What’s the best way to focus on the matchstick and the flame?
When shooting matchstick ignition photography, use manual focus to ensure the camera locks onto the matchstick and flame. Zoom in on the LCD screen or use live view to ensure precise focus before capturing the shot.
6. How can I capture different angles and perspectives?
Be creative and experiment with different angles and perspectives to make your matchstick ignition photography more visually intriguing. Try shooting from above, below, or even through objects to add depth and interest to your images.
7. Are there any safety precautions I should take?
Safety should be your top priority when working with flames. Always have a fire extinguisher or sand nearby for quick access. Perform matchstick ignition photography in a well-ventilated area and away from flammable objects. Never leave burning matches unattended.
Wrap Up
In conclusion, matchstick ignition photography holds an undeniable allure and can produce stunning results when executed safely and with precision. By following the tips and techniques outlined in this comprehensive guide, you too can capture the magical moment of a match being ignited on camera.
Remember to experiment with different camera settings, explore the possibilities of high-speed photography, and play with lighting to enhance the drama of your images. Patience and practice will help you master the art of capturing the spark.
Share your experiences and results in the comments section below. We would love to hear about your journey in fire photography and macro photography. Don’t forget to engage with fellow photographers and ignite conversations. Together, let’s push the boundaries and create unforgettable matchstick ignition photography!
