Welcome to the enchanting world of levitation photography! Have you ever dreamt of defying gravity and capturing surreal moments in mid-air? Look no further as we dive into the mesmerizing techniques and creative approaches behind this captivating form of photography. Get ready to be inspired by breathtaking images that seem to suspend reality. Whether you’re a novice or a seasoned photographer, this blog will provide you with valuable insights and tips to create your own magical levitation photographs. Prepare to be amazed!
Table of Contents
- Discovering the Marvels of Levitation Photography
- Choosing the Right Camera and Lenses
- The Best Time for Stunning Levitation Photography
- Frequently Asked Questions
- What is levitation photography?
- Do I need any special equipment for levitation photography?
- How can I make someone or something levitate in photos?
- Are there any tips for capturing realistic levitation photos?
- Can levitation photography be done indoors?
- Where can I find inspiration for levitation photography?
- Do I need advanced Photoshop skills for levitation photography?
- Is levitation photography suitable for all subjects?
- Wrap Up
Discovering the Marvels of Levitation Photography
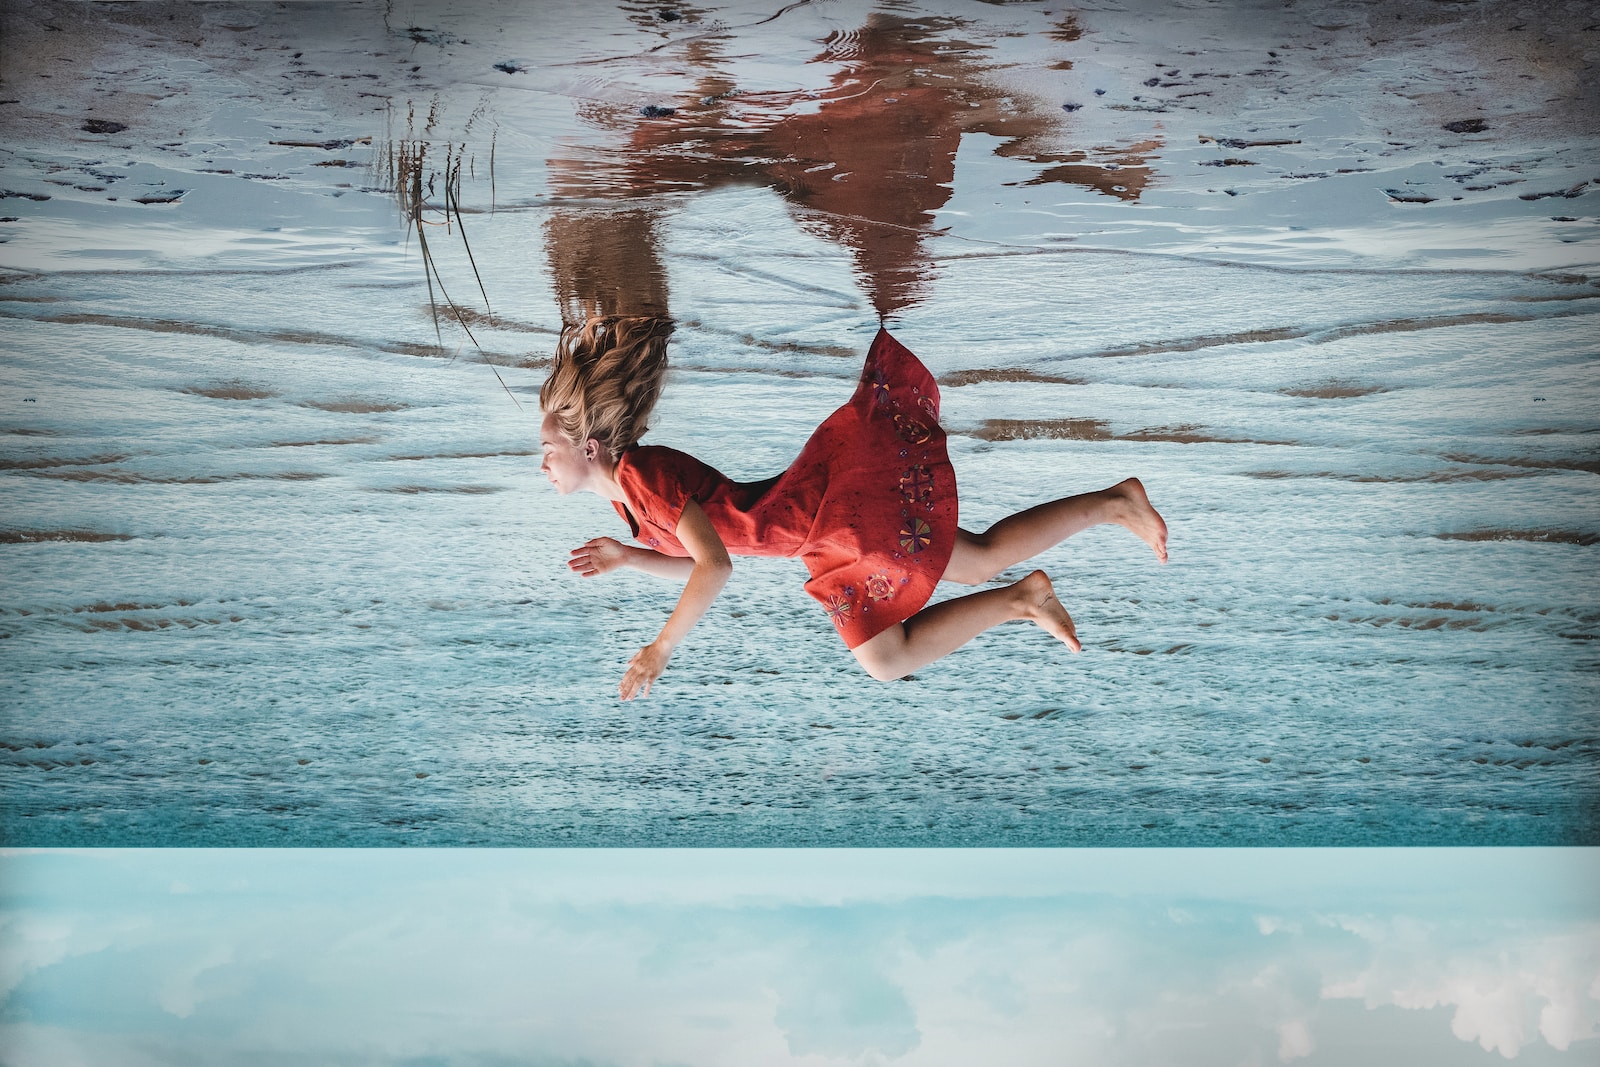
Levitation photography is an artistic technique that defies the laws of gravity, enchanting viewers with its captivating and surreal imagery. Through the clever manipulation of perspective and composition, levitation photography creates the illusion of subjects floating in mid-air, creating a whimsical and magical atmosphere. In this article, we will delve into the world of levitation photography, exploring its creative potential and offering techniques to help you master this captivating art form.
Unleash your Creativity
Levitation photography provides limitless opportunities for artistic expression, allowing you to transport your subjects into extraordinary settings and narratives. Whether you are aiming to capture a sense of freedom, ethereal beauty, or a touch of the fantastical, the key lies in unleashing your creativity and letting your imagination soar.
To begin, carefully consider the subject you would like to photograph. Levitation photography can elevate ordinary objects or people into extraordinary visual stories. Think of everyday objects transformed into floating wonders or individuals seemingly defying gravity. The possibilities are endless, limited only by your imagination.
Playing with perspective is essential in creating convincing levitation photographs. Experiment with different angles, camera heights, and compositions to achieve the desired effect. For instance, capturing your subject from a low angle can exaggerate the illusion of floating, while shooting from above can add a touch of mystery and grandeur.
Mastering Camera Techniques
In order to achieve remarkable levitation photographs, it is important to master a few camera techniques. A tripod is an essential tool for this kind of photography, as it ensures the stability required for precise composition and alignment. Additionally, utilizing a remote shutter release or the self-timer function on your camera will minimize any unintentional movement during the shot.
Proper lighting plays an integral role in creating a captivating levitation photograph. Experiment with natural light, artificial lighting, or a combination of both to achieve the desired mood and ambiance. Soft, diffused lighting adds a dreamy quality to the image, while dramatic lighting can enhance the sense of mystery and intrigue.
Consider exploring long exposure photography techniques to add an extra layer of enchantment to your levitation photographs. By using a longer exposure time, you can capture the movement and flow of fabric or props around your levitating subject, creating a dynamic and ethereal effect.
The post-processing stage also offers ample opportunities for enhancing the magic of levitation photography. Experiment with color grading, contrast adjustments, and adding subtle effects to amplify the surreal atmosphere of your images. However, it is important to strike a balance and avoid over-processing, as it may detract from the authenticity of the levitation.
Levitation photography opens a door to a fantastical world of creativity and imagination. With the right techniques and a mindset that embraces experimentation, you can capture awe-inspiring images that defy gravity and leave viewers spellbound. So grab your camera, delve into the limitless possibilities, and let your subjects take flight in the enchanting realm of levitation photography.
Sure! Here’s an interesting fact about levitation photography:
Did you know that levitation photography is a creative technique where subjects appear to defy gravity and float in mid-air? By using simple props and clever poses, photographers can create mesmerizing and magical images that captivate the imagination.
Choosing the Right Camera and Lenses
When it comes to capturing the magical moments of levitation photography, having the right gear can make all the difference. While there is no specific camera or lens required for this technique, there are certain features and options that can enhance your experience and help you achieve stunning results.
For the camera, look for one that offers manual control over settings like aperture, shutter speed, and ISO. This will allow you to have full creative control and capture sharp, well-exposed images. Additionally, a camera with a fast burst mode can be beneficial as it enables you to capture multiple frames in quick succession, increasing the likelihood of getting that perfectly timed shot.
As for lenses, wide-angle lenses are a popular choice for levitation photography. They allow you to capture more of the scene, emphasizing the sense of suspension and creating a surreal effect. However, don’t limit yourself to just wide-angle lenses. Experimenting with different focal lengths can bring unique perspectives to your images. For instance, a telephoto lens can compress the background, creating an intriguing depth of field.
Additional Equipment:
In addition to a camera and lenses, there are a few other tools and accessories that can enhance your levitation photography experience:
- Tripod: A sturdy tripod is essential for stabilizing your camera. It eliminates camera shake, producing crisp and sharp images. Furthermore, using a tripod enables you to shoot with a slower shutter speed, which can create a sense of motion or fluidity in your levitation shots.
- Remote Shutter Release: A remote shutter release allows you to trigger the camera without physically touching it. This is particularly useful when you want to capture self-portraits or avoid camera shake caused by pressing the shutter button. It gives you more control and increases the chances of capturing that perfect pose.
- Neutral Density (ND) Filters: ND filters are useful when shooting in bright light conditions or when you want to achieve longer exposures. By reducing the amount of light entering the lens, ND filters allow you to use slower shutter speeds, resulting in blurred motion or smooth water effects.
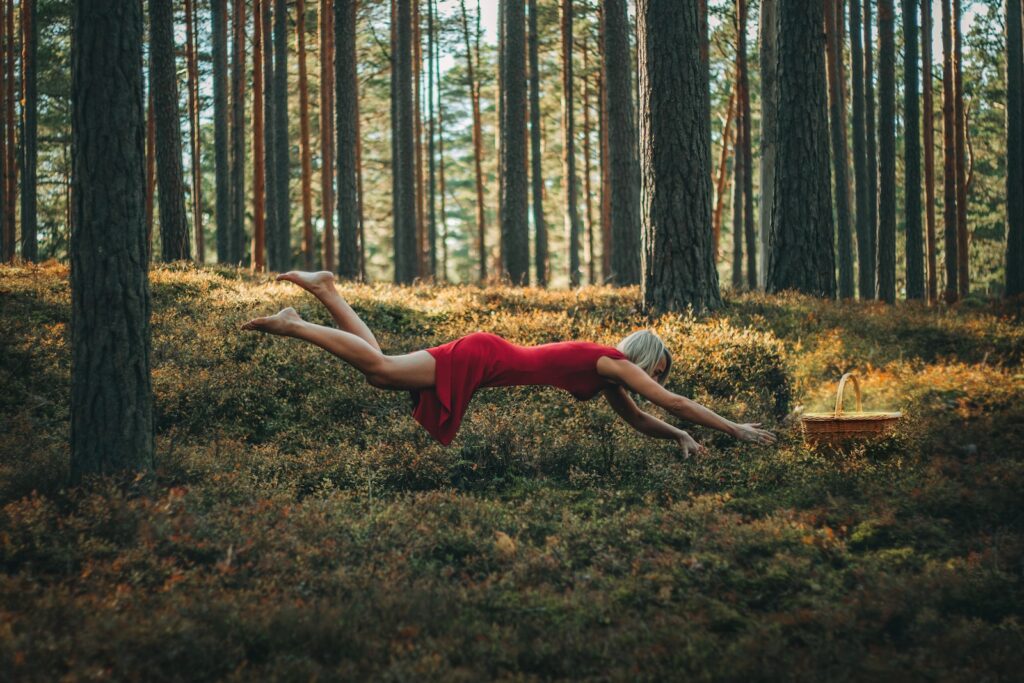
- Props and Accessories: To add creativity and storytelling elements to your levitation photographs, consider using props and accessories. These could include anything from flowing fabrics and flying umbrellas to levitating objects or even fairy wings. Props can help create a sense of movement and further engage the viewer’s imagination.
Remember, the most important aspect of levitation photography is the creative vision and imagination you bring to your shots. The gear and equipment mentioned above are merely tools to assist you in capturing your vision effectively. Whether you opt for budget-friendly options or top-of-the-line professional gear, it’s your creativity that will set your levitation photography apart.
The Best Time for Stunning Levitation Photography
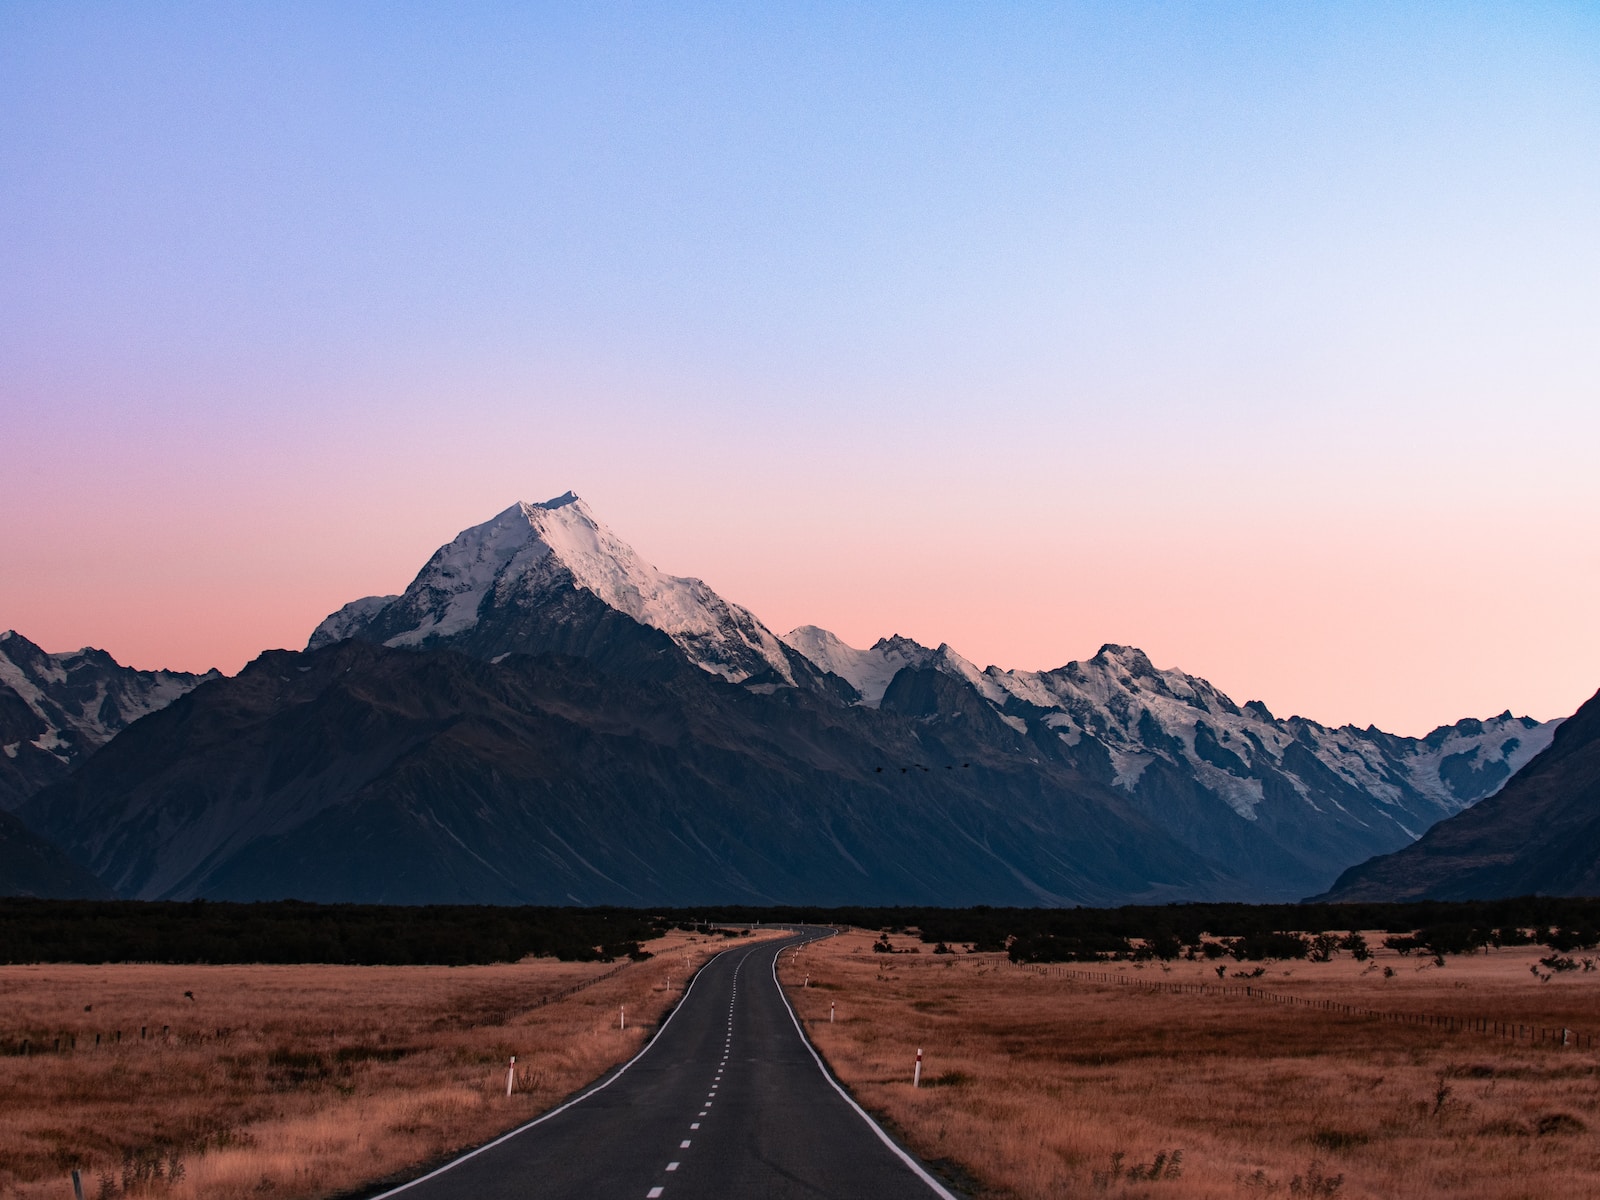
One of the most crucial aspects of capturing breathtaking levitation photographs is choosing the right time of day. The Golden Hour, which occurs during the hour after sunrise and the hour before sunset, is the ideal time for magical and ethereal levitation shots. During this time, the natural lighting creates a warm and soft glow, casting long shadows and adding depth to your images.
As the sunlight becomes less harsh and more diffused, it bathes your subject in a flattering and dreamy light. The colors are more vibrant, and the contrast is natural, enhancing the overall atmosphere of levitation photography.
Choosing the Perfect Location
When it comes to levitation photography, finding the right location can make all the difference in creating captivating and enchanting images. Here are a few examples of stunning vantage points and positions that can elevate your levitation photography to new heights:
- Rooftops and High-rise Buildings: Imagine your levitating subject suspended in mid-air against the backdrop of a sprawling cityscape. Shooting from a high-rise building or an urban rooftop allows you to capture the bustling city below, which adds a sense of wonder and awe to your photographs.
- Natural Landscapes: The tranquility and beauty of natural landscapes provide an excellent setting for levitation photography. Whether it’s a serene forest, a scenic beach, or a lush meadow, these locations offer a harmonious blend of nature and magic, resulting in visually stunning images.
- Abandoned Spaces: Abandoned buildings, derelict factories, or forgotten ruins offer a unique and mysterious backdrop for levitation photography. These decaying structures create a captivating contrast with the dreamlike levitating subject, sparking curiosity and intrigue.
- Urban Streets and Alleyways: Don’t overlook the urban charm of city streets and narrow alleyways. These bustling and vibrant locations can add a touch of urban magic to your levitation photographs. Incorporating vibrant street art or interesting architecture can create an intriguing juxtaposition against the levitating subject.
Each location has its own charm and qualities that can bring a sense of wonder and awe to your levitation photography. Experimenting with different environments can help you find the perfect backdrop that complements your creative vision.
One helpful tip for levitation photography is to use a tripod to keep your camera steady. This will help you maintain a clear and focused image, especially when doing long exposure shots. Remember to use a remote or the self-timer function to trigger the shutter, reducing any camera shake.
Frequently Asked Questions
What is levitation photography?
Levitation photography is a creative technique that involves capturing images of subjects or objects appearing to float in mid-air. This illusion defies gravity and adds a touch of magic to your photographs.
Do I need any special equipment for levitation photography?
No, you don’t necessarily need special equipment for levitation photography. However, having a camera with manual settings and a tripod can greatly help in achieving a better result. Additionally, a remote shutter release or self-timer can ensure stability while you capture the shot.
How can I make someone or something levitate in photos?
There are a few techniques you can use to make someone or something appear to levitate in photos. One popular method is to have the subject jump or pose in mid-air while you capture the shot. Another technique involves using Photoshop or other photo editing software to remove any support used during the shoot.
Are there any tips for capturing realistic levitation photos?
Yes, there are several tips to capture realistic levitation photos. It’s important to pay attention to lighting and ensure that the shadows align with the direction of light in the scene. Using props or flowing fabrics can also add a sense of movement and enhance the illusion of levitation. Experimenting with different angles and perspectives can help you achieve the desired effect as well.
Can levitation photography be done indoors?
Absolutely! Levitation photography can be done both indoors and outdoors. In fact, indoor setups allow more control over lighting conditions and eliminate potential distractions. You can use various objects or furniture to support the subject and create the illusion of levitation.
Where can I find inspiration for levitation photography?
There are numerous sources of inspiration for levitation photography. Online platforms such as Instagram and Pinterest showcase a wide range of creative levitation photos from photographers all over the world. You can also explore photography books or follow the works of renowned photographers specializing in this genre.
Do I need advanced Photoshop skills for levitation photography?
While having some basic knowledge of Photoshop can be helpful for refining your levitation photos, it’s not a requirement. Simple editing techniques like removing the support or adjusting colors and tones can be easily learned even for beginners. There are also free tutorials and resources available online to guide you through the process.
Is levitation photography suitable for all subjects?
Levitation photography can be applied to various subjects and objects, ranging from people and animals to everyday items or even food. The key is to use creativity and experiment with different ideas to capture captivating and visually striking images.
Wrap Up
Levitation photography is a truly captivating art form that allows us to defy the laws of gravity and create stunning, surreal images. By combining creative vision, camera techniques, and a touch of magic, you can transport yourself and your viewers to a world where anything is possible.
Throughout this blog, we’ve explored various levitation techniques and discussed the importance of creativity in photography. Whether you’re a seasoned photographer or just starting out, levitation photography offers endless possibilities for experimentation and self-expression.
So why not grab your camera and venture into the fantastical world of levitation photography? Let your imagination soar, and don’t be afraid to take risks and try new things. Remember, the sky’s not the limit when it comes to capturing the impossible.
We hope you’ve enjoyed this introduction to levitation photography. Now, it’s your turn to embrace this magical art form and capture your own gravity-defying images. Share your experiences, ask questions, and engage with the community in the comments section below. We can’t wait to see what you create!