Welcome to our DIY Guide on How to Clean Your Camera Sensor Safely. As a photographer, you know the importance of a clean sensor for capturing high-quality images. However, the thought of cleaning your camera sensor can be intimidating. Don’t worry, we’ve got you covered! In this blog, we will discuss the most effective and safest methods to clean your camera sensor, providing you with step-by-step instructions and valuable tips to ensure your sensor is spotless. Say goodbye to dust and stains, and hello to crystal-clear photos!
Table of Contents
- Why is Camera Sensor Cleaning Necessary?
- Gather the Necessary Supplies
- A How-To Guide: Safely Cleaning Your Camera Sensor
- Frequently Asked Questions
- Q: Why is cleaning the camera sensor important?
- Q: Can I clean the camera sensor myself?
- Q: What are the safest methods for cleaning a camera sensor?
- Q: How frequently should I clean my camera sensor?
- Q: What precautions should I take before cleaning the camera sensor?
- Q: Can I use any cleaning solutions or liquids to clean the sensor?
- Q: What should I do if I accidentally damage my camera sensor during cleaning?
- Wrap Up
Why is Camera Sensor Cleaning Necessary?
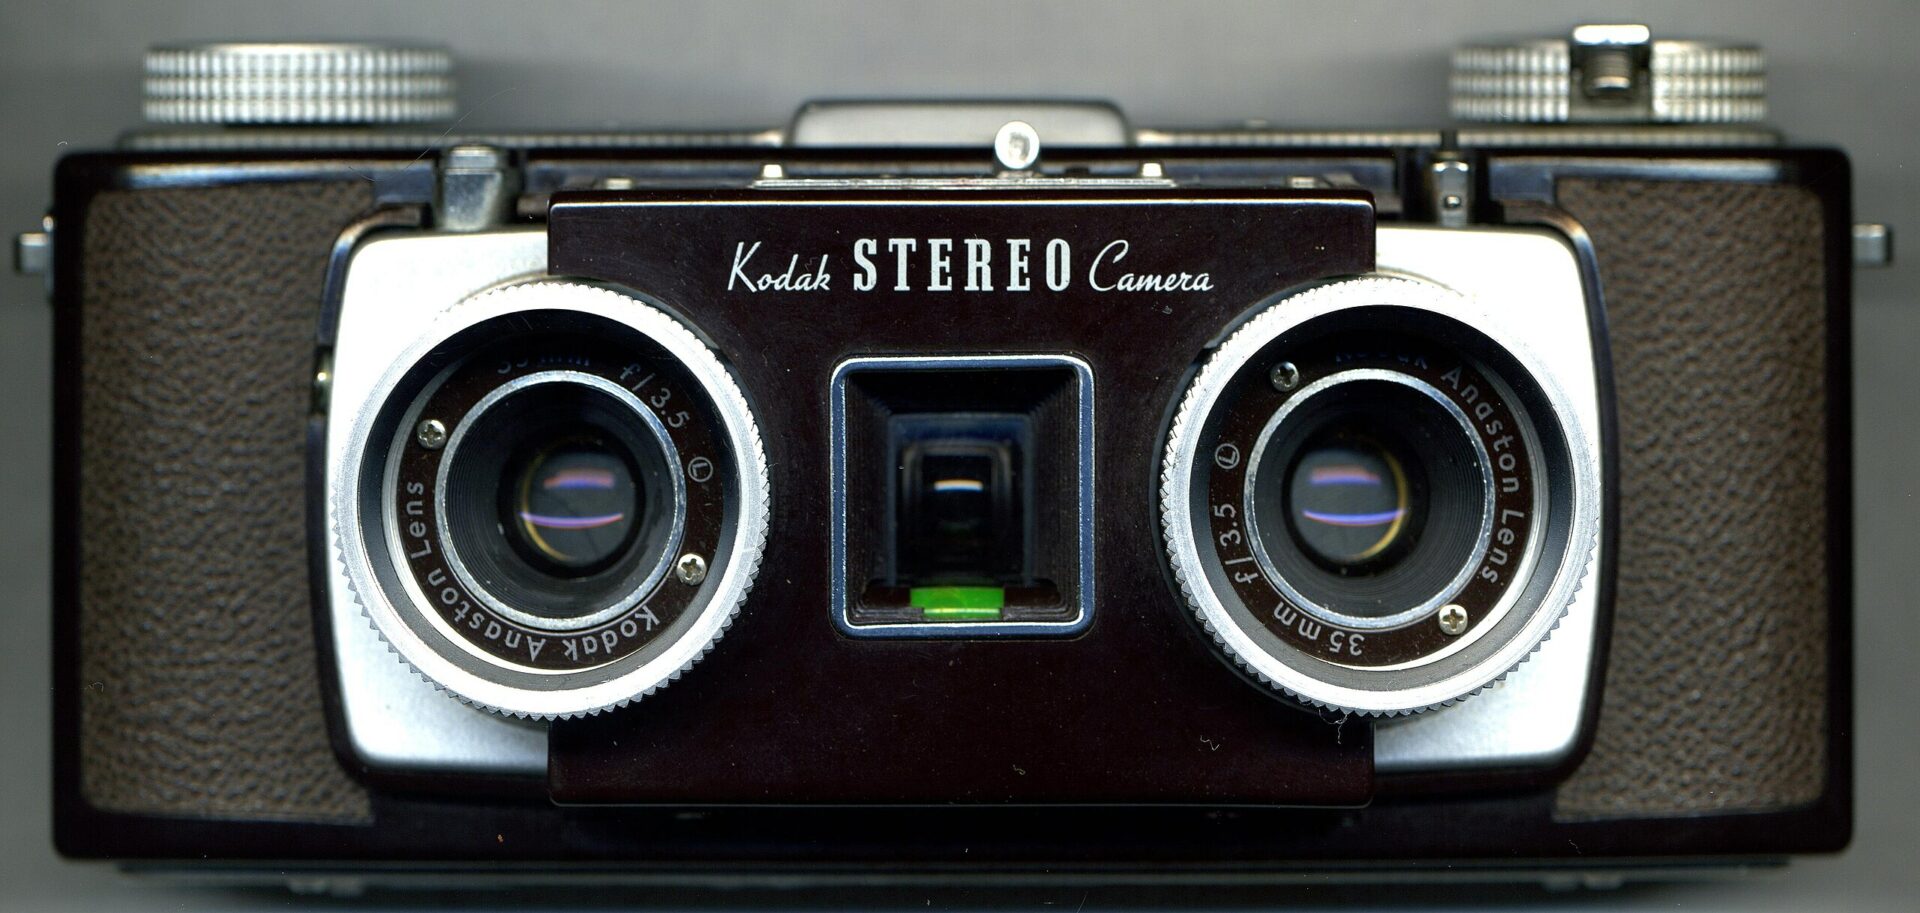
Your camera’s sensor is one of the most crucial components for capturing beautiful images. Over time, dust particles, fingerprints, and other debris can accumulate on the sensor surface, resulting in visible spots and blemishes on your photos. These imperfections can ruin an otherwise perfect shot. Therefore, regular sensor cleaning is necessary to maintain the quality and integrity of your images.
The Dangers of Improper Sensor Cleaning
While cleaning your camera sensor is essential, it’s crucial to do it correctly to avoid causing any damage. Mishandling the delicate sensor can lead to scratches, stains, or even permanent damage. This is why understanding the safest methods and using the right tools is crucial. In the following sections, we will explore various sensor cleaning techniques, ensuring you have the knowledge and confidence to tackle this task effectively.
Gather the Necessary Supplies
Before you start cleaning your camera sensor, gather the essential supplies to ensure a successful and safe cleaning process. You will need:
- Microfiber cloth or sensor cleaning swabs
- Sensor cleaning solution
- Rubber air blower or sensor cleaning brush
- Sturdy tripod
- Clean and dust-free environment
Dry Method: Air Blower and Brush
The dry method is the simplest and least invasive way to clean your camera sensor. Start by attaching your camera to a sturdy tripod and turning on the sensor cleaning mode. Next, use a rubber air blower to remove loose dust particles and debris from the sensor surface. For stubborn particles, gently brush the sensor using a sensor cleaning brush designed specifically for this purpose. Remember to avoid excessive pressure and be cautious at all times.
Wet Method: Using Sensor Cleaning Swabs
When the dry method proves insufficient, the wet method provides a deeper cleaning. Begin by applying a few drops of sensor cleaning solution to a sensor cleaning swab. With the camera in sensor cleaning mode, gently swipe the swab across the sensor surface, covering the entire area. Use a new swab for each pass to avoid transferring contaminants. This method requires precision and caution, so take your time and follow the manufacturer’s instructions carefully.
How often should I clean my camera sensor?
It is recommended to clean your camera sensor every few months or whenever you notice visible spots or blemishes on your photos. However, the frequency may vary depending on your shooting conditions and environment.
Can I clean my camera sensor at home?
Absolutely! With the right tools, knowledge, and a clean environment, cleaning your camera sensor at home can be a safe and cost-effective solution. Just ensure you follow the recommended methods and take necessary precautions.
Did you know that a single speck of dust on the sensor can show up as a dark spot on your photographs, especially at smaller apertures? Keeping your sensor clean is essential for maintaining image quality!
A How-To Guide: Safely Cleaning Your Camera Sensor
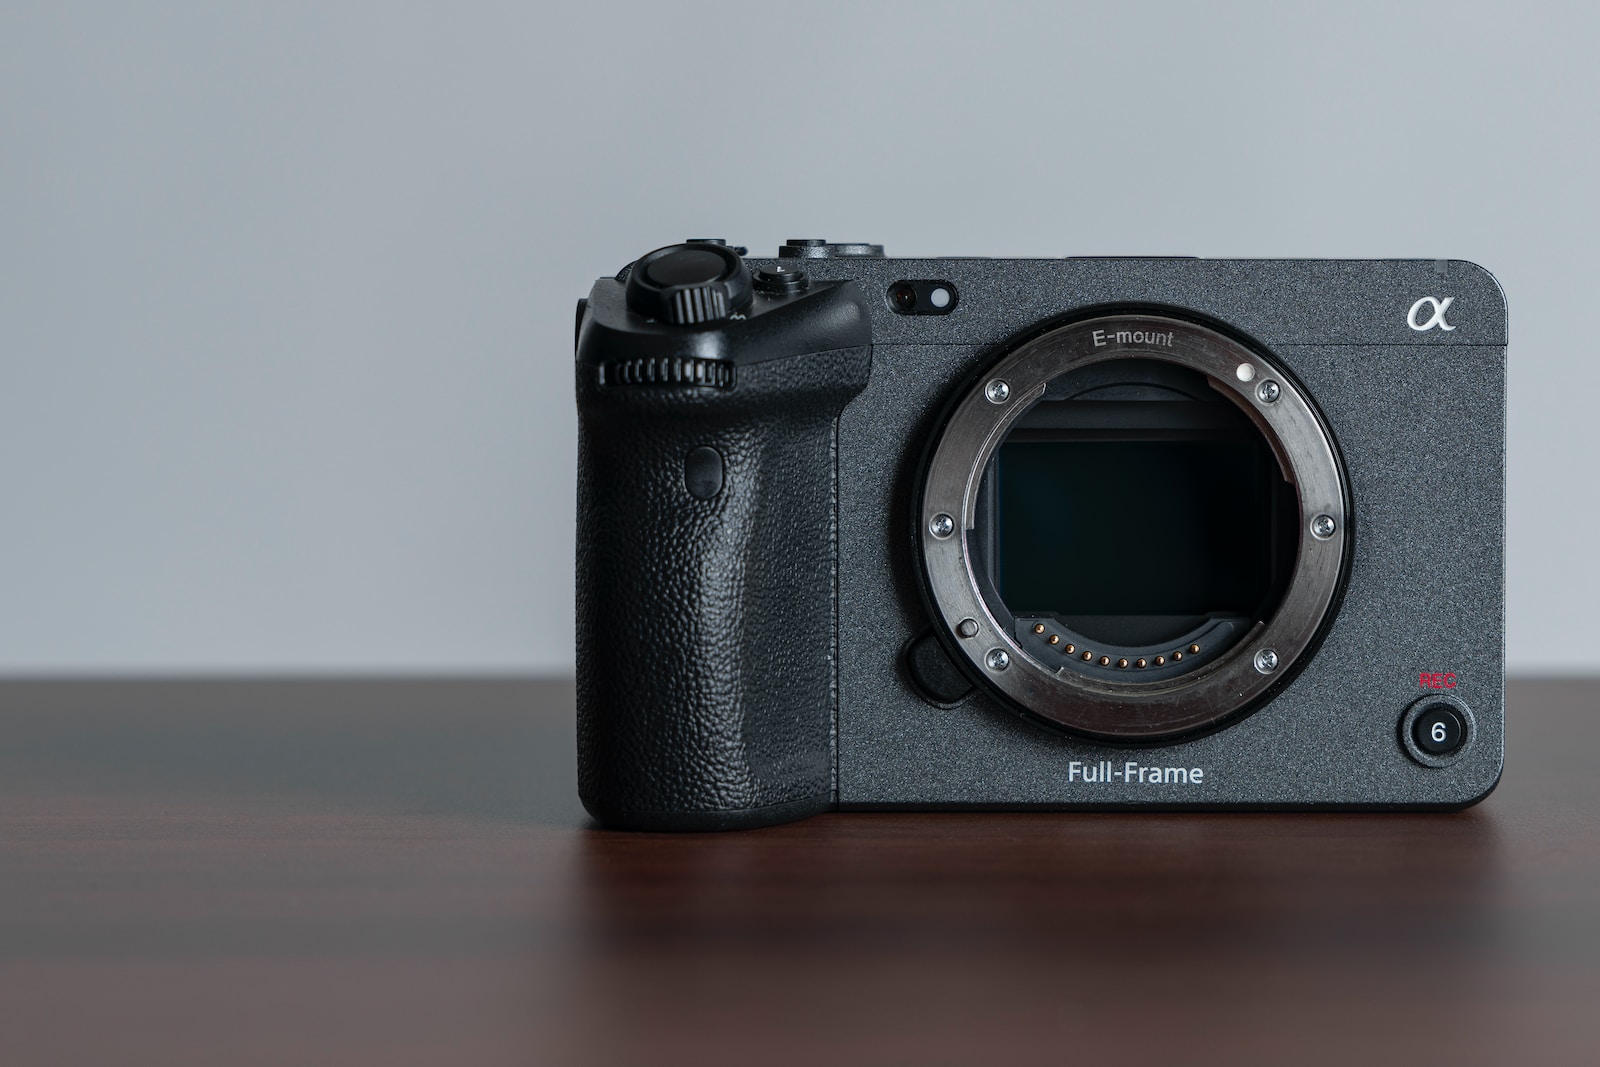
Camera sensors are an essential part of any digital camera, responsible for capturing the image that you see through the lens. Over time, these sensors can accumulate dust, fingerprints, and other particles, resulting in unwanted spots or smudges in your photos. To maintain the best image quality, it is crucial to regularly clean your camera sensor. In this comprehensive DIY guide, we will walk you through the most effective and safest methods of cleaning your camera sensor.
Step 1: Gather the necessary tools
Before you start the cleaning process, it is important to gather the right tools. Here are the essentials:
- A blower brush or air bulb: This will be your first line of defense to remove any loose dust particles.
- Sensor cleaning swabs: Specifically designed for cleaning camera sensors, these swabs are available in different sizes to match your camera’s sensor type.
- Sensor cleaning solution: Choose a reputable brand that is specifically formulated for sensor cleaning. Avoid using generic cleaning solutions, as they may leave residue on your sensor.
- Cleaning gloves: To prevent any oil or grease from your fingers transferring to the sensor, it is advisable to wear gloves during the cleaning process.
Step 2: Prepare your camera
It is crucial to prepare your camera properly before cleaning the sensor. Here’s what you need to do:
- Fully charge your camera battery: Having a fully charged battery ensures that your camera’s mirror stays up during the cleaning process, allowing easy access to the sensor.
- Set your camera to manual sensor cleaning mode: Consult your camera’s manual to find out how to activate the sensor cleaning mode. This will lift the mirror and expose the sensor for cleaning.
- Remove any dust from the camera body: Before cleaning the sensor, use the blower brush or air bulb to gently remove any visible dust particles from the camera body.
Step 3: Cleaning the sensor
Now that you have prepared your camera, it’s time to clean the sensor. Follow these steps carefully:
- Use the blower brush or air bulb to remove loose dust: Hold your camera with the lens mount facing downwards and gently use the blower brush or air bulb to blow air onto the sensor. Be careful not to touch the sensor with the brush or bulb.
- Apply a small amount of sensor cleaning solution to the swab: Moisten the swab with the recommended amount of cleaning solution. Make sure not to oversaturate the swab.
- Clean the sensor in a single, gentle swipe: Holding your camera with the lens mount facing downwards, gently swipe the swab across the sensor in one direction. Avoid applying excessive pressure or going back and forth as this may result in streaks or damage.
- Inspect the sensor: After cleaning, use the camera’s built-in sensor cleaning function or a sensor loupe to inspect the sensor for any remaining dust or spots. If necessary, repeat the cleaning process until the sensor is clean.
Following these steps will help you safely clean your camera sensor and ensure optimal image quality. Remember to handle your camera and cleaning tools with care, and always refer to your camera’s manual for specific instructions. Happy shooting!
Frequently Asked Questions
Q: Why is cleaning the camera sensor important?
A: Cleaning the camera sensor is important as dust and debris can accumulate over time, affecting image quality and causing spots or blemishes in your photos.
Q: Can I clean the camera sensor myself?
A: Yes, you can clean the camera sensor yourself by following proper techniques and using the right tools.
Q: What are the safest methods for cleaning a camera sensor?
A: The safest methods for cleaning a camera sensor include using a blower, sensor swabs, or an air bulb to gently remove dust particles.
Q: How frequently should I clean my camera sensor?
A: The frequency of cleaning your camera sensor depends on how often you use your camera and the shooting conditions. If you frequently change lenses or shoot in dusty environments, it is recommended to clean the sensor more often, perhaps every few months.
Q: What precautions should I take before cleaning the camera sensor?
A: Before cleaning the camera sensor, make sure to fully charge your camera’s battery and choose a clean and dust-free environment. It is also advisable to refer to your camera’s user manual for specific instructions.
Q: Can I use any cleaning solutions or liquids to clean the sensor?
A: It is recommended to avoid using cleaning solutions or liquids directly on the sensor, as they can potentially damage the sensor. Stick to dry cleaning methods like air bulbs or sensor swabs.
Q: What should I do if I accidentally damage my camera sensor during cleaning?
A: If you accidentally damage your camera sensor while cleaning, it is best to seek professional assistance from a camera repair service. They can assess the damage and provide necessary repairs.
Wrap Up
Now that you have learned the safest and most effective methods to clean your camera sensor, it’s time to put your newfound knowledge into practice. Remember, regular sensor cleaning is crucial for maintaining the quality of your photographs.
Whether you choose the wet or dry method, always exercise caution and follow the step-by-step instructions provided. Don’t rush the process and be patient with your sensor cleaning efforts.
If you have any questions or need further assistance, feel free to leave a comment below. Engage with fellow readers and share your own experiences. Your feedback is valuable and appreciated.
Happy sensor cleaning and happy shooting!