Welcome to “Editing Camcorder Footage: A Basic Guide,” a beginner’s guide to editing footage shot on a camcorder using popular editing software. Whether you’re an aspiring filmmaker, a hobbyist, or someone who simply wants to preserve precious memories, this blog will provide you with the essential knowledge and skills to transform your raw footage into polished videos. From understanding different types of camcorders to mastering editing software techniques, this guide will empower you to bring your vision to life. Let’s dive in!
Table of Contents
- Choosing the Right One for Your Needs
- Mastering Editing Techniques: Step-by-Step Tutorials
- A How-to Guide for Editing Footage Shot on a Camcorder
- Frequently Asked Questions
- 1. What is a camcorder?
- 2. Which editing software is popular for editing camcorder footage?
- 3. How do I transfer footage from a camcorder to my computer?
- 4. What are the basic steps for editing camcorder footage?
- 5. Can I edit footage shot on a camcorder using free editing software?
- 6. What are some common editing techniques for enhancing camcorder footage?
- 7. Are there any online tutorials or resources available for learning camcorder footage editing?
- 8. Can I edit audio separately from video when editing camcorder footage?
- 9. What are some recommended file formats for exporting edited camcorder footage?
- 10. Is it possible to undo or revert any changes made while editing camcorder footage?
- Wrap Up
Choosing the Right One for Your Needs
Before delving into the world of editing, it’s crucial to have a basic understanding of the different types of camcorders available. From traditional handheld camcorders to action cameras and smartphones, each option offers unique features and advantages. Consider your specific needs, such as image quality, portability, and budget, to select the perfect camcorder for your projects.
Essential Camcorder Accessories
To capture high-quality footage, investing in a few key accessories is essential. A stable tripod, external microphone, and additional batteries are just a few examples of accessories that can significantly enhance your shooting experience. Get insights into must-have accessories and make informed decisions to elevate the quality of your footage.
Choosing the Right Editing Software
With countless editing software options available, it can be overwhelming to choose the right one for your needs. Factors such as user-friendliness, available features, and compatibility with your operating system are essential considerations. We’ll break down some of the most popular editing software on the market, helping you make an informed decision.
Editing Software Basics
Once you’ve selected your desired editing software, it’s time to familiarize yourself with its basic functionalities. Importing footage, understanding the timeline, and using different editing tools are fundamental skills you’ll need to master. Follow our step-by-step instructions and gain confidence in navigating your chosen software.
Mastering Editing Techniques: Step-by-Step Tutorials
Importing and Organizing Footage
Before diving into the editing process, it’s crucial to import and organize your footage effectively. Learn how to create a structured file system, import your footage into the software, and organize it into manageable clips and folders. This step sets the foundation for a seamless editing workflow.
Basic Editing: Trimming and Arranging Clips
Trimming and arranging clips form the backbone of any video edit. Discover the different techniques to trim your footage, remove unwanted segments, and rearrange clips to create a compelling narrative. Learn the art of pacing and make your videos engaging from start to finish.
Enhancing Your Footage: Color Correction and Filters
Adding that professional touch to your footage is all about the right color correction and filters. Discover how to enhance the colors, adjust brightness and contrast, and apply filters to achieve the desired mood. Unlock the power of color grading and breathe life into your videos.
Adding Transitions and Effects
Smoothly transitioning between clips and applying effects can elevate the visual appeal of your videos. From basic fades to eye-catching transitions, explore the various options available in your editing software. Learn when to use each effect to maintain a cohesive and visually appealing video.
Did you know that the first camcorder was made available to the public by Sony in 1983, revolutionizing the way people captured and shared memories?
A How-to Guide for Editing Footage Shot on a Camcorder
Welcome to our beginner’s guide on editing footage shot on a camcorder using popular editing software. Whether you’re an aspiring filmmaker or simply a hobbyist looking to enhance your videos, this guide will provide you with the basics of editing camcorder footage and help you create impactful and professional-looking videos.
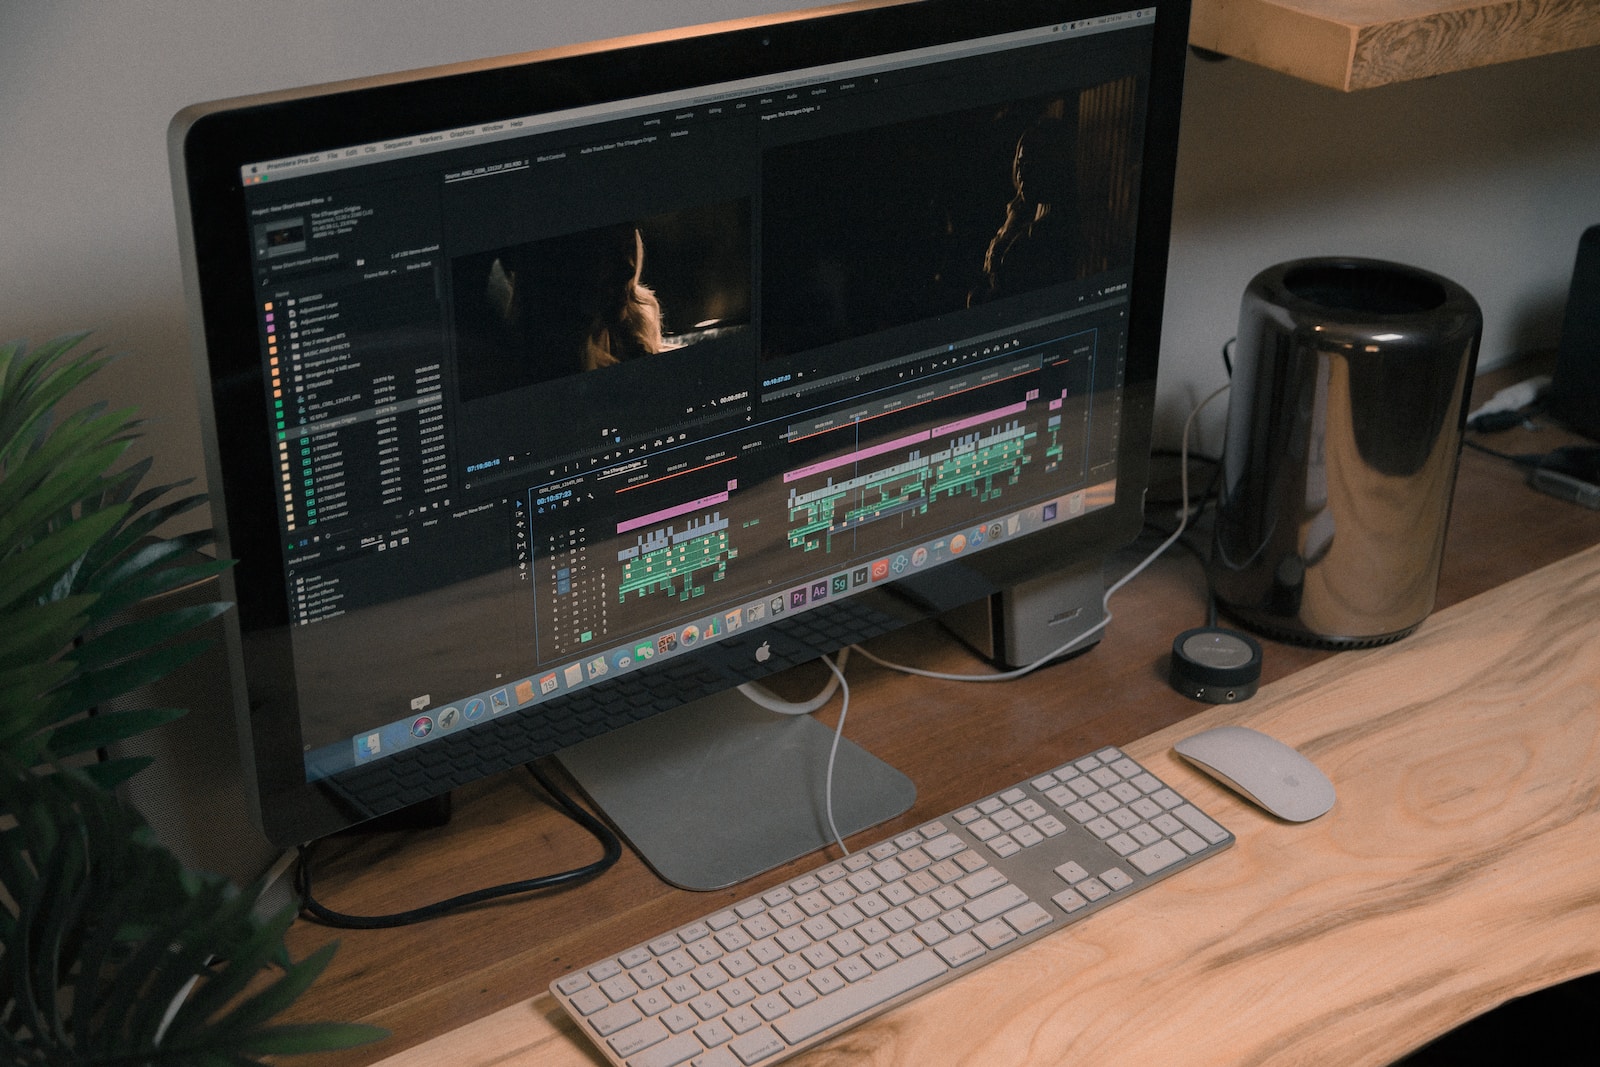
Step 1: Importing Footage
Start by transferring the footage from your camcorder to your computer. Connect your camcorder to your computer using a USB cable or remove the memory card and insert it into a card reader. Open your editing software and import the footage into the project.
Step 2: Organizing Your Clips
Before diving into the editing process, it’s essential to organize your clips. Create a new project folder and arrange your clips in a logical order. This will make the editing process more efficient, allowing you to easily locate specific shots when needed.
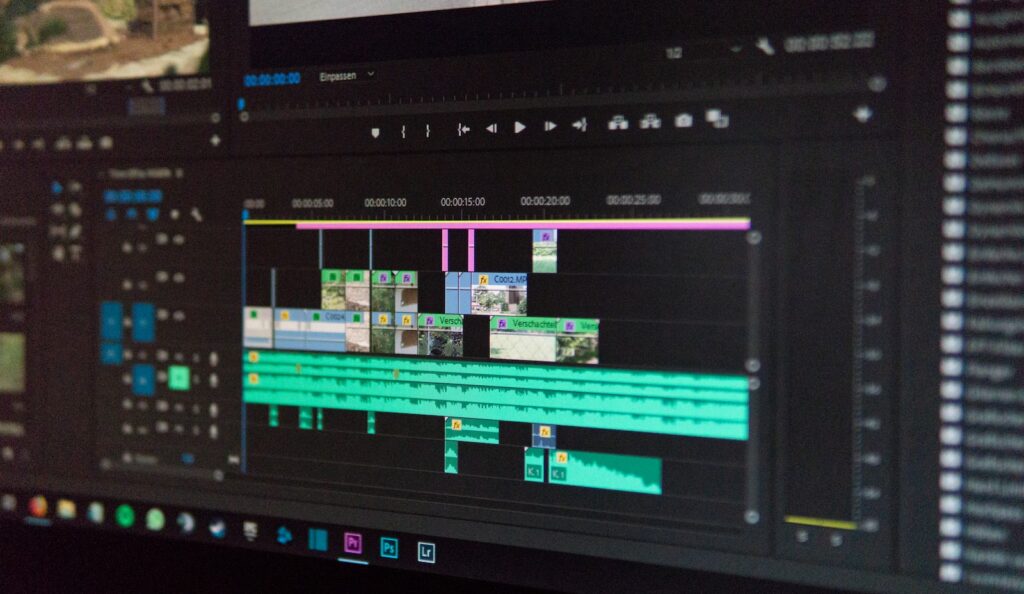
Step 3: Trimming and Arranging Clips
Once your clips are organized, you can start trimming and arranging them on the timeline. Use the trimming tools provided by your editing software to remove unwanted portions and create a cohesive storyline. Experiment with different clip arrangements to find the most compelling sequence.
Step 4: Adding Transitions and Effects
To enhance the visual appeal and flow of your video, incorporate transitions and effects between clips. Common transitions include fades, dissolves, and cuts. Experiment with different effects to give your video a unique touch, but remember to use them sparingly, ensuring they enhance rather than distract from your footage.
Step 5: Audio Mixing and Sound Design
Audio plays a crucial role in video storytelling. Ensure that your audio levels are consistent and that the sound complements the visuals. Remove any background noise or unwanted audio using your editing software’s audio editing tools. Experiment with adding music or sound effects to enhance the overall impact of your video.
Step 6: Color Correction and Grading
To give your footage a professional and polished look, consider color correction and grading. Adjust the brightness, contrast, and saturation of your clips to achieve a consistent and visually pleasing aesthetic. Experiment with different color grading presets or create your own to enhance the mood and tone of your video.
Step 7: Exporting and Sharing
Once you’re satisfied with the final edit, it’s time to export your video. Choose the appropriate file format and resolution based on your intended use (e.g., online sharing, DVD, or theatrical screening). Review the exported video to ensure the quality meets your expectations before sharing it with your audience.
By following this basic guide, you’ll be able to edit camcorder footage using popular editing software and create videos that captivate and engage your viewers. Remember to practice and experiment with different techniques to develop your editing skills further. Happy editing!
Frequently Asked Questions
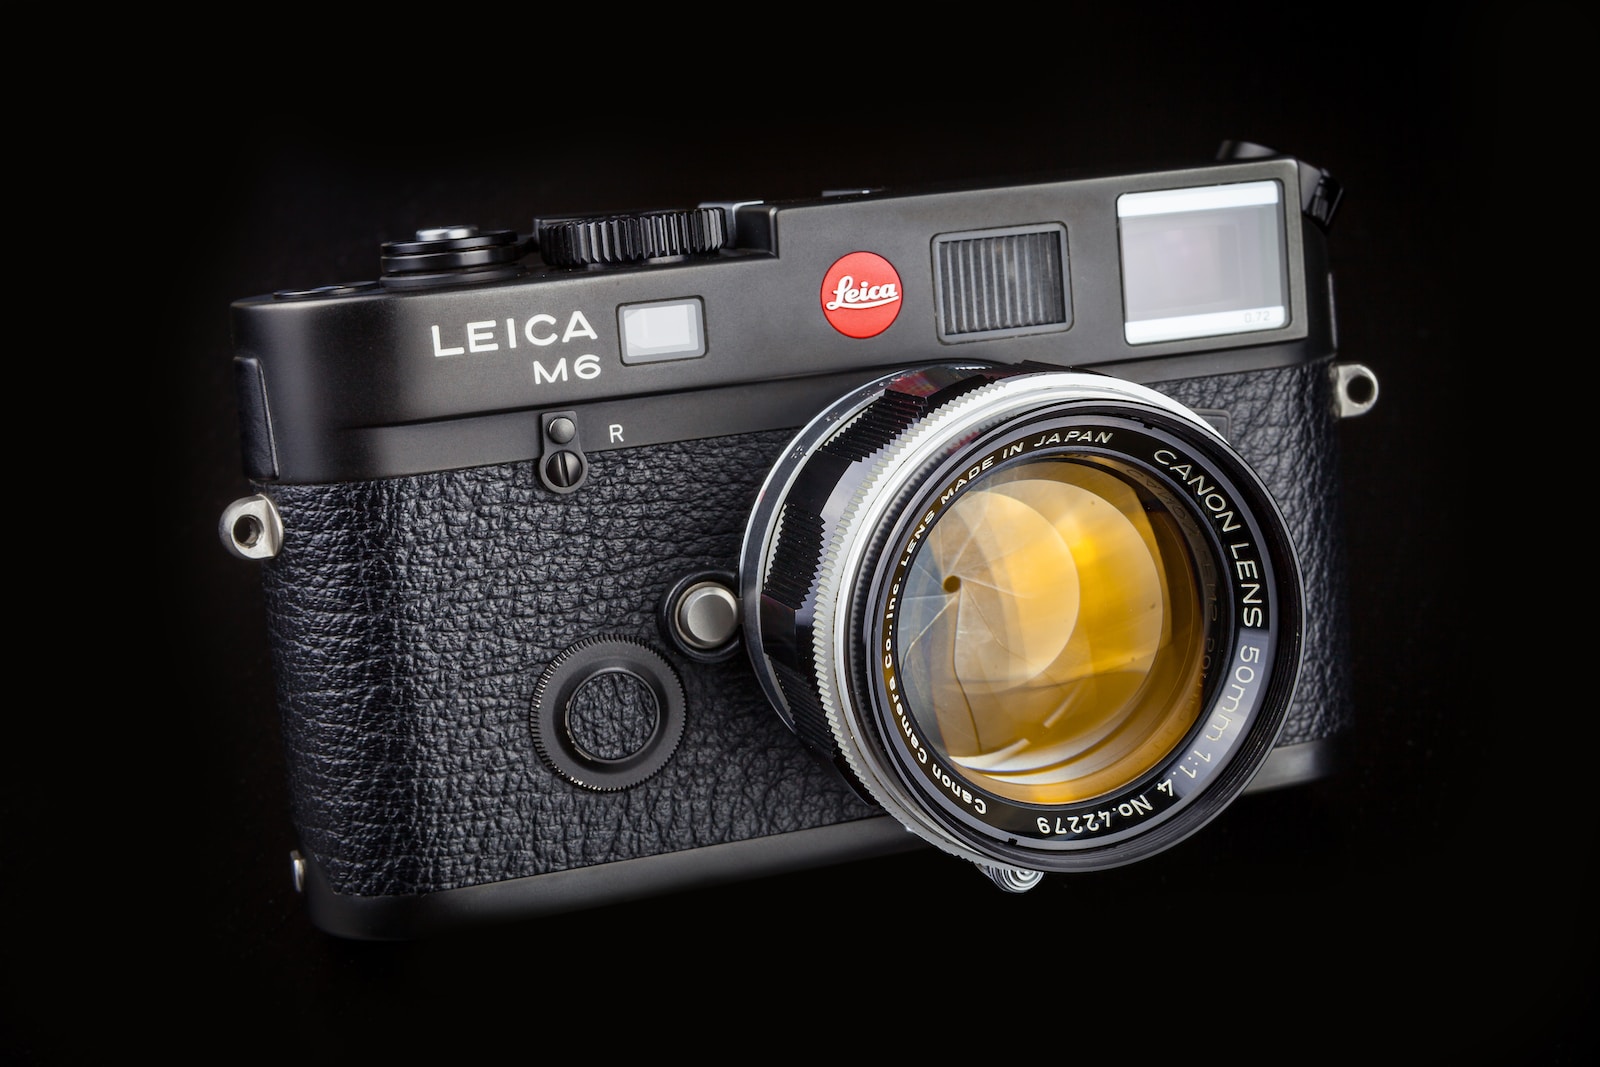
1. What is a camcorder?
A camcorder is a portable electronic device used to record videos and audio, typically with a built-in video camera and microphone.
2. Which editing software is popular for editing camcorder footage?
Popular editing software options for editing camcorder footage include Adobe Premiere Pro, Final Cut Pro, and Sony Vegas Pro.
3. How do I transfer footage from a camcorder to my computer?
To transfer footage from a camcorder to a computer, connect the camcorder to the computer using a USB cable or remove the memory card and use a card reader to transfer the files.
4. What are the basic steps for editing camcorder footage?
The basic steps for editing camcorder footage include importing the footage into the editing software, organizing the clips, trimming unwanted parts, adding transitions and effects, adjusting audio levels, and exporting the final edited video.
5. Can I edit footage shot on a camcorder using free editing software?
Yes, there are free editing software options available, such as DaVinci Resolve and Shotcut, that can be used to edit footage shot on a camcorder.
6. What are some common editing techniques for enhancing camcorder footage?
Common editing techniques for enhancing camcorder footage include color correction, stabilization, adding text or captions, applying filters or effects, and adjusting the speed or playback rate of the footage.
7. Are there any online tutorials or resources available for learning camcorder footage editing?
Yes, there are numerous online tutorials, guides, and forums where you can learn and explore different techniques for editing camcorder footage using various software.
8. Can I edit audio separately from video when editing camcorder footage?
Yes, most editing software allows you to edit audio separately from video. This allows you to enhance the audio quality, remove noise, or add background music without affecting the video.
9. What are some recommended file formats for exporting edited camcorder footage?
Commonly used file formats for exporting edited camcorder footage include MP4, MOV, AVI, and WMV. The choice of format depends on the intended use and compatibility with the playback devices.
10. Is it possible to undo or revert any changes made while editing camcorder footage?
Yes, most editing software offers an undo or history feature that allows you to revert any changes made during the editing process. This ensures that you can easily correct or modify your edits if needed.
Wrap Up
Editing camcorder footage doesn’t have to be daunting. With the right software and a basic understanding of the process, you can turn your raw footage into a polished video that you’re proud to share. Remember to organize your clips, trim down unnecessary footage, and use transitions to create a seamless flow.
By following this beginner’s guide, you’ll be well on your way to creating professional-looking videos. Experiment with different editing techniques and software features to add your own touch and style. If you have any questions or additional tips to share, please leave a comment below. We’d love to hear from you and see the amazing videos you create!