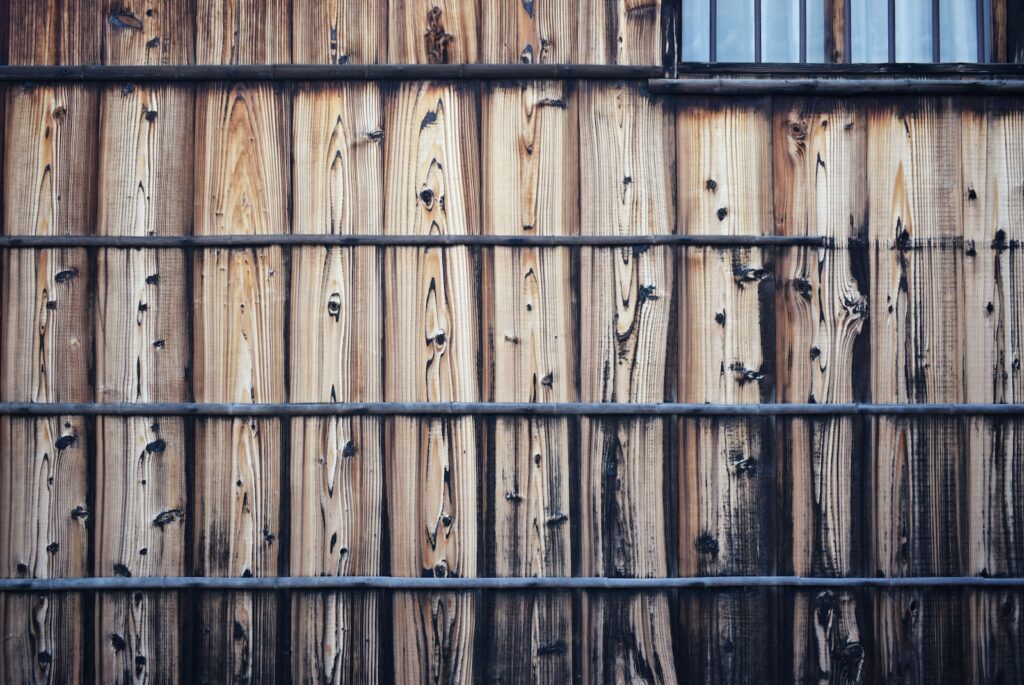
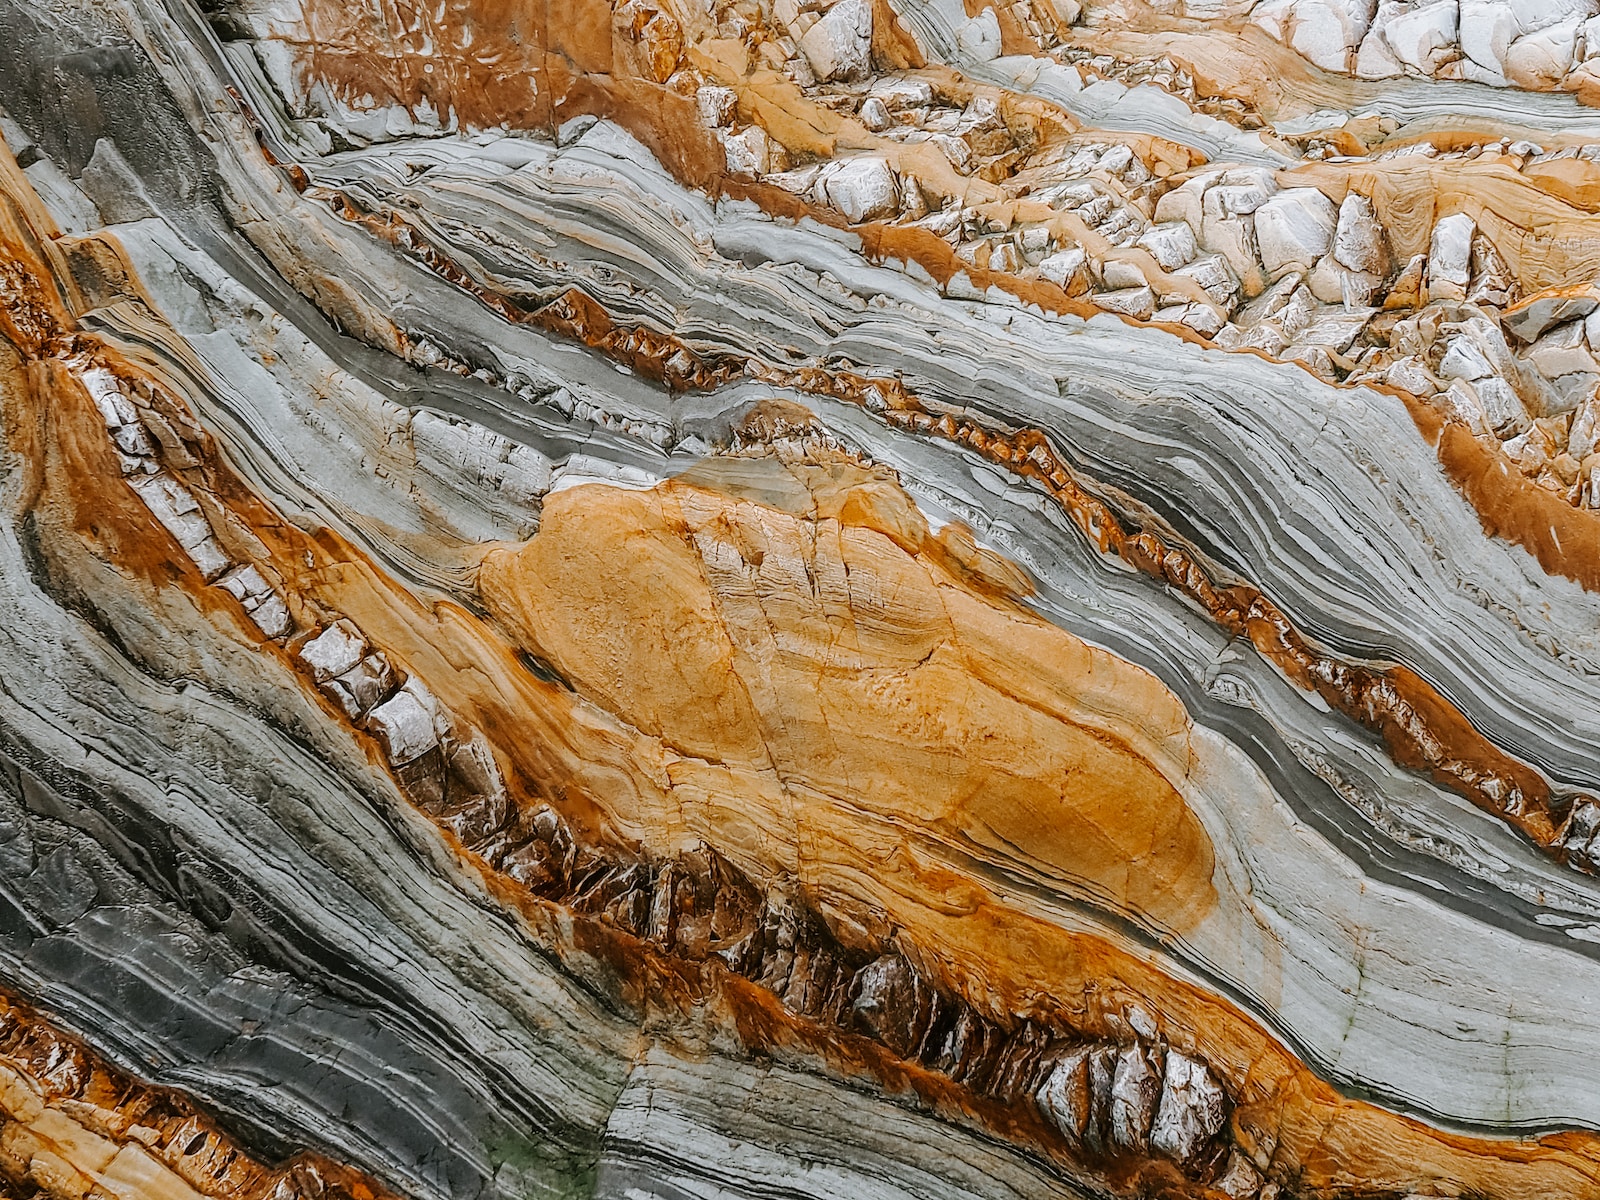
Welcome to our blog on how to photograph textured surfaces! Whether you’re an amateur photographer looking to enhance your skills or a professional seeking new inspiration, this detailed exploration will provide you with valuable insights. Learn about lighting techniques, angle selection, and the best ways to bring out the unique features of various textures. From still life photography to macro shots, we’ll cover it all. So grab your camera and join us on this visual journey!
Table of Contents
- Lighting: The Key to Capturing Texture
- Angles: Unveiling Texture from Every Perspective
- Bringing Out the Details: Tips and Tricks
- A How-To Guide: Tips and Techniques for Photographing Textured Surfaces
- Frequently Asked Questions
- 1. How do I capture texture in still life photography?
- 2. What are some tips for photographing detailed textures?
- 3. How can I enhance the texture in my photos during post-processing?
- 4. Can you recommend some subjects that showcase texture well?
- 5. Are there any specific lighting techniques that work best for capturing textures?
- 6. What camera gear is best for capturing detailed textures?
- Wrap Up
Lighting: The Key to Capturing Texture
1. Natural Light vs. Artificial Light
When it comes to photographing texture, the right choice of lighting can make a world of difference. Natural light offers a soft and even illumination that beautifully highlights intricate details. Consider shooting near a window or outside during the golden hour for the best results. On the other hand, artificial light gives you more control over the intensity and direction, allowing you to create dramatic shadows or emphasize specific areas.
2. Diffuse and Direct Lighting Techniques
Experimenting with different lighting techniques will help you achieve the desired effect. Diffuse lighting, achieved by using softboxes, umbrellas, or even sheer curtains, spreads the light evenly and reduces harsh shadows. This technique works well for photographs that require a more gentle and subtle approach. Conversely, direct lighting can bring out the textures’ depth and create striking contrasts. This technique is especially effective for capturing rough or coarse surfaces.
Angles: Unveiling Texture from Every Perspective
1. Straight-On Angle
Taking photos from a straight-on angle is a simple yet effective way to showcase texture. This technique allows the details to shine through without any distractions. It works particularly well for flat or slightly raised surfaces, such as textured walls or tabletops. Experiment with different focal lengths to find the perfect framing for your subject.
2. Top-Down and Bottom-Up Perspectives
Changing your shooting perspective can add depth and dimension to your textured photographs. Capturing surfaces from a top-down angle, as if you were looking down on them, can create an interesting composition. On the other hand, shooting from a bottom-up perspective can reveal a unique and often overlooked viewpoint, providing a fresh take on the subject.
3. Extreme Close-Up: Macro Photography
If you want to capture the finest details of a texture, macro photography is your go-to technique. Macro lenses allow you to get up close and personal with your subject, showcasing intricate patterns and minute textures that would otherwise go unnoticed. Take advantage of shallow depth of field to isolate specific areas and create a visually captivating image.
Bringing Out the Details: Tips and Tricks
1. Use a Tripod to Ensure Sharpness
When shooting detailed photography, even the slightest movement can lead to blurry images. To ensure maximum sharpness and clarity, use a tripod or stabilize your camera on a solid surface. This will allow you to play with longer exposure times if needed, without compromising the quality of your shots.
2. Experiment with Different Textures
Expand your photographic horizon by exploring a diverse range of textures. Try capturing the smoothness of velvet, the roughness of tree bark, or the intricacies of a woven fabric. Each texture presents its own set of challenges and opportunities, pushing your creativity to new heights.
3. Pay Attention to Composition
A well-thought-out composition can make or break your textured photographs. Use the rule of thirds for a balanced composition, or experiment with asymmetry for a more dynamic and eye-catching result. Don’t forget to consider the background, as it can either complement or distract from the texture you’re trying to capture.
Did you know that macro photography allows you to capture textures that are invisible to the human eye?
A How-To Guide: Tips and Techniques for Photographing Textured Surfaces
Are you an avid photographer looking to capture the beauty and details of different textured surfaces? Whether you’re interested in macro photography, still life photography, or simply want to enhance your skills in detailed photography, mastering the art of photographing textures can truly elevate your work. In this comprehensive guide, we will explore various tips, techniques, and lighting considerations to help you fully capture the intricacies of textured surfaces.
1. Understand Lighting
Lighting plays a crucial role in bringing out the best features of textured surfaces. When photographing textures, consider using soft and diffused lighting to minimize harsh shadows and reflections. Natural lighting, such as early morning or late afternoon sunlight, can create a warm and soft glow, enhancing the texture’s details. Experiment with different angles and positions, observing how the texture interacts with light and shadows to achieve the desired effect.
2. Experiment with Angles
Changing your shooting angle can greatly affect how textures appear in your photographs. Instead of shooting from eye level, try getting down low or moving closer to the texture. This approach can highlight intricate details and make the texture appear larger than life. Conversely, taking an overhead shot can create unique patterns and perspectives, transforming an ordinary surface into an extraordinary piece of art.
3. Pay Attention to Depth of Field
Controlling the depth of field is crucial when photographing textured surfaces. To emphasize the texture, consider using a shallow depth of field, which blurs the background and brings the texture into focus. This technique draws the viewer’s attention to the intricate details while adding a sense of depth and dimension to your photographs. Experiment with different aperture settings to achieve the desired level of focus and background blur.
4. Enhance Textures Using Props
Props can add interest and depth to your textured surface photographs. By incorporating elements such as fabric, flowers, or other complementary objects, you can enhance the overall composition and create a narrative within your images. Textures can be juxtaposed with other elements to create a visually appealing story or add a pop of color to make the textures stand out even more.
5. Look for Unique Textures
While photographing common textured surfaces like wood or stone can yield remarkable results, don’t be afraid to explore less obvious options. Experiment with capturing textures in unexpected places, such as water droplets on a leaf or rusted metal. By exploring and photographing unconventional textures, you’ll develop a keen eye for discovering beauty in even the most mundane objects.
Embarking on the journey of photographing textured surfaces requires practice, patience, and a keen eye for detail. From lighting and angles to props and unique textures, this guide has provided you with valuable tips and techniques to elevate your textured surface photography. Remember to experiment, think outside the box, and let your creativity shine, resulting in stunning and captivating images that showcase the beauty of textures like never before.

Frequently Asked Questions
1. How do I capture texture in still life photography?
In still life photography, capturing texture is all about the lighting. Use side lighting or backlighting to create shadows that emphasize the texture. Experiment with different angles to find the most interesting perspective. Additionally, using a macro lens can help you get close and capture the intricate details.
2. What are some tips for photographing detailed textures?
When photographing detailed textures, it’s important to use a tripod to ensure sharpness. Pay attention to the depth of field to keep important details in focus. Adjust your camera settings and aperture to achieve the desired level of sharpness. Don’t be afraid to get close and fill the frame with the texture to bring out its details.
3. How can I enhance the texture in my photos during post-processing?
In post-processing, you can enhance the texture by using tools like the clarity slider, which increases local contrast. Adjusting the levels or curves can also bring out the details. Experimenting with black and white conversions can often emphasize the texture even further. Don’t overdo it, though, as subtlety is key.
4. Can you recommend some subjects that showcase texture well?
There are plenty of subjects that showcase texture beautifully. Some ideas include close-ups of tree bark, weathered stone walls, rusted metal surfaces, textured fabrics, or even food with intricate patterns. Look for subjects with interesting patterns and varying surface characteristics to capture captivating textures.
5. Are there any specific lighting techniques that work best for capturing textures?
Yes, lighting plays a crucial role in texture photography. The best lighting techniques include side lighting, backlighting, and using a diffuser to create soft and even lighting. Experiment with different lighting setups and observe how they enhance or diminish the texture. Natural light can also create interesting textures, especially during golden hours.
6. What camera gear is best for capturing detailed textures?
To capture detailed textures, a macro lens is highly recommended as it allows you to get up close and personal with the subject. Additionally, using a tripod ensures sharpness and stability during longer exposures. If you’re shooting in low light, consider using a remote shutter release or the camera’s self-timer function to avoid camera shake.
Wrap Up
In conclusion, photographing textured surfaces is a fascinating and rewarding endeavor. By using the right lighting, angles, and techniques, you can capture the intricate details and unique features of these surfaces in stunning still life and macro photography. Remember to experiment with different compositions and perspectives to bring out the texture’s full potential.
Whether you are a seasoned photographer or just starting out, this guide has provided you with valuable insights and strategies to elevate your textured surface photography. Now it’s your turn to grab your camera, explore the world around you, and capture the beauty of textures.
Remember, photography is a medium of endless possibilities, and by embracing challenge and experimentation, you can create extraordinary images. If you have any questions, suggestions, or tips to share, please leave a comment below. We’d love to hear from you and see the marvelous textured surfaces you capture!

