Welcome to our in-depth guide on creating high-end skin softening in Photoshop! Whether you’re a fashion photographer looking to enhance your editorial shots or a glamour photographer aiming for flawless portraits, this step-by-step process will help you achieve professional-grade results. With our tailored techniques and expert tips, you’ll learn how to transform your images with smooth, polished skin that will captivate your audience. Read on to discover the secrets behind perfecting skin softening in Photoshop.
Table of Contents
- The Importance of Skin Softening
- Get Ready to Transform Your Photos
- A How-To Guide: Tips and Techniques for Skin Softening
- Frequently Asked Questions
- 1. What is skin softening in Photoshop?
- 2. Why is skin softening important in professional editing?
- 3. What are the steps involved in achieving high-end skin softening in Photoshop?
- 4. Are there any specific settings or techniques to achieve natural-looking skin softening?
- 5. Can skin softening be applied selectively to certain areas of the image?
- 6. Is skin softening only limited to fashion and glamour photography?
- 7. Are there alternative software options for achieving skin softening?
- Wrapping Up: Achieve High-End Skin Softening Like a Pro!
The Importance of Skin Softening
1. Understanding the Impact of Skin Softening
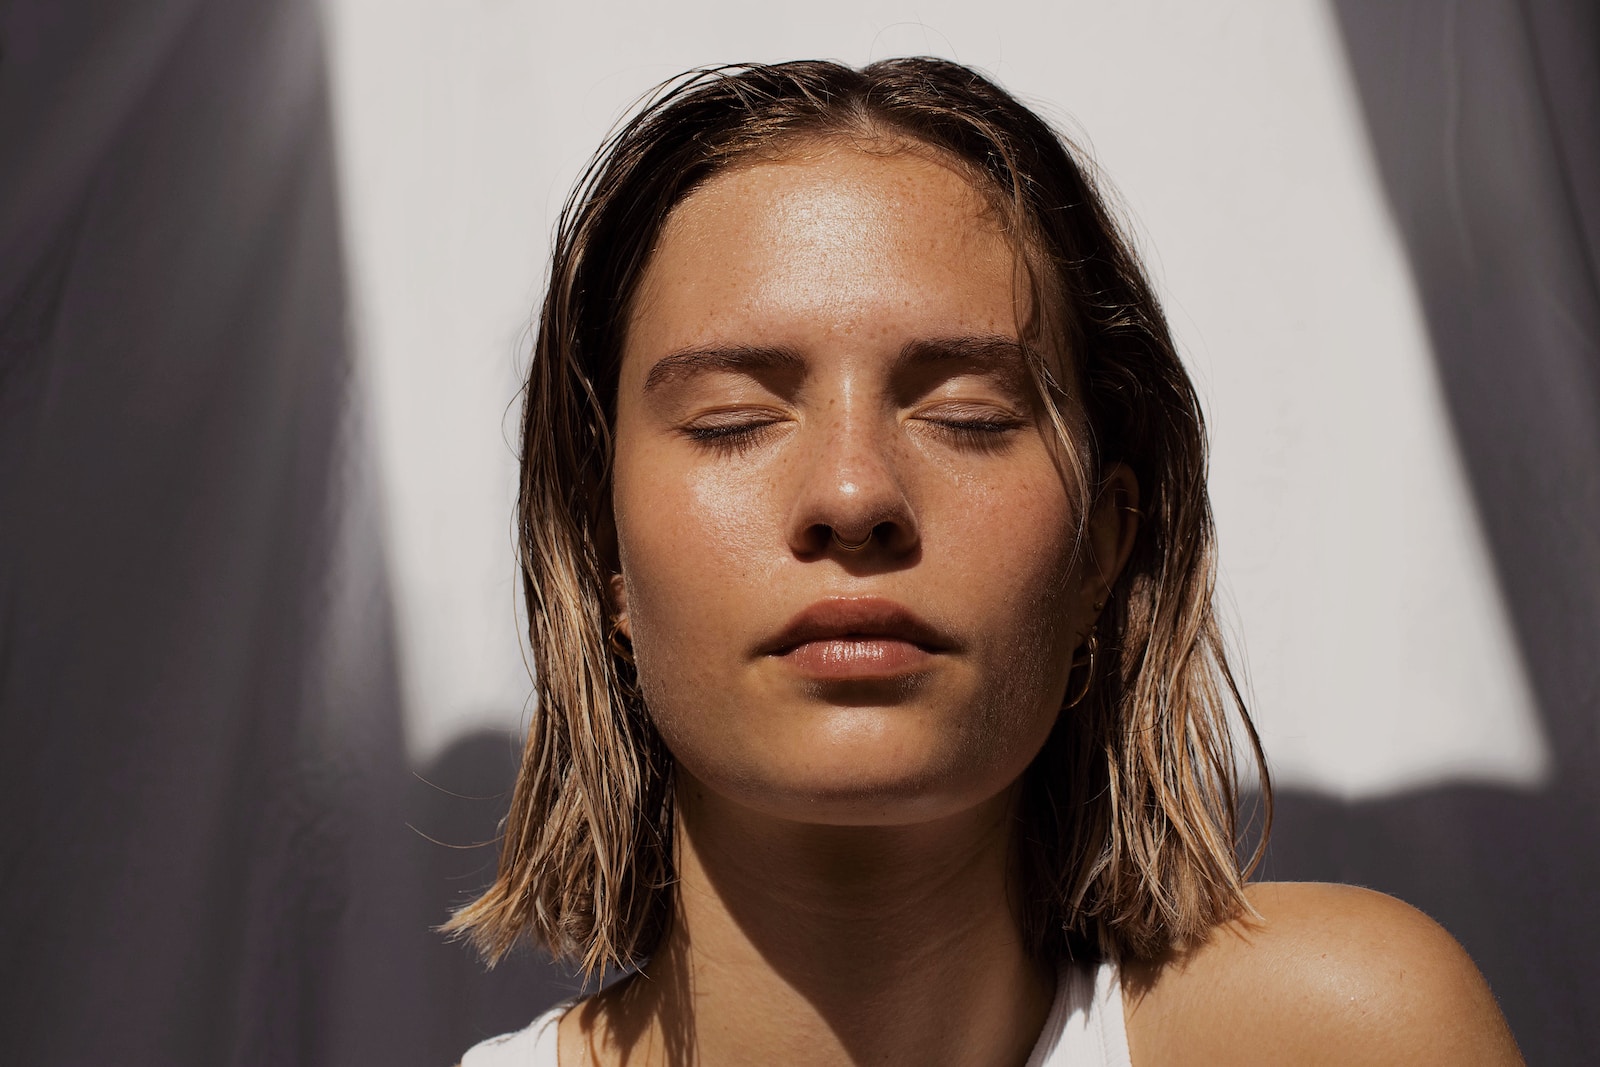
Skin softening is an essential aspect of fashion and glamour photography. It helps create a polished, flawless appearance while still maintaining natural-looking skin texture. With the right techniques, you can enhance your subject’s features and bring out their beauty, making your photos stand out from the crowd.
2. Choosing the Right Tools
Before diving into the skin softening process, it’s crucial to have the right tools at your disposal. Photoshop offers a range of powerful tools specifically designed for this purpose. From the Healing Brush to the High Pass Filter and various blend modes, understanding and utilizing these tools effectively will make your skin softening workflow smoother and more efficient.
3. Preparing Your Image
Prior to beginning the skin softening process, it’s important to properly prep your image. This involves tasks such as adjusting exposure, color balance, and cropping if necessary. By laying the groundwork with these preliminary edits, you’ll have a solid foundation to work with when it comes to achieving professional-grade results.
4. The Step-by-Step Process
Now that your image is prepared, it’s time to dive into the step-by-step process of skin softening in Photoshop. From creating a duplicate layer to utilizing layer masks, we’ll guide you through each stage and explain the rationale behind each technique. By the end, you’ll have a thorough understanding of the process and be able to seamlessly incorporate skin softening into your editing workflow.
5. Mastering Advanced Techniques
For photographers looking to take their skin softening skills to the next level, we delve into advanced techniques that can elevate your work even further. From frequency separation to dodge and burn techniques, we’ll explore methods that allow for more precise control and customization, ensuring you achieve the desired result every time.
6. Final Touches and Exporting
Once you’ve perfected the skin softening process, we’ll cover some essential final touches to ensure your image shines. From sharpening selective areas to adjusting overall tone and contrast, these finishing touches add the extra polish that makes an image truly professional. Finally, we’ll guide you through the exporting process, ensuring your images are optimized for both print and online platforms.
Skin softening has been a popular editing technique used in fashion and beauty photography since the early days of film retouching.
Get Ready to Transform Your Photos
Now that you have a comprehensive guide to high-end skin softening in Photoshop, it’s time to put your newfound knowledge into practice. As you apply these techniques and experiment with different settings, you’ll discover your own unique style and refine your editing process. With each project, you’ll see your images transform into stunning works of art. So, let’s dive in and create the flawless skin that will captivate your audience and elevate your photography to new heights.
A How-To Guide: Tips and Techniques for Skin Softening
As a fashion or glamour photographer, achieving high-end skin softening is an essential part of your editing process. When done right, it can elevate your images to a professional level, giving your subjects a flawless and radiant appearance. In this in-depth guide, we will walk you through the step-by-step process of creating professional-grade skin softening in Photoshop.
Step 1: Preparation
Before you begin the skin softening process, it is crucial to make sure that your image is properly edited and retouched. This includes adjusting the exposure, color balance, and removing any blemishes or imperfections. Once you have a clean canvas to work with, you can proceed to the next step.
Step 2: Duplicate the Background Layer
To start the skin softening process, duplicate the background layer by right-clicking on it and selecting “Duplicate Layer.” This will allow you to work non-destructively and preserve your original image.
Step 3: Apply the Gaussian Blur Filter
With the duplicated layer selected, go to the “Filter” menu, choose “Blur,” and then select “Gaussian Blur.” Adjust the Radius slider until you achieve a soft blur effect that reduces the appearance of skin imperfections while retaining important details such as eyes and lips. Remember, the goal is to create a natural-looking softening effect.
Step 4: Add a Layer Mask
Next, add a layer mask to the duplicated layer by clicking on the “Add Layer Mask” icon at the bottom of the Layers panel. This will allow you to selectively apply the skin softening effect to specific areas of the image.
Step 5: Refine Using Brush Tool
Select the Brush tool and set the foreground color to black. With the layer mask selected, paint over areas where you want to reduce the skin softening effect or bring back sharpness. You have full control over the level of softening in different areas of the image, ensuring a natural and seamless result.
Step 6: Fine-Tune with Opacity and Feathering
To further refine the skin softening effect, adjust the opacity and feathering of the layer mask. Lowering the opacity will reduce the intensity of the softening, while feathering will create a smoother transition between the softened and unsoftened areas.
Step 7: Final Touches and Exporting
After you are satisfied with the overall skin softening effect, you can make any final adjustments, such as enhancing contrast or adding subtle skin tones. Once your image is ready, export it in the desired format for web or print.
By following this step-by-step process, you can achieve high-end skin softening results in Photoshop. Remember to always use a light touch and pay attention to detail to maintain a natural and professional look. Experiment with different techniques and practice regularly to refine your skills and develop your unique editing style.
- Key takeaways:
- Prepare your image before starting the skin softening process.
- Use the Gaussian Blur filter to create a softening effect.
- Add a layer mask to selectively apply the effect.
- Refine the softening using the Brush tool, opacity, and feathering.
- Make final adjustments and export the image.
Start creating high-end skin softening in Photoshop today, and take your fashion and glamour photography to the next level!
Frequently Asked Questions
1. What is skin softening in Photoshop?
Skin softening in Photoshop is a technique used by fashion and glamour photographers to enhance the appearance of the skin, creating a smooth and flawless look.
2. Why is skin softening important in professional editing?
Skin softening plays a crucial role in professional editing as it helps to remove imperfections, reduce the visibility of wrinkles, and create a polished and high-end finish in photographs.
3. What are the steps involved in achieving high-end skin softening in Photoshop?
To achieve high-end skin softening in Photoshop, follow these steps:
- Open your image in Photoshop
- Duplicate the background layer
- Create a selection around the skin using tools like the pen tool or lasso tool
- Apply a Gaussian Blur to the selected skin area
- Add a layer mask and invert it
- Paint over the skin with a soft brush on the layer mask
- Adjust the opacity and blending mode of the layer to fine-tune the softening effect
- Make necessary adjustments like color correction, dodging, and burning
- Save your edited image
4. Are there any specific settings or techniques to achieve natural-looking skin softening?
Yes, to achieve natural-looking skin softening, it’s important to:
- Use a subtle amount of blur
- Blend the softening effect seamlessly with the surrounding areas
- Preserve skin texture and details
- Avoid over-smoothing or plastic-like appearance
- Regularly zoom out and examine the overall image to ensure a balanced result
5. Can skin softening be applied selectively to certain areas of the image?
Yes, skin softening can be applied selectively to specific areas of the image. You can use techniques like layer masks and adjustment layers to target only the skin while preserving the sharpness and details in other parts of the photograph.
6. Is skin softening only limited to fashion and glamour photography?
No, while skin softening is commonly used in fashion and glamour photography, it can also be applied to other genres such as portrait photography or any image where you want to enhance the skin’s appearance.
7. Are there alternative software options for achieving skin softening?
Yes, besides Photoshop, there are other photo editing software available that offer skin softening tools and techniques. Some popular alternatives include Adobe Lightroom, Capture One, and ON1 Photo RAW.
Wrapping Up: Achieve High-End Skin Softening Like a Pro!
In this in-depth guide, we’ve explored the step-by-step process of creating high-end skin softening in Photoshop. By following these professional editing techniques, fashion and glamour photographers can enhance the beauty of their subjects while keeping the final result natural and flawless.
Remember, the key to achieving stunning results lies in mastering the art of subtlety and maintaining the skin’s texture and details. Experiment with different techniques and settings to find the perfect balance for your desired look.
Have you tried these skin softening techniques? Share your experiences and results in the comments below! We’d love to hear from you and discuss any additional tips or tricks you’ve discovered. Don’t forget to engage with other readers and keep the conversation going. Happy editing!