Step inside the enchanting world of kaleidoscope photography and unlock a mesmerizing playground of vibrant colors, intricate patterns, and captivating reflections. In this guide, we will delve into the art of capturing kaleidoscopic wonders, revealing the secrets to optimal lighting, the best equipment to use, and the perfect angles to showcase these ethereal masterpieces. So prepare to embark on a visual journey unlike any other, as we explore the boundless beauty found Inside the Prism.
Table of Contents
- Exploring the Kaleidoscope: A World of Patterns and Colors
- Inside the Prism: Kaleidoscope Photography
- Golden Hour: A Magical Time of Day
- Nighttime Magic: Glow and Reflections
- Frequently Asked Questions
- What is kaleidoscope photography?
- What equipment do I need for kaleidoscope photography?
- How can I manipulate the lighting for kaleidoscope photography?
- What are the best angles to capture kaleidoscope photography?
- How can I enhance the colors in kaleidoscope photography?
- Can I use post-processing to enhance my kaleidoscope photos?
- Where can I find inspiration for kaleidoscope photography?
- Wrap Up
Exploring the Kaleidoscope: A World of Patterns and Colors
When it comes to capturing the beauty and magic of kaleidoscopes through photography, the possibilities are truly endless. Kaleidoscopes are not only fascinating optical instruments but also a treasure trove of patterns, colors, and reflections that can create mesmerizing images. In this guide, we will delve deep into the art of kaleidoscope photography, discussing techniques, equipment, and angles to ensure that you can harness the full potential of this captivating subject.
Optimal Lighting for Kaleidoscope Photography
The key to capturing the vibrant and intricate patterns inside a kaleidoscope lies in understanding the importance of lighting. Experimenting with different lighting conditions can dramatically transform your photographs and add an extra dimension to your images. Here are a few tips for achieving optimal lighting:
- Take advantage of natural light: Natural sunlight can provide a soft and diffused illumination, resulting in a more natural and pleasing effect.
- Use backlighting: Backlighting the kaleidoscope can create stunning silhouettes and highlights, emphasizing the intricate details within.
- Experiment with artificial lighting: By incorporating artificial light sources such as lamps or flashes, you can manipulate the colors and create unique effects.
Equipment and Angles for Kaleidoscope Photography
While kaleidoscope photography can be accomplished using various types of cameras, here are a few equipment recommendations and angle suggestions to elevate your images:
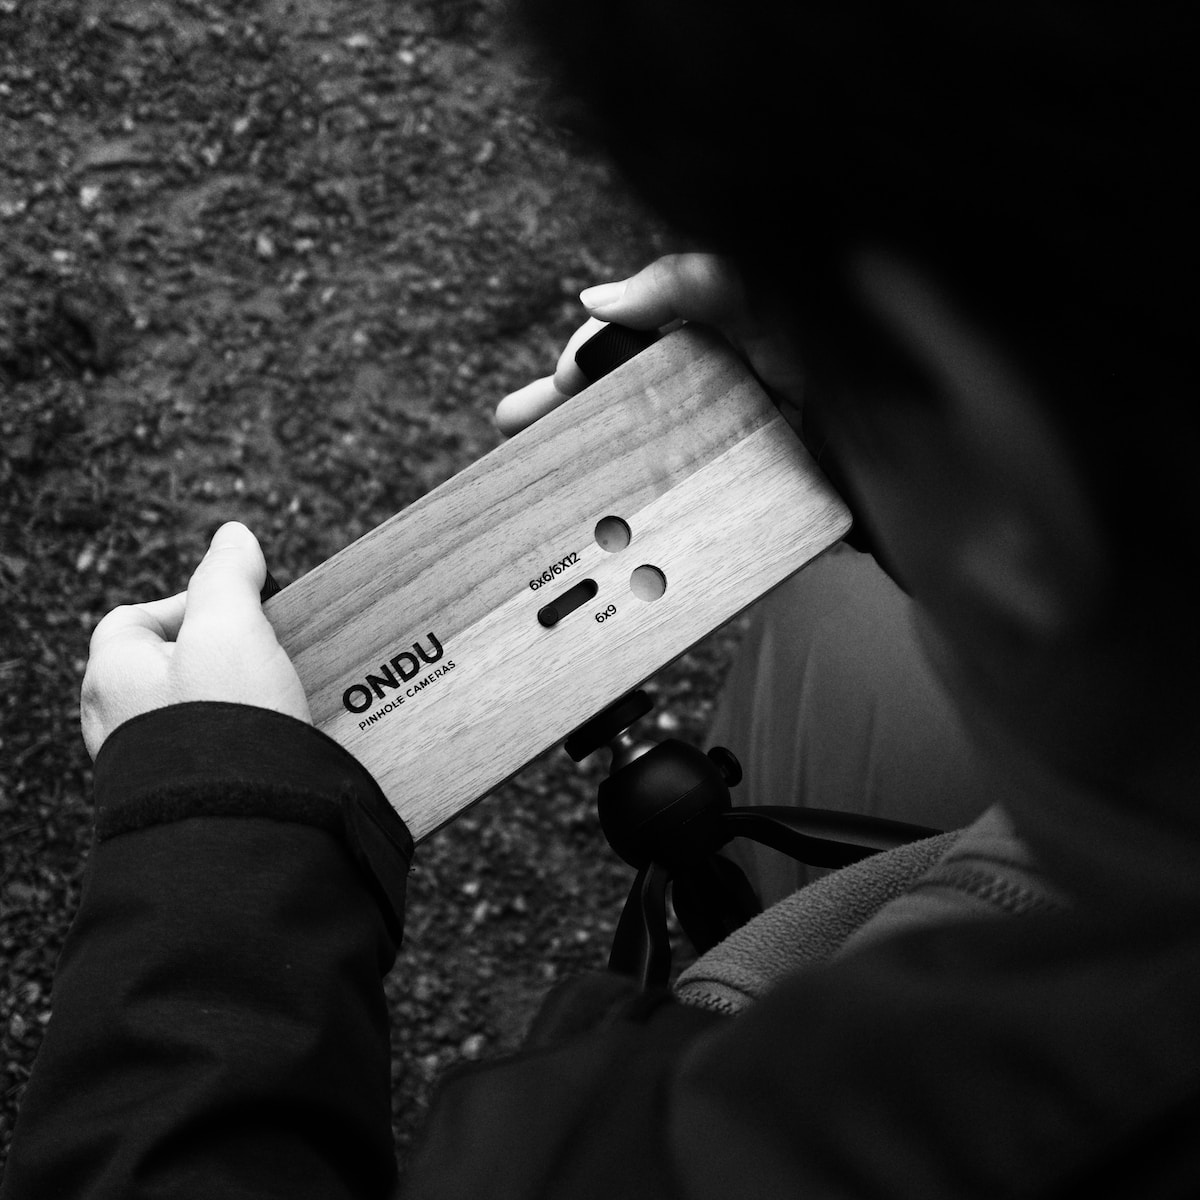
- Macro lens: Investing in a good quality macro lens will allow you to capture the intricate details and textures present within the kaleidoscope.
- Tripod: To ensure sharp and steady shots, using a tripod is highly recommended, especially when shooting with slower shutter speeds or in low light conditions.
- Experiment with angles: Rather than solely focusing on capturing the patterns inside, consider experimenting with different angles and perspectives. Shooting from above, below, or even through the kaleidoscope can yield surprising and stunning results.
Remember, the beauty of kaleidoscope photography lies not only in the intricate patterns but also in the endless creative possibilities it offers. Don’t be afraid to let your imagination soar and experiment with different techniques, compositions, and post-processing effects. By embracing the kaleidoscope’s allure, you will uncover a magnificent realm of vibrant colors and mesmerizing patterns, enabling you to capture truly captivating images.
Did you know that the word "kaleidoscope" comes from the Greek words "kalos" (beautiful), "eidos" (form), and "skopein" (to look at)? It's no wonder this optical instrument creates such mesmerizing patterns and reflections!
Inside the Prism: Kaleidoscope Photography
Welcome to “Inside the Prism: Kaleidoscope Photography,” the ultimate guide to capturing the mesmerizing and captivating world of kaleidoscopes through the lens of your camera. In this section, we will delve into the essential camera equipment necessary for achieving outstanding kaleidoscope photographs. From cameras to lenses and additional accessories, we have you covered.
The Perfect Camera
When it comes to kaleidoscope photography, any camera with manual settings will suffice. However, if you want to take your images to the next level, consider investing in either a DSLR or a mirrorless camera. These types of cameras provide you with more control over your settings, enabling you to capture the intricate patterns and vibrant colors with precision.
DSLR cameras offer the advantage of interchangeable lenses, allowing you to experiment with different focal lengths to create varying perspectives. Conversely, mirrorless cameras are more compact and lightweight, making them ideal for on-the-go photography sessions.
The Right Lens
When choosing a lens for kaleidoscope photography, wide-angle lenses and macro lenses are highly recommended. Wide-angle lenses allow you to capture the full spectrum of colors and patterns within the kaleidoscope, offering a breathtaking panoramic view. Moreover, they provide a sense of depth and allow for more creative compositions.
On the other hand, macro lenses are perfect for capturing intricate details and close-up shots of the kaleidoscope patterns. These lenses enable you to zoom in on the small, intricate elements that make kaleidoscopes so captivating, highlighting the delicate designs and intricate reflections.
In addition to your primary lens choice, consider experimenting with a telephoto lens. This will allow you to focus on specific details within the kaleidoscope, isolating individual patterns or reflections for a more abstract approach.
Tripods and Filters
While not compulsory, incorporating a tripod into your kaleidoscope photography workflow can greatly enhance the sharpness and clarity of your images. A tripod provides stability, reducing camera shake and allowing for longer exposures without fear of blurriness.
Filters can also add an extra dimension to your kaleidoscope photographs. Experiment with polarizing filters to control reflections and minimize glare or use neutral density filters to lengthen exposure times, capturing the movement and fluidity of the patterns.
In conclusion, the perfect camera for kaleidoscope photography is one that allows for manual settings, providing you with the flexibility to control every aspect of your image. When it comes to lenses, wide-angle and macro lenses are ideal for capturing the stunning patterns and intricate reflections. Additionally, tripods and filters can further enhance your results, enabling you to achieve sharper images and adding creative flair to your compositions.
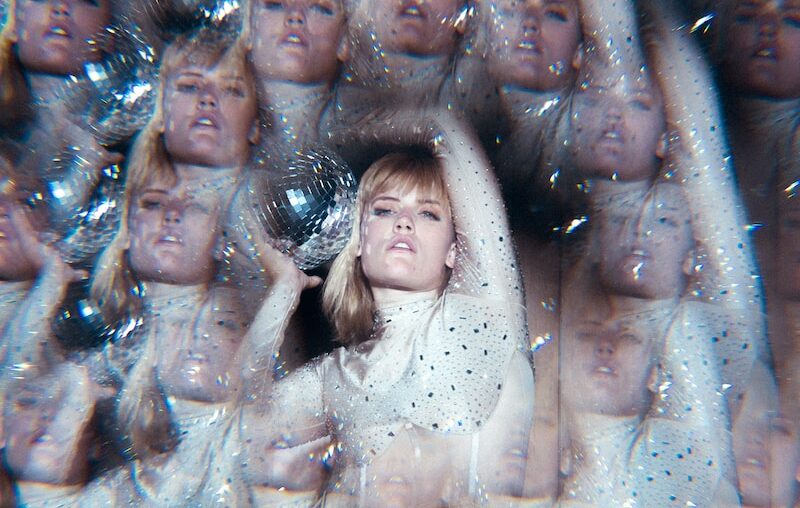
Golden Hour: A Magical Time of Day
One of the most enchanting times to capture kaleidoscope photography is during the golden hour. This refers to the period shortly after sunrise or before sunset when the light is soft, warm, and diffused. The orange and golden hues cast a captivating glow on the world, enhancing the colors and patterns within the kaleidoscope.
During this time, the sun is low on the horizon, creating long, soft shadows that add depth and dimension to your compositions. The gentle light also reduces the intensity of reflections, allowing you to capture the intricate details without distractions.
To make the most of the golden hour, position yourself towards the sun, so that the kaleidoscope is bathed in the glorious light. Experiment with different angles and compositions to capture the interplay between light and glass, resulting in mesmerizing images that evoke a sense of wonder.
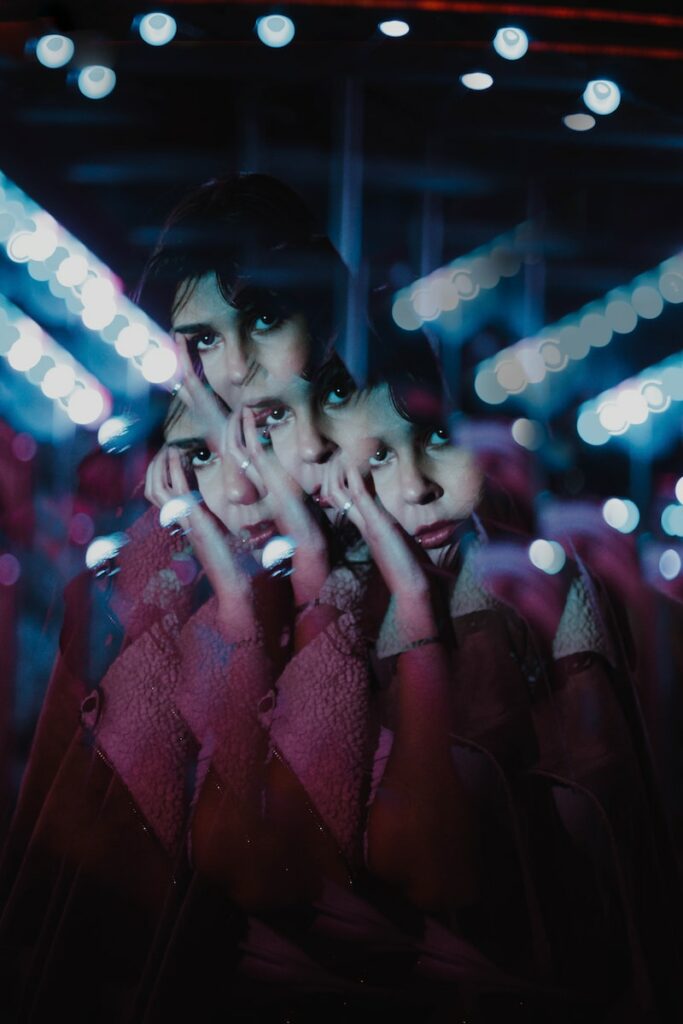
Nighttime Magic: Glow and Reflections
Another fascinating time to explore kaleidoscope photography is during the nighttime. When darkness envelops the world, the brilliant glow of artificial lights provides a unique opportunity to capture kaleidoscopic colors and patterns.
Look for well-lit areas with interesting objects or landscapes that can serve as the backdrop for your kaleidoscope. Cityscapes, amusement parks, or even a cluster of glowing lanterns can offer a wealth of vibrant reflections and intricate details.
Position yourself to capture the layers of reflections that emerge when the kaleidoscope intersects with the surrounding lights. Play with different exposures and shutter speeds to capture both the sparkle of the glass and the multi-faceted patterns created by the light.
Remember to stabilize your camera, as low light conditions can lead to blurry images. Utilizing a tripod or finding a stable surface to rest your camera on will ensure the sharpness of the details and create stunning visual effects.
In conclusion, the best time to capture kaleidoscope photography is during the golden hour and at nighttime. Each time of day offers a distinct atmosphere and a unique interplay of light and color. Experiment with different angles, compositions, and exposures to unlock the full potential of kaleidoscopes and their mesmerizing patterns.
When shooting kaleidoscope photography, use a tripod to ensure steady and sharp images. A tripod will help stabilize your camera in low-light settings and allow you to experiment with longer exposure times. This will result in capturing more intricate patterns and details in your kaleidoscope images. So, don't forget to pack your trusty tripod for your kaleidoscope photography adventures!
Frequently Asked Questions
What is kaleidoscope photography?
Kaleidoscope photography is a technique that captures the intricate patterns and vibrant colors created by looking through a kaleidoscope. It offers a unique way to explore and create abstract images.
What equipment do I need for kaleidoscope photography?
To capture stunning kaleidoscope photography, you will need a DSLR or mirrorless camera with manual controls, a tripod for stability, and a macro lens to capture the intricate details of the patterns. It is also useful to have a remote shutter release for better control.
How can I manipulate the lighting for kaleidoscope photography?
Experimenting with lighting is crucial for kaleidoscope photography. Use natural light whenever possible, positioning the kaleidoscope near a window or in a well-lit room. You can also use artificial lighting sources such as lamps or LED panels to create different effects and enhance reflection and color saturation.
What are the best angles to capture kaleidoscope photography?
When photographing through a kaleidoscope, try different angles to find the most captivating compositions. Get just close enough to capture the details, and experiment with changing the orientation and tilting of the kaleidoscope to create unique perspectives and patterns.
How can I enhance the colors in kaleidoscope photography?
To enhance the colors in your kaleidoscope photographs, pay attention to the background and backdrop. Use colored fabrics or papers to create a visually appealing contrast that amplifies the colors and patterns created by the kaleidoscope.
Can I use post-processing to enhance my kaleidoscope photos?
Absolutely! Post-processing can help enhance the colors, contrast, and overall impact of your kaleidoscope photographs. Use a photo editing software such as Adobe Photoshop or Lightroom to adjust the brightness, saturation, and sharpness of your images. Experiment with different filters and effects to add a unique touch to your photos.
Where can I find inspiration for kaleidoscope photography?
Finding inspiration for kaleidoscope photography can be as simple as observing the world around you. Look for interesting patterns, colors, and reflections in everyday objects, nature, or architectural elements. You can also explore online photo galleries, art websites, and social media platforms to discover the work of other photographers specializing in abstract and kaleidoscope photography.
Wrap Up
In conclusion, kaleidoscope photography is a mesmerizing art form that allows you to capture stunning patterns and reflections. By following the tips and techniques discussed in this guide, you can bring out the true beauty of kaleidoscopes in your photographs.
Remember to experiment with lighting, angles, and different equipment to create unique and captivating images. Whether you’re a beginner or an experienced photographer, the world of kaleidoscope photography offers limitless possibilities for creativity and exploration.
We hope this guide has inspired you to embark on your own kaleidoscope photography journey. Share your experiences and photographs in the comments below, and don’t forget to engage with other readers to exchange tips and advice. Happy shooting!