Welcome to “Kites in the Sky – How to Shoot them Right,” a comprehensive guide to capturing the vibrant beauty and thrilling action of kite photography. Whether you’re a seasoned photographer or a hobbyist looking to explore new outdoor photography adventures, this blog is your go-to resource. Join us as we delve into the techniques, equipment tips, and optimal weather conditions to help you master the art of capturing kites soaring through the sky, bringing their delightful colors to life in every frame.
Table of Contents
- Kites in the Sky – How to Shoot them Right
- Choosing the Right Equipment for Kite Photography
- Best Time for Capturing Spectacular Kite Photos
- Frequently Asked Questions
- 1. What is kite photography?
- 2. How do I choose the right kite for photography?
- 3. What camera settings should I use for kite photography?
- 4. What are the optimal weather conditions for kite photography?
- 5. How can I capture vibrant colors in my kite photos?
- 6. What safety precautions should I take when flying a kite for photography?
- Wrap Up
Kites in the Sky – How to Shoot them Right
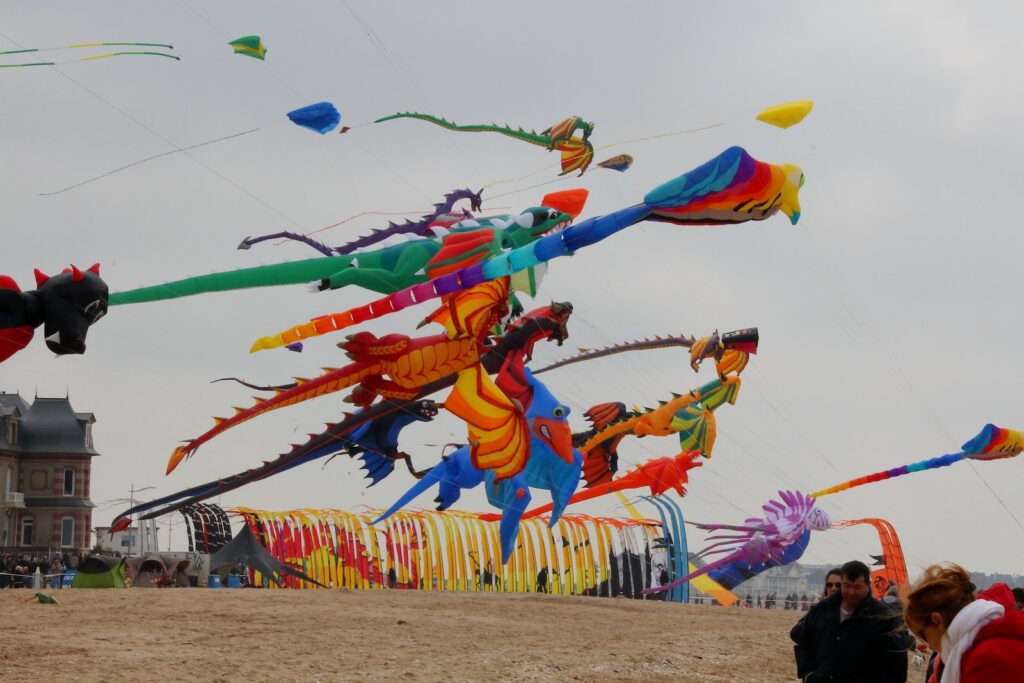
When it comes to capturing the beauty and excitement of outdoor activities, kites in the sky make for an incredible subject. From the vibrant colors to the dynamic movement, kite photography offers photographers an opportunity to capture stunning and unique images. In this blog, we will discuss some key tips and techniques to help you shoot kites in the sky right and make your photographs stand out.
The Perfect Shutter Speed
One of the first things to consider when photographing kites is the shutter speed. To freeze the motion of the kites in the sky, you need a fast shutter speed. Start with a speed of at least 1/1000th of a second to ensure sharp and crisp images. However, experiment with different shutter speeds to add a sense of motion to your photographs. Slower shutter speeds, like 1/250th of a second, can create a beautiful blur effect, emphasizing the movement of the kites in the wind.
Additionally, don’t be afraid to use burst mode or continuous shooting to capture multiple frames in quick succession. This will increase your chances of getting that perfect shot when the kites are at their most dynamic and visually appealing positions.
Optimal Weather Conditions
Weather conditions play a significant role in kite photography. Look for days with clear blue skies and fluffy white clouds. These conditions provide a stunning backdrop for your kite photographs, creating a sense of vibrancy and depth. Make sure to plan your shoot during the golden hours—just after sunrise or before sunset. The warm, soft light during these times will enhance the colors of the kites and add a magical touch to your images.
Wind direction and speed are also crucial factors to consider. Aim to shoot on days when the wind is strong enough to keep the kites aloft and moving gracefully, but not too strong as to cause them to move erratically. This balance ensures you capture both the stability and the fluidity of the kites’ movements.
Lastly, don’t forget about safety. Check the local regulations on flying kites and ensure you are in a safe location away from power lines and other potential hazards. This will allow you to focus on capturing stunning photographs without any worries.
To summarize, kite photography is all about finding the perfect balance between freezing the motion of the kites with a high shutter speed and capturing the graceful movement with a slower shutter speed. It’s important to choose optimal weather conditions with clear skies and beautiful lighting. By following these tips, you’ll be well on your way to capturing vibrant and dynamic images of kites in the sky.
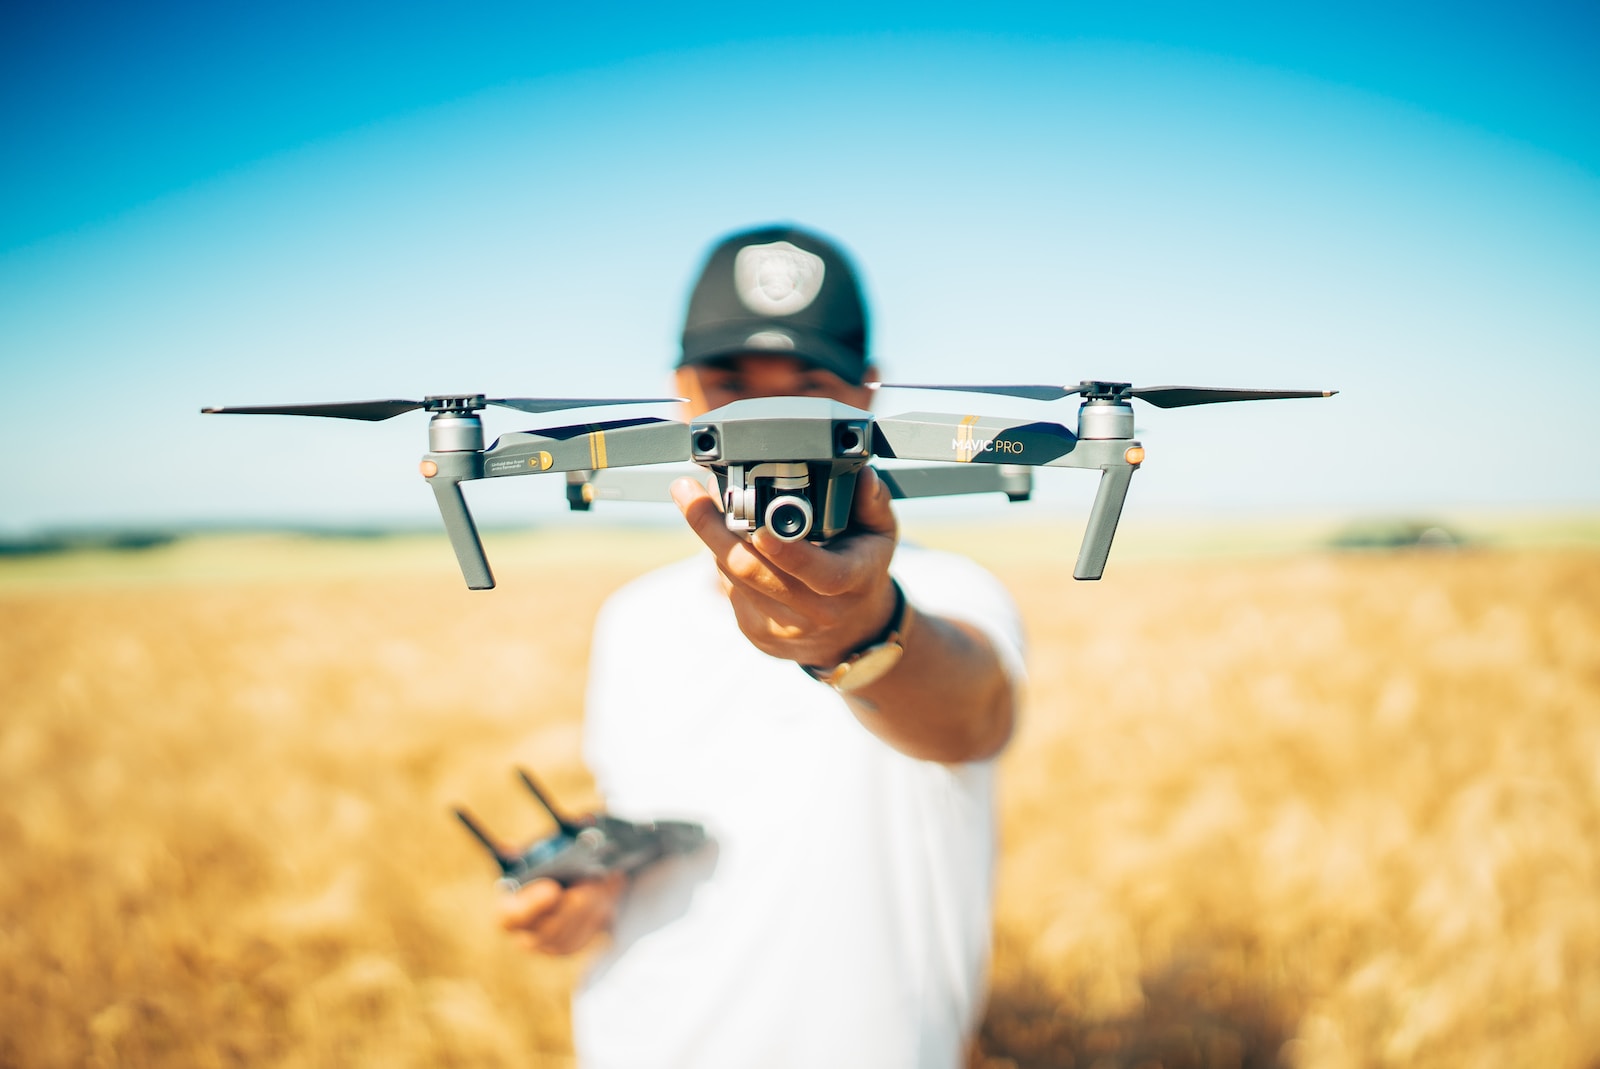
Did you know that kite photography has been around for over 100 years? In the early 1900s, photographers used kites to capture aerial shots before drones were even a concept.
Choosing the Right Equipment for Kite Photography
When it comes to capturing the beauty and excitement of kites in the sky, having the right photography equipment can make all the difference. In this section, we’ll explore the key camera, lenses, and other equipment options that will help you get the best shots of these vibrant flying objects.
Camera Options
When selecting a camera for kite photography, there are a few important factors to consider. First, you’ll want a camera with a fast shutter speed to capture the fast-moving kites without any blurring. A camera with manual controls will also allow you to fine-tune settings to achieve the desired effect. Additionally, a camera with a burst mode can help capture multiple shots in quick succession, allowing you to choose the perfect frame later on.
For enthusiasts and professionals, a digital single-lens reflex (DSLR) camera is a popular choice. They offer high image quality, interchangeable lenses, and advanced control over settings. However, they can be bulky and expensive. If you prefer something more compact and lightweight, consider a mirrorless camera. These cameras offer similar image quality and versatility, with the added benefit of being easier to carry around.
Lens Options
When it comes to lenses for kite photography, versatility is key. A wide-angle lens can capture the entire scene, making it great for capturing expansive landscapes with kites soaring above. On the other hand, a telephoto lens allows you to zoom in on the kites, capturing intricate details and expressions on the faces of kite-flyers.
For those on a budget, a versatile zoom lens, such as an 18-55mm or 18-135mm, can be a great option. This type of lens covers a wide range of focal lengths and is suitable for various shooting situations. For photographers who prioritize image quality and have a larger budget, prime lenses offer excellent sharpness and low light performance. A 50mm or 85mm prime lens can produce stunning images with beautiful bokeh, ideal for capturing vibrant colors against a blurred background.
Other Equipment:
- A sturdy tripod can be a valuable asset, especially when shooting in low light or at slower shutter speeds. It helps keep the camera stable, reducing the risk of blurry images.
- A remote shutter release or cable release can minimize camera shake when capturing photos, ensuring maximum sharpness.
- A polarizing filter can help reduce glare from the sky and emphasize the vibrant colors of the kites.
- A camera bag or backpack with sufficient padding can protect your gear and make it easier to transport.
In summary, choosing the right camera, lenses, and equipment for kite photography depends on your preferences, budget, and the type of shots you want to capture. Remember to consider the different features and benefits of each option to make an informed decision. Once you have your gear ready, you’ll be one step closer to capturing stunning photos of kites soaring in the sky.
Best Time for Capturing Spectacular Kite Photos
When it comes to kite photography, choosing the right time of year can greatly enhance your chances of capturing stunning shots. While kites can be seen flying year-round in some regions, there are certain seasons that offer optimal conditions. Spring and summer tend to be the best times to find kites filling the sky, as these seasons typically bring ideal weather and more frequent kite festivals or events.
During these months, the weather is often clearer and brighter, providing excellent lighting conditions for outdoor photography. The longer days also give you more time to experiment with different angles and compositions. Additionally, spring and summer are synonymous with vibrant colors, making your kite photos even more visually appealing.
Finding the Perfect Vantage Points
To capture the true beauty and majesty of kites in flight, it’s crucial to choose the right vantage points. Here are three options for you to consider, each offering its own unique benefits:
- Beaches and Waterfronts: Head to your nearest coastal location or a lakefront to take advantage of the vast open skies. With the water as a backdrop, you can frame the kites against the serene beauty of the ocean or the tranquil calmness of a lake. The reflections on the water can add an extra touch of magic to your shots.
- Parks and Open Fields: Public parks and wide open fields are fantastic vantage points for photographing kites. The open spaces provide unobstructed views and plenty of room for the kites to soar. Look for parks with gently sloping hills, as being slightly higher than the kites can help you capture more dynamic shots. Additionally, the lush greenery and colorful flowers found in many parks can add an extra element of beauty to your photographs.
- Rooftops and Elevated Locations: For a different perspective, consider scouting for elevated viewpoints such as rooftops or hills. Being elevated allows you to capture kites from above, giving a unique and eye-catching view. Look for buildings or structures that provide a safe and secure platform for your photography. Just be sure to check any regulations or permissions required to access these locations.
Each of these vantage points presents its own opportunities. Experiment with different options to find the one that suits your style and the type of photos you wish to capture. Remember, the more unique and creatively you approach your shots, the more your photos will stand out in the sea of kite photography.
Ultimately, as a photographer, your creativity and vision play a significant role in capturing remarkable kite photos. Combine your knowledge of optimal weather conditions, understanding of shutter speed, and the joy of vibrant colors to create stunning images that truly showcase the magic of kites in the sky.
One helpful tip for capturing stunning kite photography is to use a fast shutter speed. This will freeze the motion of the kites in the sky, resulting in sharp and detailed images. Experiment with shutter speeds above 1/1000th of a second to ensure crisp shots. Remember, a fast shutter speed also helps to capture vibrant colors and preserve the dynamic action of kite flying. Happy shooting!
Frequently Asked Questions
1. What is kite photography?
Kite photography is a unique form of outdoor photography where photographers use kites equipped with cameras to capture stunning aerial shots. It allows you to get creative perspectives and capture images from high above.
2. How do I choose the right kite for photography?
When selecting a kite for photography, consider its stability and lifting capacity. Look for kites designed for aerial photography with a stable frame and good wind resistance. Additionally, choose a kite that can support the weight of your camera equipment.
3. What camera settings should I use for kite photography?
For kite photography, set your camera to Aperture Priority or Manual mode. Use a fast shutter speed to freeze the motion of the kite and prevent blur. Experiment with different aperture settings to achieve the desired depth of field. Additionally, adjusting your ISO can help you capture vibrant colors in different lighting conditions.
4. What are the optimal weather conditions for kite photography?
The best weather conditions for kite photography are moderate winds, preferably between 8 to 15 mph. Avoid extremely windy days, as they can make it harder to control the kite. It’s also essential to choose a day with clear skies and good visibility to capture crisp and vibrant images.
5. How can I capture vibrant colors in my kite photos?
To capture vibrant colors in your kite photos, pay attention to the lighting conditions. Shoot during the golden hours, which is the hour after sunrise or the hour before sunset, to take advantage of soft and warm light. Adjust your white balance setting according to the surrounding colors, and consider post-processing techniques to enhance the colors further.
6. What safety precautions should I take when flying a kite for photography?
When flying a kite for photography, remember to be mindful of your surroundings. Avoid flying near power lines, buildings, or crowded areas. Use a sturdy kite line and ensure it is securely attached to your kite and the ground. Always fly in open spaces with minimal obstructions and take necessary precautions to prevent accidents.
Wrap Up
In conclusion, capturing the beauty and energy of kites in the sky is a thrilling experience for any photographer. By following the tips shared in this blog, you can master the art of kite photography and create captivating images that truly do justice to these colorful and vibrant subjects.
Remember to pay attention to shutter speed, choose optimal weather conditions, and experiment with different angles and compositions to create unique and dynamic shots. Don’t be afraid to embrace the action and the vibrant colors that kites bring to the sky.
If you have any questions or additional tips to share, please leave a comment below. Let’s engage in a conversation and inspire each other to push our photography skills to new heights. Happy shooting!