Welcome to my blog where we dive into the fascinating world of color grading using the powerful software, Davinci Resolve. Whether you are a seasoned video editor or just starting out, mastering color grading is essential for creating cinematic visual storytelling. In this blog, we will explore the ins and outs of color grading techniques, tips, and tricks in Davinci Resolve, to help you take your videos to the next level.
Table of Contents
- The Importance of Color Grading
- Getting Started with Davinci Resolve
- Mastering Color Grading in DaVinci Resolve: A Comprehensive Guide
- Frequently Asked Questions
- 1. What is color grading?
- 2. Why is color grading important in video editing?
- 3. How can I master color grading in DaVinci Resolve?
- 4. Are there any specific color grading techniques to achieve a cinematic look?
- 5. Can color grading be done on any video editing software?
- 6. Is DaVinci Resolve a free software?
- 7. Can I use DaVinci Resolve for video editing in addition to color grading?
- 8. Are there any resources to further improve my color grading skills?
- Wrap Up
The Importance of Color Grading
Enhancing the Mood
Color grading is not just about correcting the color balance in your videos; it is about evoking emotions and setting the mood. By manipulating the color temperature, saturation, and contrast, you can enhance the atmosphere and communicate a particular tone to your audience. Whether you want to create a warm and inviting setting or a cold and desolate landscape, color grading can help you achieve these effects.
Creating Cinematic Appeal
When we watch movies, we are often captivated by the cinematic visuals that transport us into a different world. Color grading plays a significant role in creating that immersive experience. By utilizing unique color palettes, contrast adjustments, and filmic looks, you can give your videos a professional and cinematic appeal.
Guiding the Narrative
Colors can be powerful storytelling tools. They can signify time, mood, and even characters’ development. Through color grading, you can guide your audience’s attention, create visual hierarchy, and reinforce the narrative. Imagine using warmer tones during nostalgic flashbacks or desaturated colors during intense climactic scenes. These color choices can enhance the storytelling and keep your viewers engaged.
Getting Started with Davinci Resolve
Understanding the Interface
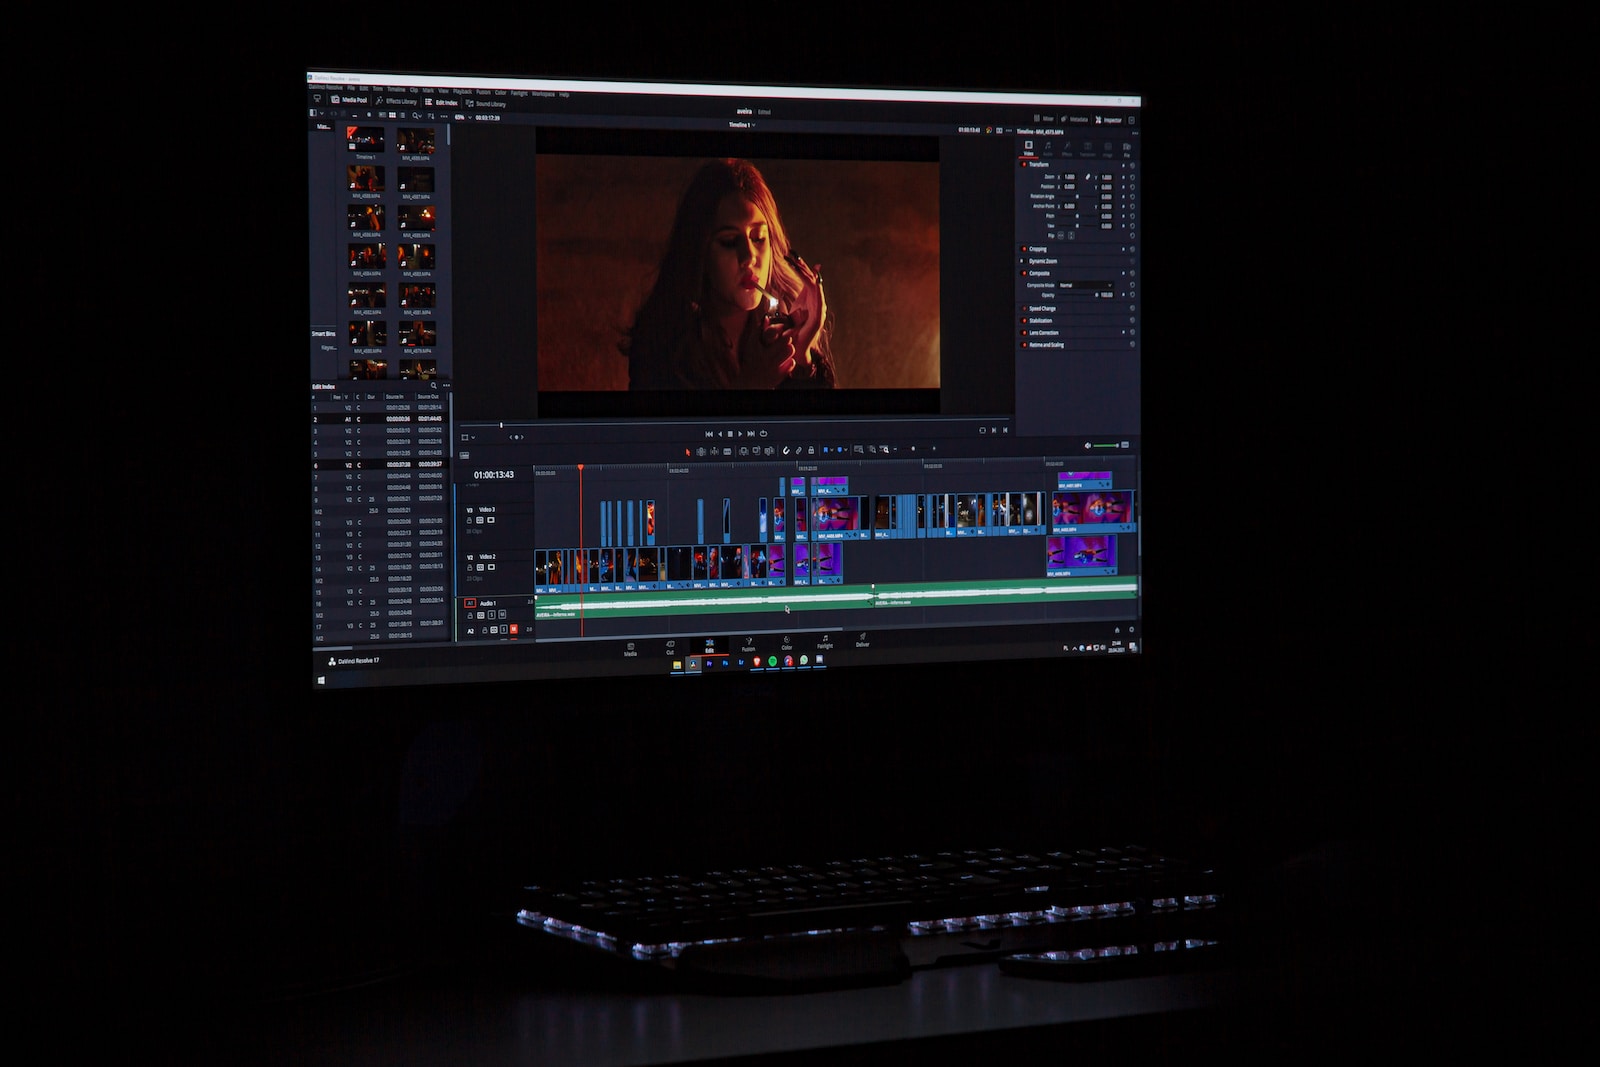
Before diving into color grading, it’s essential to familiarize yourself with the Davinci Resolve interface. Spend some time exploring the various panels, such as the media pool, timeline, and node editor. Understanding how to navigate the software efficiently will save time and allow you to focus on the creative aspects of color grading.
Organizing Your Workflow
Efficient color grading requires an organized workflow. Start by importing your footage into Davinci Resolve and creating separate timelines for each sequence or scene. This way, you can easily access and make adjustments to specific parts of your video without cluttering the interface. Additionally, consider using nested timelines for complex projects to keep everything manageable.
Utilizing Primary Color Grading
Primary color grading is the foundation of the color grading process. It involves adjusting the overall tonal balance, exposure, and contrast of your footage. Through the use of the primary color grading tools in Davinci Resolve, such as the color wheels, curves, and sliders, you can achieve the desired look and balance in your videos.
Secondary Color Grading
Once you have completed the primary color grading, you can move on to the secondary color grading stage. This involves making targeted adjustments to specific areas of your footage using masks, qualifiers, and tracking. By isolating and manipulating specific colors, you can create visual effects, correct imperfections, or even change the color of a particular object within your video.
Creating a Consistent Look
Consistency is key when it comes to color grading. By creating a custom Look or utilizing pre-made LUTs (Look-Up Tables), you can establish a cohesive visual style throughout your entire video or even an entire project. This ensures that each shot seamlessly blends into the next, enhancing the overall viewing experience.
Did you know that DaVinci Resolve was initially developed by Da Vinci Systems, a company known for its high-end film and video image processing products, before being acquired by Blackmagic Design?
Utilizing Power Windows
Power windows are an incredibly powerful feature in Davinci Resolve. They allow you to selectively apply color grading adjustments to specific areas of your footage. Whether you want to brighten a subject’s face, darken the background, or create a vignette effect, power windows give you precise control over where you want the color grading to be applied.
By mastering color grading in Davinci Resolve, you can elevate your videos to cinematic levels, effectively communicate your story, and captivate your audience. Whether you’re a filmmaker, content creator, or simply someone passionate about video editing, understanding color grading techniques and leveraging the power of Davinci Resolve will take your visuals to new heights. So, grab your footage, open Davinci Resolve, and let’s embark on this color grading journey together!
Mastering Color Grading in DaVinci Resolve: A Comprehensive Guide
Are you an aspiring filmmaker or video editor looking to enhance the visual appeal of your videos? Look no further! In this comprehensive guide, we will delve into the world of color grading and explore the ins and outs of using DaVinci Resolve to create cinematic visual storytelling.
The Power of Color Grading
Color grading is a crucial step in the post-production process that can truly transform the look and feel of your videos. It allows you to manipulate colors, tones, and hues to evoke specific emotions and enhance the overall storytelling experience. Whether you want to create a warm and nostalgic atmosphere or a cold and gritty ambiance, color grading is the key to achieve your desired effect.
Now, let’s dive into the world of DaVinci Resolve, a powerful and versatile color grading software that professionals and enthusiasts alike rely on to achieve stunning visuals.
Davinci Resolve: Unleash Your Creativity
DaVinci Resolve is a feature-packed software that not only offers robust color grading capabilities but also serves as a comprehensive editing and post-production tool. With its intuitive interface and advanced features, it has become the go-to choice for many filmmakers and video editors.
One of the standout features of DaVinci Resolve is its node-based color grading system. Nodes allow you to build complex color grading workflows, enabling more precise control over your footage. From basic adjustments like exposure and contrast to advanced techniques like color matching and secondary color correction, the possibilities are endless with DaVinci Resolve.
Getting Started with Color Grading in DaVinci Resolve
Now that we have a brief overview of DaVinci Resolve, let’s dig deeper into how you can master color grading in this powerful software. Follow these steps to begin your journey:
- Import Your Footage: Start by importing your video clips into DaVinci Resolve. Organize your media library and ensure seamless access to your footage.
- Understand Your Footage: Before diving into color grading, it is essential to analyze your footage. Pay attention to the lighting, composition, and overall visual style, as this will guide your color grading decisions.
- Set the Mood: Determine the mood or atmosphere you want to create in your video. Choose a color scheme or palette that aligns with your storytelling objectives.
- Primary Color Corrections: Start by making primary color corrections to your footage. Adjust exposure, white balance, and contrast to achieve a well-balanced image.
- Secondary Color Corrections: Dive deeper into color grading by applying secondary color corrections. Isolate specific areas of your footage and manipulate their colors to enhance visual storytelling.
- Add Creative Looks: Experiment with different looks and styles to add a creative touch to your footage. DaVinci Resolve offers a wide range of preset LUTs (Look-Up Tables) and customizable grading options to help you achieve your desired look.
- Refine and Fine-Tune: Take a step back and review your graded footage. Make any necessary adjustments to ensure consistency and cohesiveness throughout your video.
- Export and Share: Once you are satisfied with your color grading, export your final video in the desired format and share your masterpiece with the world!
By following these steps and unleashing your creativity in DaVinci Resolve, you can elevate your videos to new heights and create visually stunning cinematic experiences.
Start your color grading journey today and unlock the true potential of your videos with DaVinci Resolve. Happy grading!
Frequently Asked Questions
1. What is color grading?
Color grading is the process of adjusting and enhancing the colors and tones of a video to achieve a desired look or style. It involves manipulating aspects such as brightness, contrast, saturation, and hue to create a cinematic visual storytelling experience.
2. Why is color grading important in video editing?
Color grading plays a crucial role in video editing as it helps set the mood, enhance the narrative, and evoke certain emotions from the viewers. It adds depth and visual interest to your videos, elevating them to a more professional and polished level.
3. How can I master color grading in DaVinci Resolve?
To master color grading in DaVinci Resolve, start by familiarizing yourself with the software’s tools and features. Experiment with different adjustments and techniques, and practice on various types of footage. Additionally, seek out tutorials, online courses, or workshops that can provide valuable insights and guidance.
4. Are there any specific color grading techniques to achieve a cinematic look?
Yes, there are several techniques you can employ to achieve a cinematic look in your videos. These include adjusting the color temperature, creating a pleasing color contrast, using targeted color grading to emphasize certain elements, and adding filmic grain or texture for a vintage aesthetic.
5. Can color grading be done on any video editing software?
Yes, color grading can be done on various video editing software. However, DaVinci Resolve is particularly renowned for its advanced and powerful color grading capabilities. It offers a wide range of tools and options that cater to both beginners and professionals alike.
6. Is DaVinci Resolve a free software?
Yes, DaVinci Resolve is available in both free and paid versions. The free version, DaVinci Resolve 17, provides robust color grading and editing features, making it a popular choice among amateurs and independent filmmakers. The paid version, DaVinci Resolve Studio, offers additional advanced tools and functionalities.
7. Can I use DaVinci Resolve for video editing in addition to color grading?
Absolutely! DaVinci Resolve is a comprehensive video editing software that incorporates color grading as one of its key features. It allows you to import, edit, and export your videos, as well as apply professional-grade color grading techniques to enhance your final product.
8. Are there any resources to further improve my color grading skills?
Yes, there are various resources available to help you further improve your color grading skills. These include online forums, communities, and social media groups where you can connect with fellow colorists, as well as websites and YouTube channels dedicated to providing tutorials, tips, and industry insights.
Wrap Up
Mastering color grading is a crucial skill for any video editor, and DaVinci Resolve is a powerful tool that can help you achieve stunning cinematic results. By understanding the fundamentals of color grading and utilizing the features and tools provided by DaVinci Resolve, you can take your videos to the next level and tell visually captivating stories.
Remember, practice makes perfect, so don’t be discouraged if your first attempts don’t meet your expectations. Keep experimenting, learning, and refining your skills. With dedication and perseverance, you’ll become a color grading master in no time.
Have you tried color grading in DaVinci Resolve? What challenges have you faced? Share your thoughts and experiences in the comments section below. Let’s connect and continue the conversation!