Welcome to “Peeling Back Layers: Revealing Light Techniques in Macro Photography”! In this blog, we will delve into the fascinating world of macro photography, exploring the intricate details and capturing the unseen beauty that lies within. Join us as we uncover the essential role that light plays in crafting exceptional macro photographs and discover valuable tips and techniques for manipulating and harnessing the power of light to create stunning imagery.
Table of Contents
- The Importance of Lighting in Macro Photography
- Tips for Creating Detailed Imagery
- Capturing Close-Up Photography with Creativity
- The Power of Lighting Techniques in Macro Photography
- Frequently Asked Questions
- 1. What is macro photography?
- 2. Why is lighting crucial in macro photography?
- 3. What are some essential lighting techniques for macro photography?
- 4. How can I manipulate light to create detailed imagery in macro photography?
- 5. What are some tips for capturing stunning close-up photographs?
- 6. Where can I find inspiration for my macro photography?
- 7. Are there any specific camera settings for macro photography?
- Wrap Up
The Importance of Lighting in Macro Photography
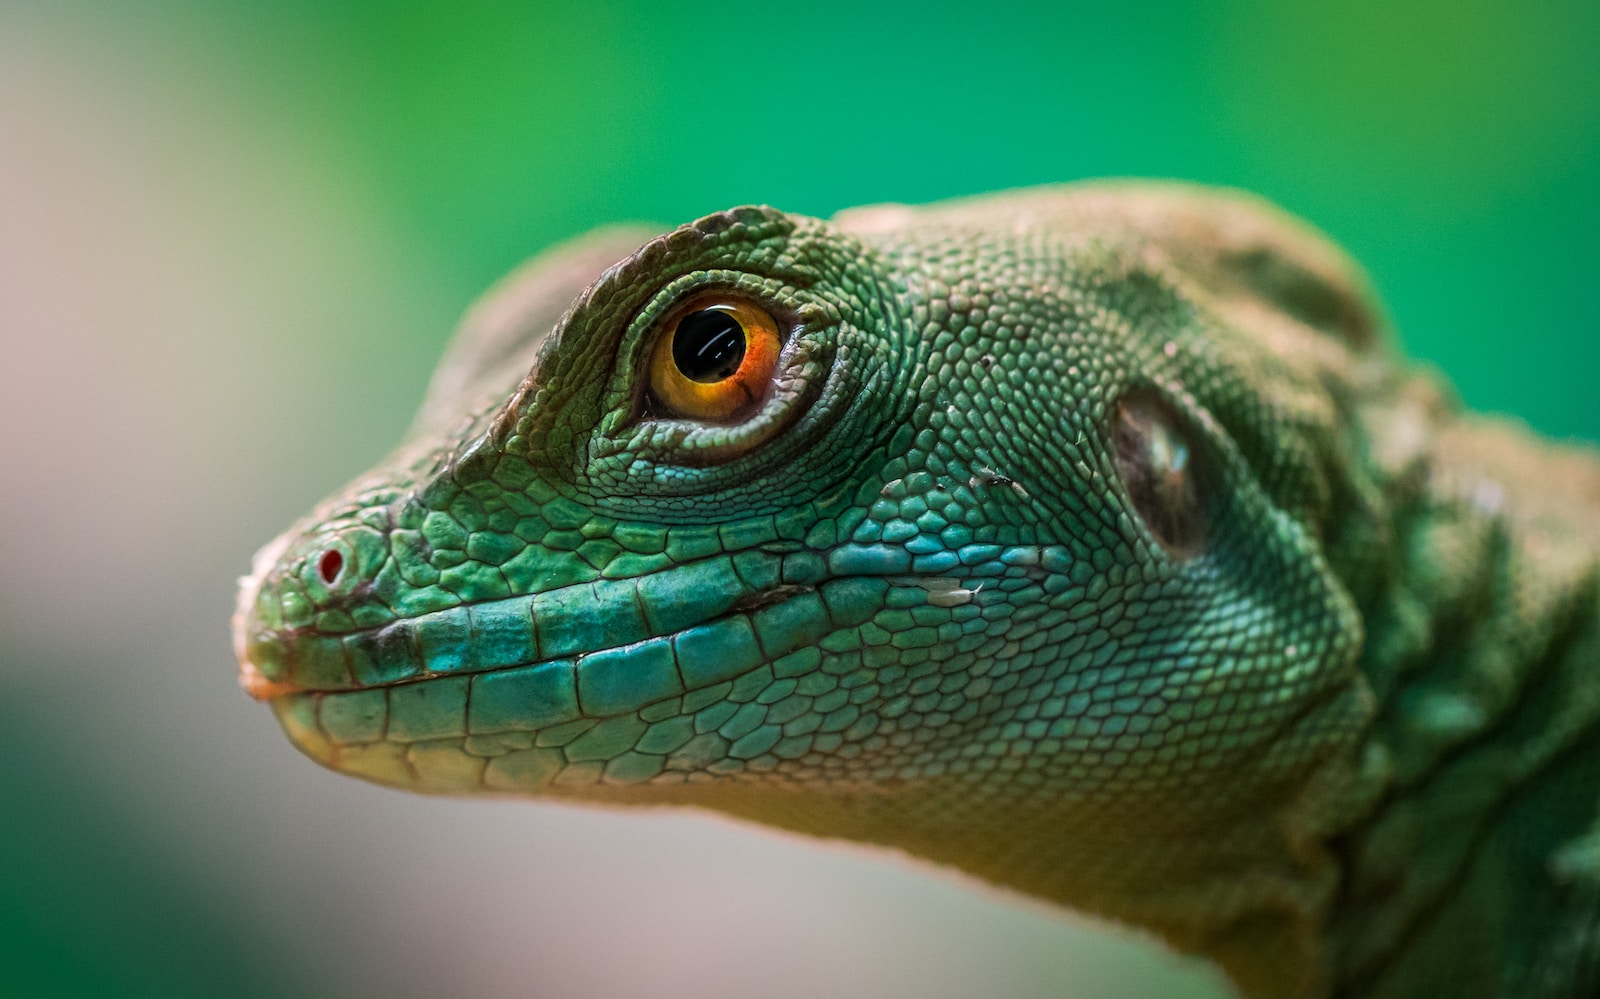
When it comes to macro photography, lighting is not just an accessory but a critical element that can make or break your shot. Understanding how to manipulate light allows you to showcase the intricate details and textures that make up your subject, revealing layers of visual complexity that may otherwise go unnoticed. Whether you’re capturing the delicate petals of a flower or the intricate patterns on a butterfly’s wings, the right lighting techniques can elevate your macro photographs from ordinary to extraordinary.
Natural Lighting
Utilizing natural light can create stunning effects in macro photography. During the golden hour, the soft and warm light enhances the texture and colors, adding a magical touch to your imagery. Experimenting with backlighting can create ethereal silhouettes and enhance translucent subjects such as leaves or petals, while side lighting can add depth and dimension to your close-up shots.
Artificial Lighting
When natural light is limited or not ideal, artificial lighting can come to the rescue. Using a dedicated macro ring light or an external flash with diffusers can help you control and manipulate light even in challenging environments. By adjusting the intensity, direction, and angle of the light source, you can create dramatic shadows, highlight intricate details, and add a touch of creativity to your macro photographs.
Mastering Exposure and White Balance
Macro photography often involves shooting subjects up close, which can present exposure challenges. To maintain accurate exposure, it’s crucial to adjust your camera settings and exposure compensation to compensate for the potentially bright or dark areas within your frame. Bracketing exposures and experimenting with different shutter speeds, apertures, and ISO settings can help you achieve the perfect exposure in your macro photographs.
White balance plays a significant role in macro photography, as it affects the overall color temperature and mood of your images. While auto white balance can be reliable, experimenting with manual white balance settings or using custom white balance can yield more accurate and pleasing results. Don’t be afraid to embrace warm tones or cooler hues to create mood and atmosphere in your close-up shots.
Tips for Creating Detailed Imagery
1. Optimal Camera Settings:
Choosing the right camera settings is crucial for capturing detailed macro images. Utilize a small aperture (high f-number) to maximize depth of field, ensuring as much of your subject as possible remains in sharp focus. Selecting a low ISO setting helps to reduce noise in your photographs, resulting in cleaner and more detailed imagery. Experimentation and adjusting settings to suit your specific subject and conditions are key.
2. Focus Stacking:
For subjects with intricate details or a shallow depth of field, focus stacking can be an effective technique. By taking multiple shots with varying focal points and later combining them in post-processing software, you can create a final image with exceptional depth of field, revealing intricate details from front to back. This technique is particularly beneficial for macro photography, where maintaining sharpness throughout the frame can be challenging.
Did you know? The term "macro photography" was first used in the 1950s when photographer Percy G. Bert applied it to close-up photography with high magnification ratios.
3. Using Tripods and Remote Shutter Release:
Macro photography often requires precise focus and stability. Utilizing a tripod helps eliminate camera shake and ensures sharpness in your images, especially in low-light situations. Additionally, using a remote shutter release or utilizing the self-timer function can further minimize camera movement, resulting in crisp and detailed macro photographs.
4. Patience and Attention to Detail:
Creating exceptional macro photographs requires patience and keen attention to detail. Take the time to carefully observe your subject, experimenting with different angles, compositions, and lighting setups. Paying attention to even the smallest details can elevate your macro images, revealing hidden textures, unique patterns, and captivating intricacies that might otherwise be overlooked.
Capturing Close-Up Photography with Creativity
Macro Photography with Reflective Surfaces
Integrating reflective surfaces into your macro photography can add a touch of creativity and uniqueness to your shots. Experiment with mirrors, water droplets, or even metallic objects to capture reflections and distortions that transform your subject into abstract art. Reflective surfaces can create visually compelling images by offering a fresh perspective and an element of surprise.
Macro Photography with Artificial Backgrounds
Backgrounds play a crucial role in macro photography, as they provide context and enhance the visual impact of your subject. You can create artificial backgrounds by using colored paper, fabric, or even textured materials. Experiment with different colors, patterns, and textures to find combinations that complement and elevate your subject, drawing the viewer’s attention to the exquisite details within your macro photographs.
With these lighting techniques, tips, and creative approaches in your arsenal, you’re equipped to unveil the mesmerizing world of macro photography. Harness the power of light, dive into the intricacies of your subjects, and create captivating imagery that peels back the layers, revealing the unseen beauty that lies within.
The Power of Lighting Techniques in Macro Photography
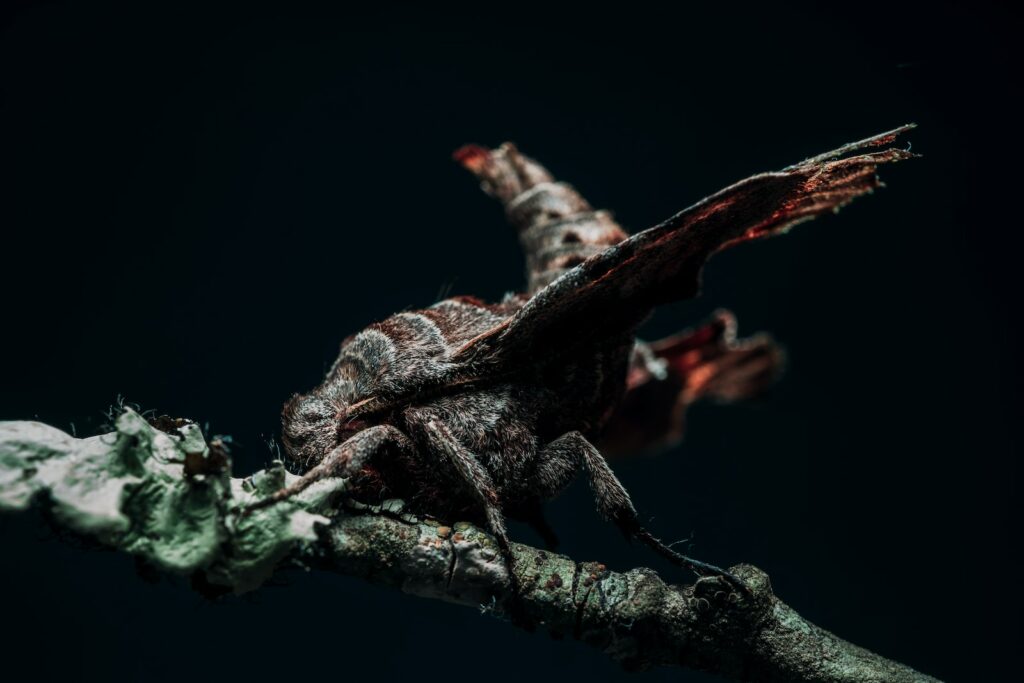
Macro photography allows us to delve deep into the intricate details of the world around us. By capturing subjects up close, we reveal the mesmerizing beauty hidden within the tiniest of objects. But what separates an ordinary macro photograph from an extraordinary one lies in the art of manipulating light. In this blog post, we will explore the vital role of lighting techniques in crafting exceptional macro photographs and offer tips to help you master this essential skill.
Case Study: Overcoming Challenges with Lighting
Before we dive into the various lighting techniques, let’s take a moment to analyze a real-life scenario where the mastery of lighting proved to be a game-changer. Meet Jane, an experienced macro photographer who specializes in capturing intricate patterns in nature. She had set her sights on photographing a butterfly’s wings, aiming to depict the intricate patterns and vibrant colors in great detail.
However, Jane faced a significant challenge. The butterfly wings’ delicate texture and the iridescent hues made them highly reflective, causing images to appear washed out and lacking in detail. Determined to overcome this obstacle, Jane experimented with different lighting techniques to achieve the desired results.
After numerous trials, she discovered the benefits of using diffused lighting. By placing a softbox or a diffuser between the harsh light source and the subject, she was able to scatter the light and create a more even illumination. This technique not only reduced the harsh reflections but also brought out the intricate details of the butterfly’s wings, resulting in a striking image that revealed the hidden beauty of the subject.
Mastering Lighting Techniques: Tips and Techniques
If you’re ready to take your macro photography to the next level, here are some tips to help you master different lighting techniques:
- Utilize natural light: Whenever possible, take advantage of the soft, diffused light available during the golden hours (early morning or late afternoon). Natural light can add warmth and depth to your macro photographs.
- Experiment with artificial light sources: Don’t limit yourself to natural light alone. Explore the wide range of artificial light sources available, such as LED panels, ring flashes, or even handheld flash units. Each light source offers unique qualities to enhance your macro images.
- Play with angles: Don’t be afraid to move around and experiment with different lighting angles. Changing the position of your light source can dramatically alter the mood and impact of your macro photographs.
- Try backlighting: Backlighting can create a stunning halo effect around your subject or highlight delicate details. Experiment with placing your light source behind the subject to create a beautiful glow and emphasize textures.
- Use modifiers: Diffusers, reflectors, and snoots are valuable tools for manipulating light. Experiment with these modifiers to control the intensity, direction, and diffusion of light to achieve your desired effects.
Remember, mastering lighting techniques in macro photography requires patience and experimentation. Take the time to explore different lighting setups and push the boundaries of your creativity. By harnessing the power of light, you can create detailed imagery that transports your viewers into a world they never knew existed.
Frequently Asked Questions
1. What is macro photography?
Macro photography is a genre of photography that focuses on capturing extreme close-up images of small subjects, revealing intricate details that are often unseen by the naked eye.
2. Why is lighting crucial in macro photography?
Lighting plays a vital role in macro photography as it helps to reveal the hidden details and textures of the subject. It adds depth and dimension, enhancing the overall visual impact of the photograph.
3. What are some essential lighting techniques for macro photography?
There are several lighting techniques that can be used in macro photography, including:
- Front lighting: Illuminating the subject from the front to reveal maximum detail.
- Backlighting: Placing the light source behind the subject to create a halo effect and highlight the subject’s outline.
- Sidelighting: Positioning the light source to the side to create shadows and add depth to the image.
4. How can I manipulate light to create detailed imagery in macro photography?
Manipulating light in macro photography can be achieved through various techniques, such as:
- Using diffusers or reflectors to soften or redirect the light.
- Employing macro-specific lighting accessories, like ring flashes or LED panels, to ensure even illumination.
- Experimenting with different light sources, such as natural light, artificial light, or a combination of both.
5. What are some tips for capturing stunning close-up photographs?
To capture exceptional macro photographs, consider the following tips:
- Use a tripod to ensure sharpness and minimize camera shake.
- Pay attention to composition, focusing on the subject’s details and creating a visually pleasing arrangement.
- Experiment with different angles and perspectives to create unique and compelling compositions.
- Practice patience and take your time to find the perfect lighting conditions and angles.
6. Where can I find inspiration for my macro photography?
There are various sources to find inspiration for macro photography, including:
- Explore nature: Look for interesting textures, patterns, and subjects in the natural world.
- Visit exhibitions or museums: Learn from the work of renowned macro photographers and study their techniques.
- Join photography communities: Engage with fellow photographers, share your work, and seek inspiration from others.
7. Are there any specific camera settings for macro photography?
While specific camera settings may vary depending on the equipment and the desired result, here are some general recommendations:
- Use a small aperture (higher f-stop number) to maximize depth of field and ensure sharpness throughout the image.
- Experiment with different shutter speeds to freeze motion or create intentional blur.
- Shoot in RAW format to retain maximum image quality and flexibility during post-processing.
Wrap Up
In conclusion, understanding the intricate relationship between lighting techniques and macro photography is crucial for capturing stunning and detailed imagery. By harnessing light, photographers can reveal hidden dimensions and bring out the intricate details of their subjects.
Experiment with different lighting angles, intensities, and modifiers to create unique effects and add depth to your macro photographs. Remember to consider the direction, quality, and color of light to achieve the desired mood and emphasize specific features.
Now it’s your turn! Have you tried any of these lighting techniques in your macro photography? What results did you achieve? Share your experiences, tips, and thoughts in the comments below! Let’s continue the conversation and inspire each other to create exceptional macro photographs.
