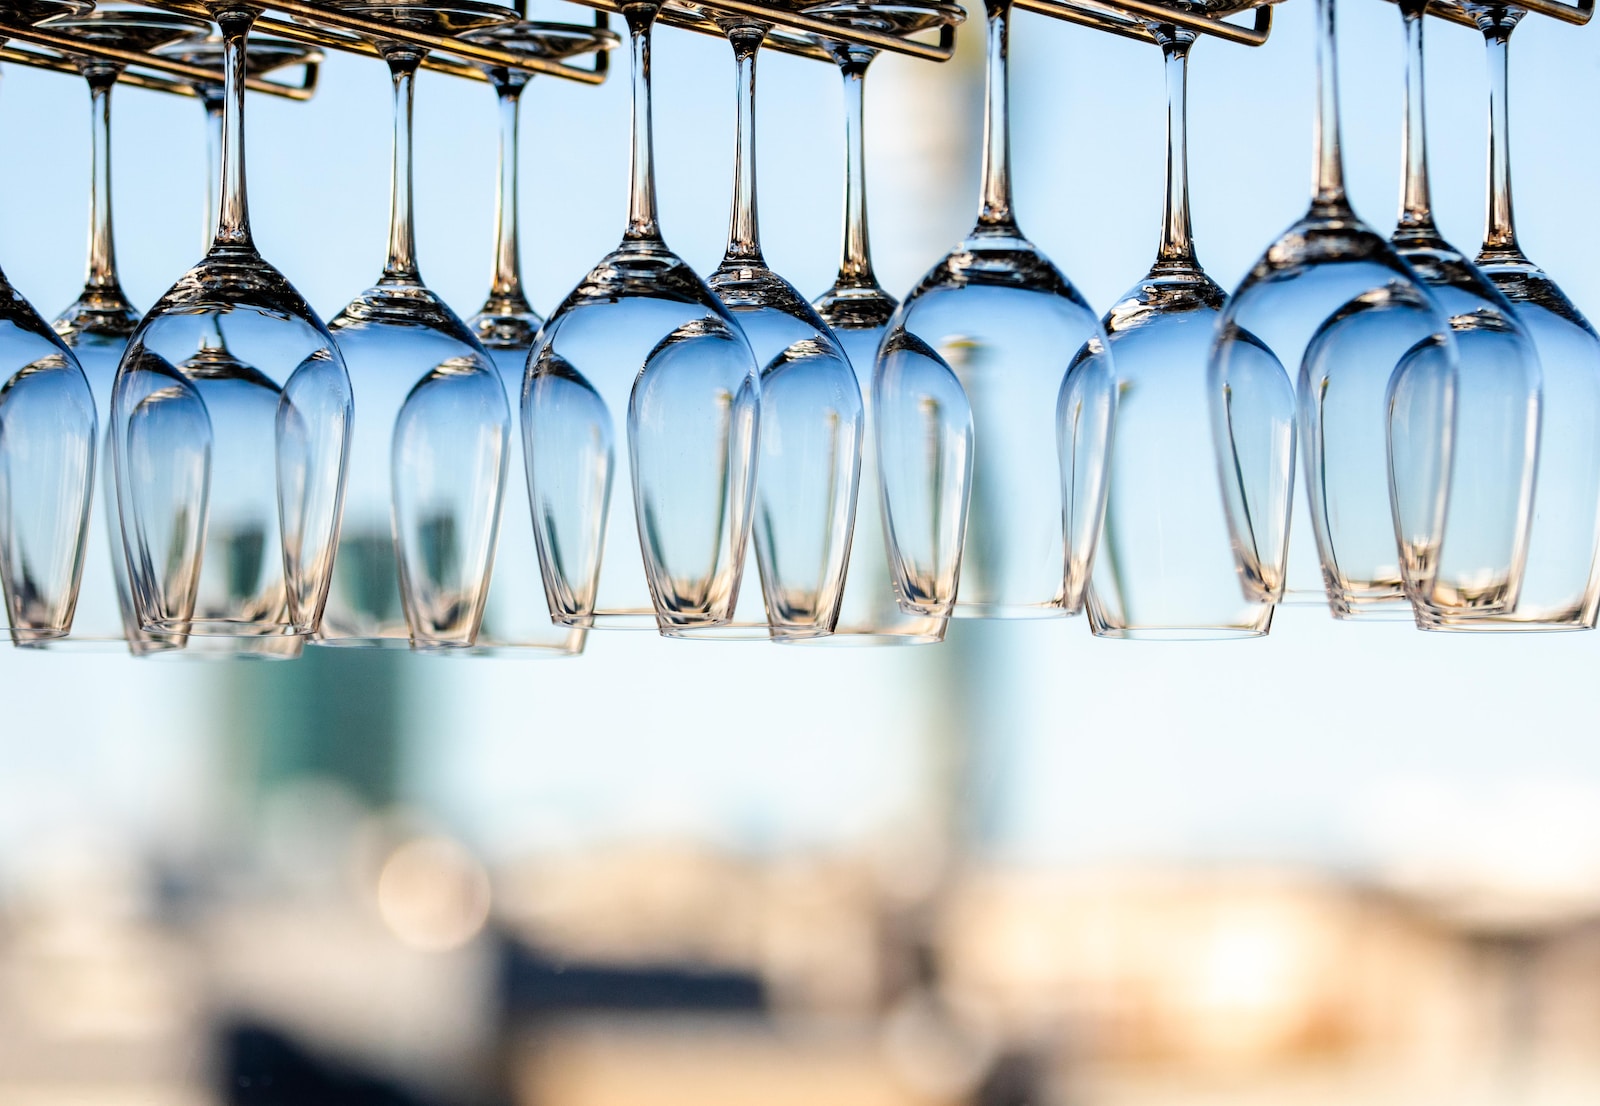
Welcome to my blog, where we will explore the world of glass photography and how you can use reflections to create stunning urban shots. Whether you are new to photography or an experienced shutterbug, this post is designed to provide you with techniques and inspiration to capture the beauty of glass and transparency in your cityscapes or architectural photos. So grab your camera and let’s dive into the captivating world of glass photography!
Table of Contents
- Understanding the Power of Glass Reflections
- Choosing the Right Subject for Glass Photography
- Controlling Light for Captivating Reflections
- Using Water as a Creative Element
- Playing with Reflections in Landscape Photography
- Post-Processing Tips for Glass Photography
- Playing with Reflections: Glass Photography for Beginners
- Overcoming Challenges with Glass Photography
- Frequently Asked Questions
- 1. What is glass photography?
- 2. How can I start experimenting with glass photography?
- 3. What equipment do I need for glass photography?
- 4. How can I effectively use reflections in glass photography?
- 5. Can I use glass photography in other genres of photography?
- 6. How can I improve my glass photography skills?
- Wrap Up
Understanding the Power of Glass Reflections
Glass reflections can elevate your photographs from ordinary to extraordinary. They add a sense of depth, mystery, and unique perspective to your images. The interplay between light, transparency, and reflections on glass surfaces opens up a whole new world of creative opportunities. By mastering the art of capturing and manipulating reflections, you can transform mundane urban scenes into visually captivating masterpieces.
Choosing the Right Subject for Glass Photography
Not all glass surfaces are created equal when it comes to photography. Look for subjects that offer interesting shapes, textures, or patterns. Modern buildings with sleek, reflective glass facades are excellent candidates for experimenting with reflections. Alternatively, historic buildings with stained glass windows can provide a more complex and colorful reflection effect. Don’t be afraid to explore different angles and perspectives to find the best compositions.
Controlling Light for Captivating Reflections
Light is the key element in capturing stunning reflections. The direction and intensity of light will greatly affect the final result. Experiment with natural light during different times of the day to see how it interacts with glass surfaces. Backlighting can create striking silhouettes, while side lighting can emphasize textures and enhance details. Reflections can also be enhanced by using artificial light sources strategically. Don’t hesitate to use reflectors or diffusers to control the light for optimal results.
Using Water as a Creative Element
Water droplets on glass can add an extra layer of interest to your reflections. Rainy days or early mornings when dew settles on windows can offer beautiful opportunities to capture mesmerizing water reflections. Experiment by sprinkling water on the glass surface or using a spray bottle to create droplets. Be mindful of the angle and placement of the water droplets to achieve the desired effect. They can create distortion or add a dreamy quality to your images.
Playing with Reflections in Landscape Photography
Glass reflections can also enhance your landscape photography. Seek out natural elements such as lakes, puddles, or even polished rocks that can act as mirrors. By carefully composing your shots, you can capture stunning reflections of mountains, trees, or clouds, adding an extra dimension to your images. The tranquil and surreal effect of reflections on water or other reflective surfaces can create visually captivating results.
Post-Processing Tips for Glass Photography
Once you have captured your images, post-processing can help elevate them further. Use tools like Adobe Lightroom or other editing software to enhance and refine your photos. Adjusting exposure, contrast, and color balance can make the reflections pop. Experiment with different filters and effects to add a unique touch to your images. Remember, post-processing should enhance the story you want to convey while staying true to the essence of the moment.
Did you know that reflections were used by famous photographers such as Ernst Haas and André Kertész to create groundbreaking and iconic images?
Playing with Reflections: Glass Photography for Beginners
Welcome to our blog post on glass photography! If you’re a beginner looking to add a creative touch to your cityscape or architectural photos, you’ve come to the right place. In this post, we’ll explore the exciting world of reflections and transparency and how they can help you create stunning and unique urban shots.
Overcoming Challenges with Glass Photography
Let’s start by looking at a real-life example of a photographer who faced some challenges while experimenting with glass photography. Jennifer, an enthusiastic amateur photographer, wanted to capture the mesmerizing reflections of a modern skyscraper in downtown Chicago but struggled to get the desired results.
Jennifer faced two main challenges: managing light and avoiding unwanted obstructions. The glass panels of the building reflected strong sunlight, resulting in overexposed areas in her shots. Additionally, she had to find ways to eliminate distractions caused by people or other objects in the frame.
To overcome the lighting issue, Jennifer decided to shoot during the early morning hours or golden hour. The softer natural light helped reduce the overexposure of the reflections and added a warm glow to her photographs. She also experimented with using graduated neutral density filters to balance the exposure between the bright reflections and the rest of the scene.
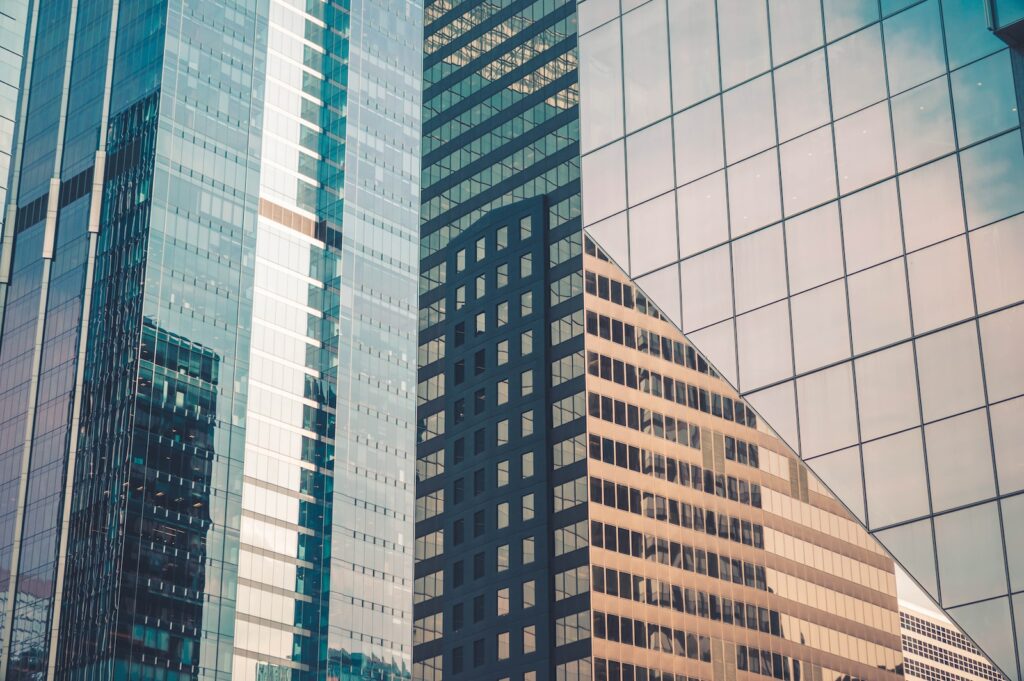
To combat distractions, Jennifer carefully chose her shooting angles and paid attention to what was reflected in the glass. By positioning herself strategically and being patient, she was able to capture clean and unobstructed reflections of the cityscape.
The key takeaway from Jennifer’s experience is that glass photography requires planning, patience, and experimentation. By identifying and overcoming challenges, she was able to achieve stunning results that truly highlighted the beauty of the urban environment.
Now that we’ve discussed a case study, let’s dive into some useful techniques and tips for beginners who want to explore glass photography in their urban shots.
Frequently Asked Questions
1. What is glass photography?
Glass photography is a technique where photographers use reflections and transparency offered by glass surfaces to create unique and creative urban shots. It involves capturing various cityscapes or architectural scenes by incorporating the reflections and distortions produced by glass objects.
2. How can I start experimenting with glass photography?
To begin experimenting with glass photography, you can follow these steps:
- Look for glass surfaces in urban environments, such as windows, buildings, or even cars.
- Choose interesting compositions and angles that incorporate the glass element.
- Pay attention to the reflections and distortions created by the glass surface. Experiment with different lighting conditions to enhance these effects.
- Consider using a polarizing filter to minimize unwanted reflections or glare.
- Practice and experiment to discover your own unique style.
3. What equipment do I need for glass photography?
For glass photography, you will need:
- A camera (preferably a DSLR or a mirrorless camera) that allows manual control over settings.
- A variety of lenses, including wide-angle lenses to capture expansive urban scenes and macro lenses for detailed close-ups.
- A sturdy tripod to keep your camera stable while capturing long-exposure shots.
- A polarizing filter to control reflections and enhance colors.
4. How can I effectively use reflections in glass photography?
To make the most out of reflections in glass photography:
- Experiment with different angles and positions to capture interesting reflections.
- Look for contrasting elements that can be included in the composition, such as architecture, people, or nature.
- Play with the transparency offered by the glass surface to create layered compositions.
- Use natural or artificial light sources strategically to enhance reflections and add depth.
- Pay attention to the surroundings and choose locations where reflections will be interesting and visually appealing.
5. Can I use glass photography in other genres of photography?
Absolutely! Glass photography techniques can be applied to various genres, including architectural photography, street photography, and even still life photography. The creative use of reflections and transparency can add a unique touch to your images, regardless of the subject.
6. How can I improve my glass photography skills?
Here are some tips to improve your glass photography skills:
- Study the works of renowned glass photographers for inspiration.
- Practice regularly and experiment with different glass surfaces and lighting conditions.
- Learn and understand the technical aspects of photography, such as exposure, composition, and depth of field.
- Join photography communities or groups to gain feedback and learn from others.
- Continuously challenge yourself to try new approaches and push your creative boundaries.
Wrap Up
In conclusion, glass photography provides a fascinating way to explore creativity in cityscapes and architectural photography. By incorporating reflections and transparency, you can capture unique and captivating urban shots.
Experiment with different angles and perspectives to maximize the potential of glass reflections. Don’t be afraid to think outside the box and break the rules of traditional photography. Remember, the key is to have fun and explore your own artistic vision.We hope this guide has inspired you to venture into the world of glass photography. Feel free to share your own experiences or ask any questions in the comments section below. We would love to hear from you!
