Welcome to our comprehensive guide on properly cleaning and maintaining cameras that have been exposed to beach conditions. Whether you are capturing breathtaking ocean waves or mesmerizing sunsets, your camera is at risk of sand and saltwater damage. Don’t let these elements ruin your beloved device. In this blog, we will provide you with expert tips and tricks to ensure your camera remains in top condition, allowing you to capture stunning moments without worrying about potential damage.
Table of Contents
The Dangers of Sand Damage
Sand may seem harmless, but it can cause significant harm to your camera if not addressed properly. Its abrasive nature can scratch delicate lenses, damage focus rings, and even impair the mechanism of moving parts. To prevent any long-term damage, it’s essential to know how to clean your camera effectively after a day at the beach.
Cleaning Techniques for Beach Camera Cleaning
When it comes to cleaning your camera, it’s crucial to follow the right techniques to avoid any potential damage. Here are some simple steps to help you restore your camera to its pristine condition:
1. Precautions Before Cleaning
Before you start the cleaning process, make sure to power off your camera and remove any batteries or memory cards. This will prevent accidental damage and ensure your camera is ready for a thorough clean.
2. Removing Sand and Debris
Begin by gently removing any visible sand or debris from the exterior of your camera using a soft brush or a microfiber cloth. Be cautious not to press too hard, as this can push the particles deeper into the camera’s crevices.
3. Cleaning the Lens
The lens is undoubtedly the most critical part of your camera. To clean it, use a lens blower or a soft brush to remove any loose sand or dust particles. Then, using a lens cleaning solution and a microfiber cloth, gently wipe the lens in a circular motion to ensure a thorough clean without scratching the glass.
4. Cleaning the Body
Next, focus on cleaning the camera body. Use a mild soapy water solution or a camera cleaning solution, dampen a clean cloth, and gently wipe down the exterior of your camera. Be sure to pay extra attention to buttons, dials, and crevices where sand may have settled.
5. Drying the Camera Properly
After the cleaning process, it’s essential to let your camera dry thoroughly before reinserting any batteries or memory cards. Place your camera in a dry and well-ventilated area, ensuring all parts are exposed to air circulation. Avoid using a hairdryer or any direct heat sources, as this can cause damage to the internal components.
Preventing Saltwater Damage
In addition to sand, saltwater can pose another significant threat to your camera. Its corrosive nature can erode metal components and cause long-term damage. Here are some essential steps to prevent saltwater damage:
1. Protective Camera Housing
If you plan to take your camera near saltwater environments regularly, investing in a protective camera housing is highly recommended. These waterproof enclosures provide an extra layer of protection, keeping your camera safe from saltwater exposure.
2. Wiping Down After Exposure
After each session near saltwater, it’s essential to wipe down your camera with a damp cloth soaked in fresh water. This will help remove any salt residue, preventing corrosion and damage.
3. Regular Maintenance and Checkups
Make it a habit to schedule regular maintenance checkups for your camera, especially if you frequently use it in beach or saltwater environments. Professional technicians can clean and inspect your camera thoroughly, ensuring any potential damage is detected and addressed promptly.
By following these cleaning and maintenance tips, you can keep your camera in optimal condition even after a day at the beach. Remember, prevention is key when it comes to sand and saltwater damage. Take the necessary precautions, clean your camera regularly, and seek professional help whenever needed. With proper care, your camera will continue to capture stunning moments amidst the sand, sea, and sun.
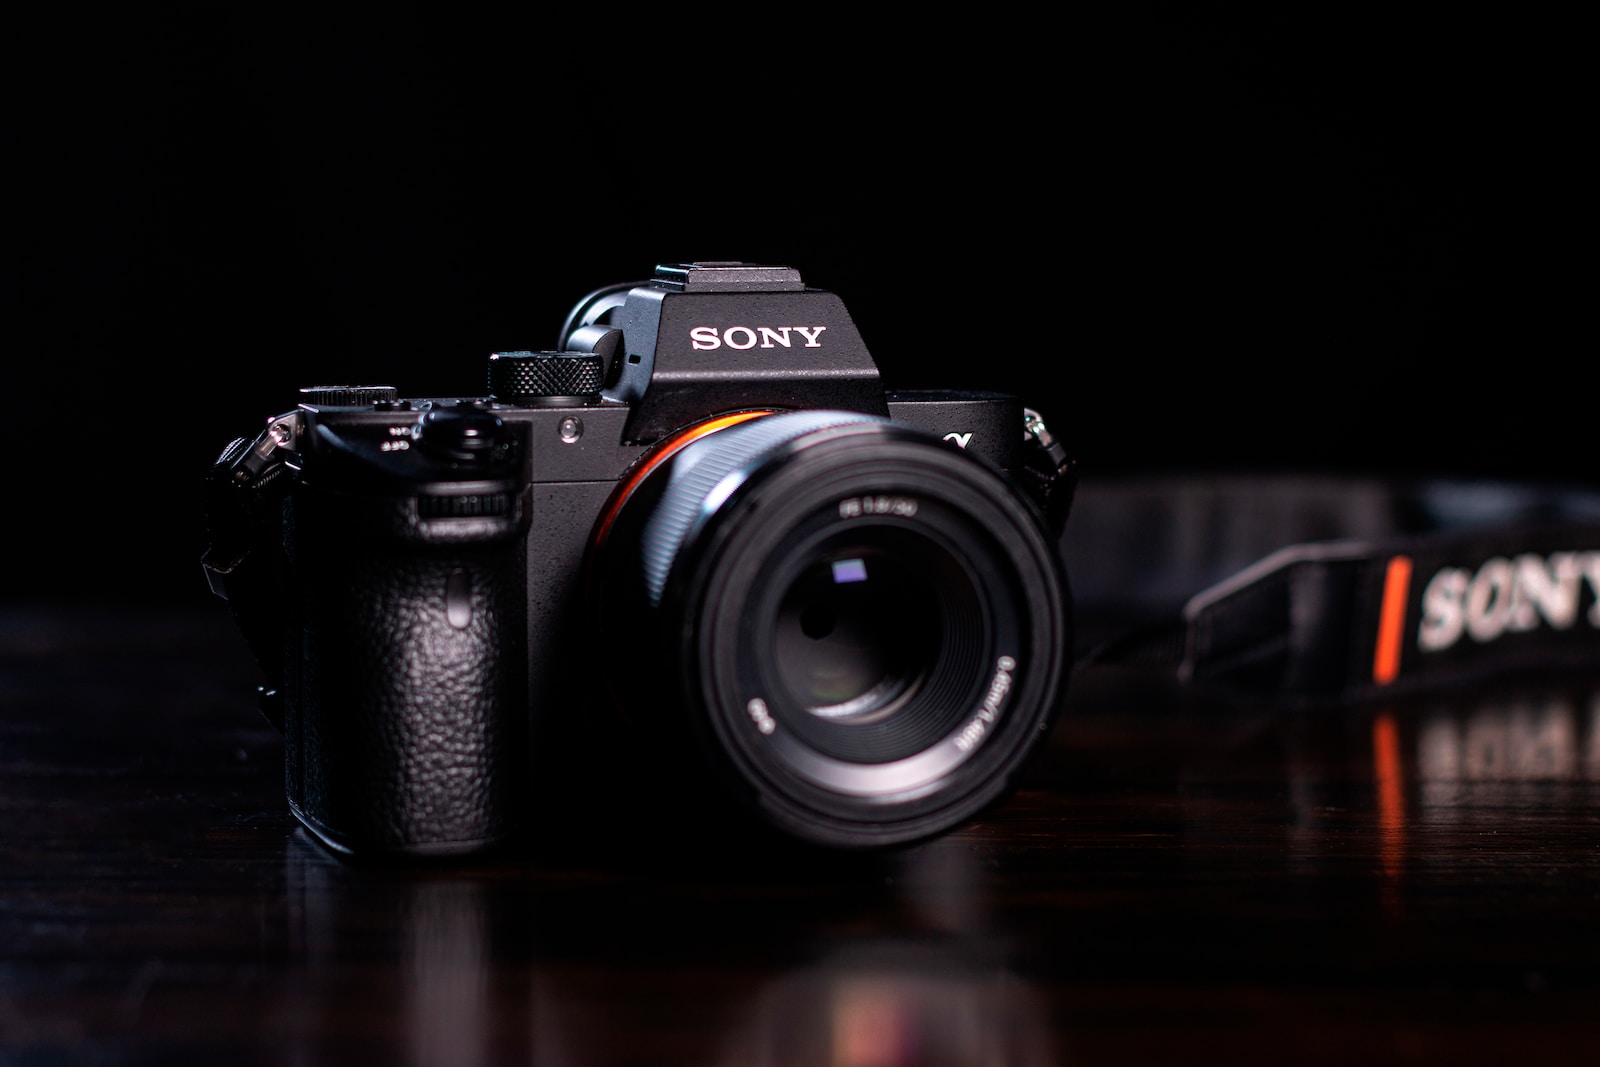
Did you know that cameras with sealed designs, such as DSLRs, are more resistant to sand and saltwater damage than point-and-shoot models?
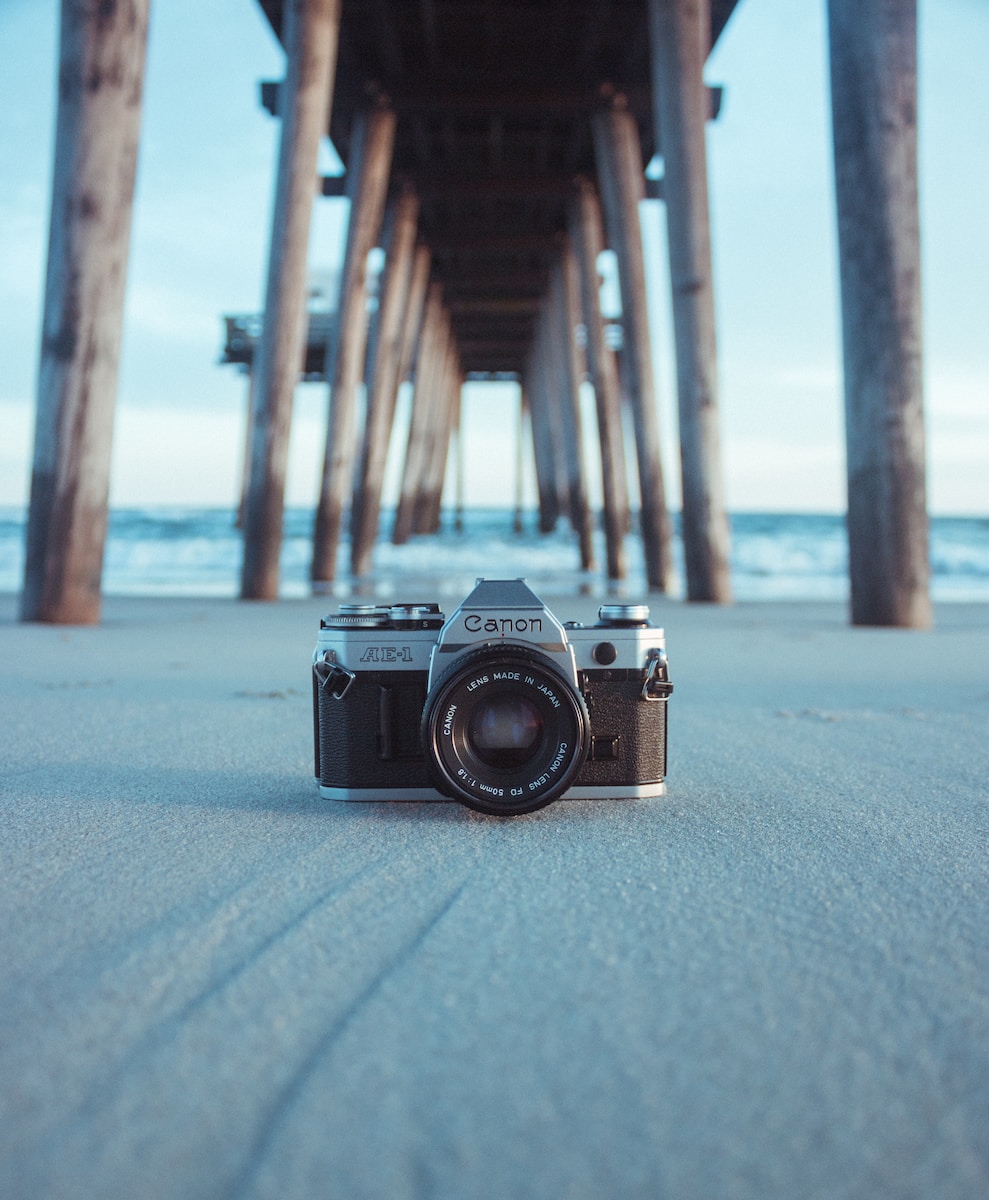
A How-To Guide: Tips for Cameras Exposed to Beach Conditions
Every photographer knows that capturing those breathtaking beach moments comes with its fair share of challenges. The sea, sand, and saltwater can wreak havoc on your camera if not properly cared for. In this post, we will guide you through essential cleaning and maintenance tips to protect your camera from potential beach-related damage.
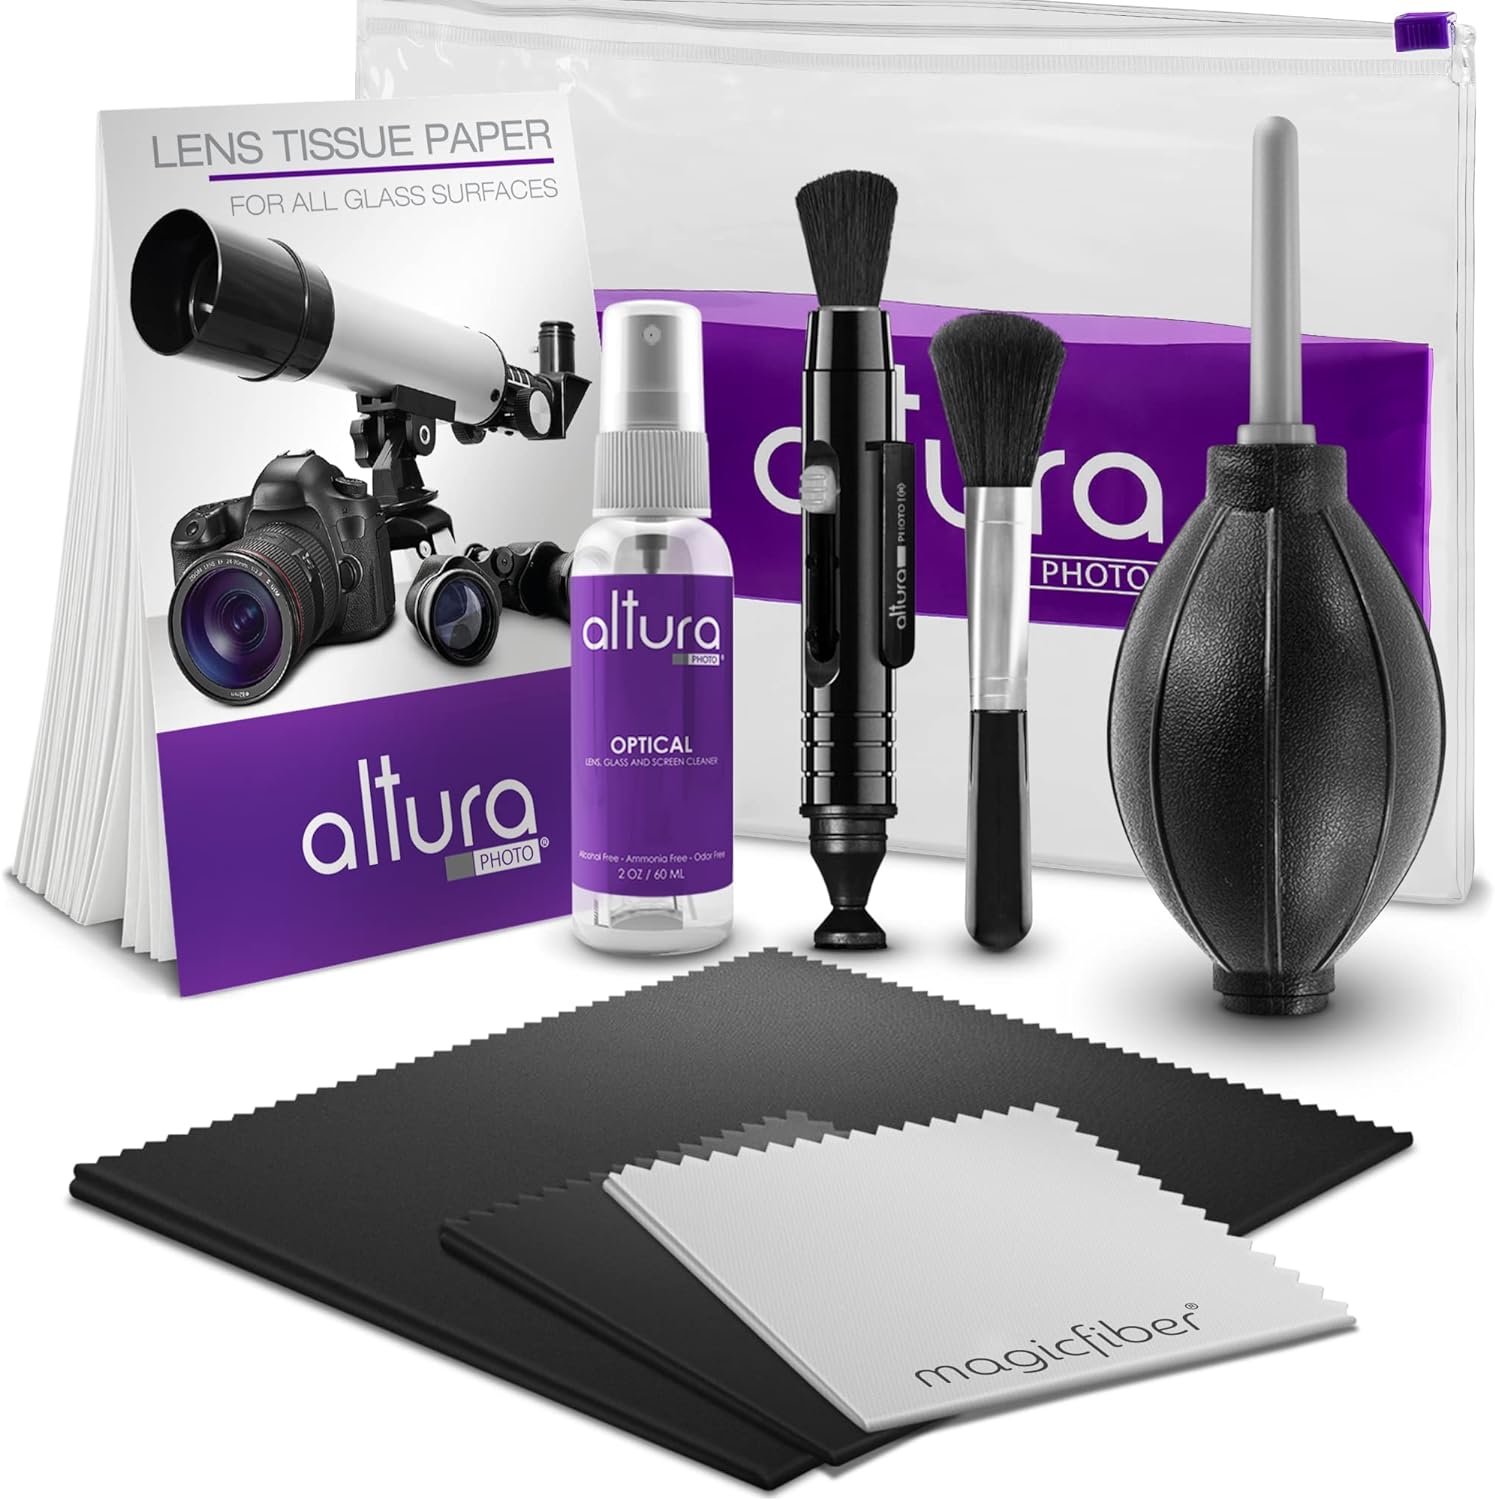
Gather the Essential Cleaning Tools
Before diving into the cleaning process, make sure you have the following tools on hand:
- Microfiber cloth
- Blower brush
- Cotton swabs
- Distilled water
- Lens cleaning solution
- Rubber blower
- Camera cleaning kit
These tools will help you effectively remove sand, saltwater residue, and other debris from your camera.
Removing Sand and Debris
The first step in post-beach cleaning is to remove any sand or debris that may have accumulated on your camera. To do this:
- Gently use the blower brush to remove loose sand particles from the camera body and lens.
- Utilize cotton swabs to carefully clean crevices and hard-to-reach areas.
Remember to be gentle to avoid scratching your camera’s surface.
Cleaning the Lens
The lens is the most crucial element of your camera and requires extra care when cleaning. Follow these steps:
- Start by gently wiping the lens with a microfiber cloth to remove any surface dust or sand.
- If there are stubborn smudges or saltwater residue, dampen a cloth with lens cleaning solution or distilled water and wipe the lens in a circular motion.
- Use a dry part of the cloth to gently wipe away any remaining moisture.
Always use a lens cleaning solution specifically designed for camera lenses and avoid using harsh chemicals or abrasive materials.
Protecting Against Saltwater Damage
Saltwater can be especially damaging to cameras. If your camera has been exposed to saltwater:
- Immediately rinse the camera body and lens with freshwater to remove any salt residue.
- Use a microfiber cloth to gently dry the camera, ensuring no moisture remains.
- Allow the camera to air dry in a cool and dry place before storing it.
Remember, the prompt removal of saltwater is crucial in preventing long-term damage.
Maintaining Your Camera’s Condition
Aside from cleaning, proper maintenance is essential for keeping your camera in optimal condition. Here are a few additional tips:
- Regularly inspect your camera for any signs of damage or wear and tear.
- Store your camera in a protective case or bag when not in use.
- Avoid exposing your camera to direct sunlight for extended periods.
- Consider investing in a camera cleaning kit to have all the necessary tools readily available.
By following these maintenance tips, you can extend the lifespan of your camera and ensure it is always ready for your next beach adventure!
Now that you’re equipped with the knowledge of proper cleaning and maintenance for cameras exposed to beach conditions, you can confidently capture stunning images without worrying about the potential damage caused by sea, sand, and saltwater. Remember, a little cleaning and maintenance go a long way in protecting your precious camera investment!
Frequently Asked Questions
1. How can I protect my camera from sand damage?
When heading to the beach, it’s crucial to take preventative measures to shield your camera from sand. Here are a few tips:
- Avoid changing lenses or opening the camera body near sandy areas.
- Use a protective camera bag or case that seals tightly to keep sand out.
- Consider using a camera cover or sleeve specifically designed for beach conditions.
2. What should I do if my camera gets exposed to sand?
If your camera comes into contact with sand, it’s essential to clean it as soon as possible to prevent potential damage. Follow these steps:
- Turn off the camera and remove the battery and memory card.
- Gently brush off any visible sand particles using a soft-bristle brush or a microfiber cloth.
- Use a can of compressed air to blow away any remaining sand from crevices and buttons.
- Wipe the camera body with a clean, slightly damp cloth to remove any residual sand.
- Allow the camera to fully dry before reassembling and using it again.
3. How can I protect my camera from saltwater damage?
Preventing saltwater damage is crucial to avoid irreversible harm to your camera. Take these precautions:
- Avoid exposing your camera to saltwater or salty air as much as possible.
- Use a plastic cover or protective housing specifically designed for underwater photography.
- Rinse your camera with fresh water after any contact with saltwater, wiping it dry afterward.
- Remove the battery and memory card and allow all components to dry completely before using the camera again.
4. What should I do if my camera gets exposed to saltwater?
If your camera accidentally comes into contact with saltwater, act swiftly to minimize damage:
- Immediately switch off the camera and remove the battery and memory card.
- Rinse the camera thoroughly with fresh water to remove the salt.
- Remove any visible debris using a soft-bristle brush or cloth.
- Allow all components to air dry completely before reassembling and using the camera.
- If the camera doesn’t function properly, consult a professional for repair.
Wrap Up
Keeping your camera clean and well-maintained is crucial, especially after a day at the beach. By following these simple steps, you can ensure that your camera remains in top condition and protected from any potential damage caused by sand or saltwater.
Remember to regularly clean your camera, lens, and accessories, using soft brushes, microfiber cloths, and cleaning solutions. Don’t forget to remove any potential sand or residue from your camera’s crevices.
If you do encounter sand or saltwater damage, act quickly and seek professional camera cleaning services to prevent further issues. Remember, prevention is key, so always keep your camera protected in a waterproof bag or case when near the beach.
We hope this post has provided you with the necessary knowledge to keep your camera in top shape for your next beach adventure. If you have any questions or additional tips to share, please leave a comment below. Happy photographing!