Welcome to our comprehensive guide on video retouching! Whether you’re a seasoned editor or just starting out, this step-by-step guide will walk you through the process of making subtle edits and touchups to greatly enhance the aesthetic appeal of your videos. From post-processing techniques to aesthetic enhancements, we’ve got you covered. So let’s dive in and discover the secrets to creating visually stunning videos!
Table of Contents
The Importance of Video Retouching
Video retouching is an essential step in the video production process that focuses on improving the overall visual quality of your footage. Post-processing and retouching allow you to correct imperfections, fine-tune colors, adjust lighting, and remove any distracting elements. By investing time in video retouching, you can elevate the appeal of your videos, making them more engaging and captivating for your audience.
The Basics of Video Retouching
Before we delve into the step-by-step guide, let’s cover some fundamentals. Firstly, it’s crucial to have access to a suitable video editing software that offers the necessary tools for retouching. Programs like Adobe Premiere Pro or Final Cut Pro provide a wide range of features specifically designed for video editing. Secondly, it’s essential to have a clear vision of the final result you want to achieve. This will help guide your retouching decisions and ensure cohesive edits throughout the video.
Step 1: Preparing Your Footage
Before diving into retouching, it’s important to organize your footage properly. Create a separate folder for your project and make sure all the relevant files are in one place. This will save you time and prevent any confusion or potential loss of files. Additionally, it’s recommended to convert your footage to a high-quality format to ensure optimal editing performance and final output.
Did you know that video retouching has been used in the film industry for decades? It's a common practice to enhance visuals and create visually stunning cinematic experiences.
Step 2: Color Correction and Grading
One of the essential aspects of video retouching is color correction and grading. This step involves adjusting the colors, contrast, and overall tone of your video footage to achieve a desired look. Start by correcting any white balance issues and ensuring accurate colors. Then, move on to grading, where you can apply creative color adjustments to enhance the mood and aesthetic of your video.
Step 3: Fine-tuning the Composition
Composition plays a vital role in the overall look and feel of your video. During this step, focus on cropping, framing, and repositioning elements within the frame to create a visually pleasing composition. Remove any distracting or unnecessary elements that may draw attention away from your main subject. Strive for balance, visual flow, and an appealing arrangement of elements within the frame.
Step 4: Enhancing Visual Details
Now that you have the foundation of color correction and composition, it’s time to enhance the visual details of your video. This can include sharpening the footage to improve clarity, adjusting brightness and contrast to add depth, and enhancing specific elements to make them stand out. Use tools like masks, overlays, and special effects to draw attention to key areas and add visual interest.
Step 5: Audio Enhancement
While this guide primarily focuses on visual enhancements, audio plays a crucial role in video retouching as well. Great audio quality can significantly impact the viewer’s experience. Ensure your video has clear and balanced audio, remove any background noise, and make necessary adjustments to volume levels and sound effects to maintain a cohesive audiovisual experience.
Step 6: Fine-Tuning and Exporting
Once you’re satisfied with the overall retouching and enhancements, it’s time to fine-tune any final adjustments. Review your video from start to finish, paying attention to details and making any necessary tweaks. When you’re happy with the final result, choose the appropriate settings for exporting your video, keeping in mind the intended platform and target audience.
Expand Your Video Editing Skills with Video Retouching
Video retouching is a powerful skill that can transform your footage and take it to the next level. By following this step-by-step guide, you’ll be equipped with the knowledge and techniques to enhance the aesthetic appeal of your videos. Don’t be afraid to experiment, practice, and explore new creative possibilities. With dedication and persistence, you’ll become proficient in video retouching and create visually stunning videos that leave a lasting impact on your audience.
Step-by-Step Guide to Video Retouching
Are you looking to enhance the aesthetic of your videos? Video retouching is a powerful technique that allows you to make subtle edits and touchups to improve the overall look and feel of your footage. In this comprehensive guide, we will walk you through the step-by-step process of video retouching, sharing valuable tips and techniques along the way.
1. Identify Areas for Improvement
The first step in video retouching is to carefully review your footage and identify areas that could benefit from enhancement. Look for imperfections such as blemishes, color inconsistencies, or distracting elements that can be corrected or removed. By addressing these issues, you can bring your videos to a whole new level.
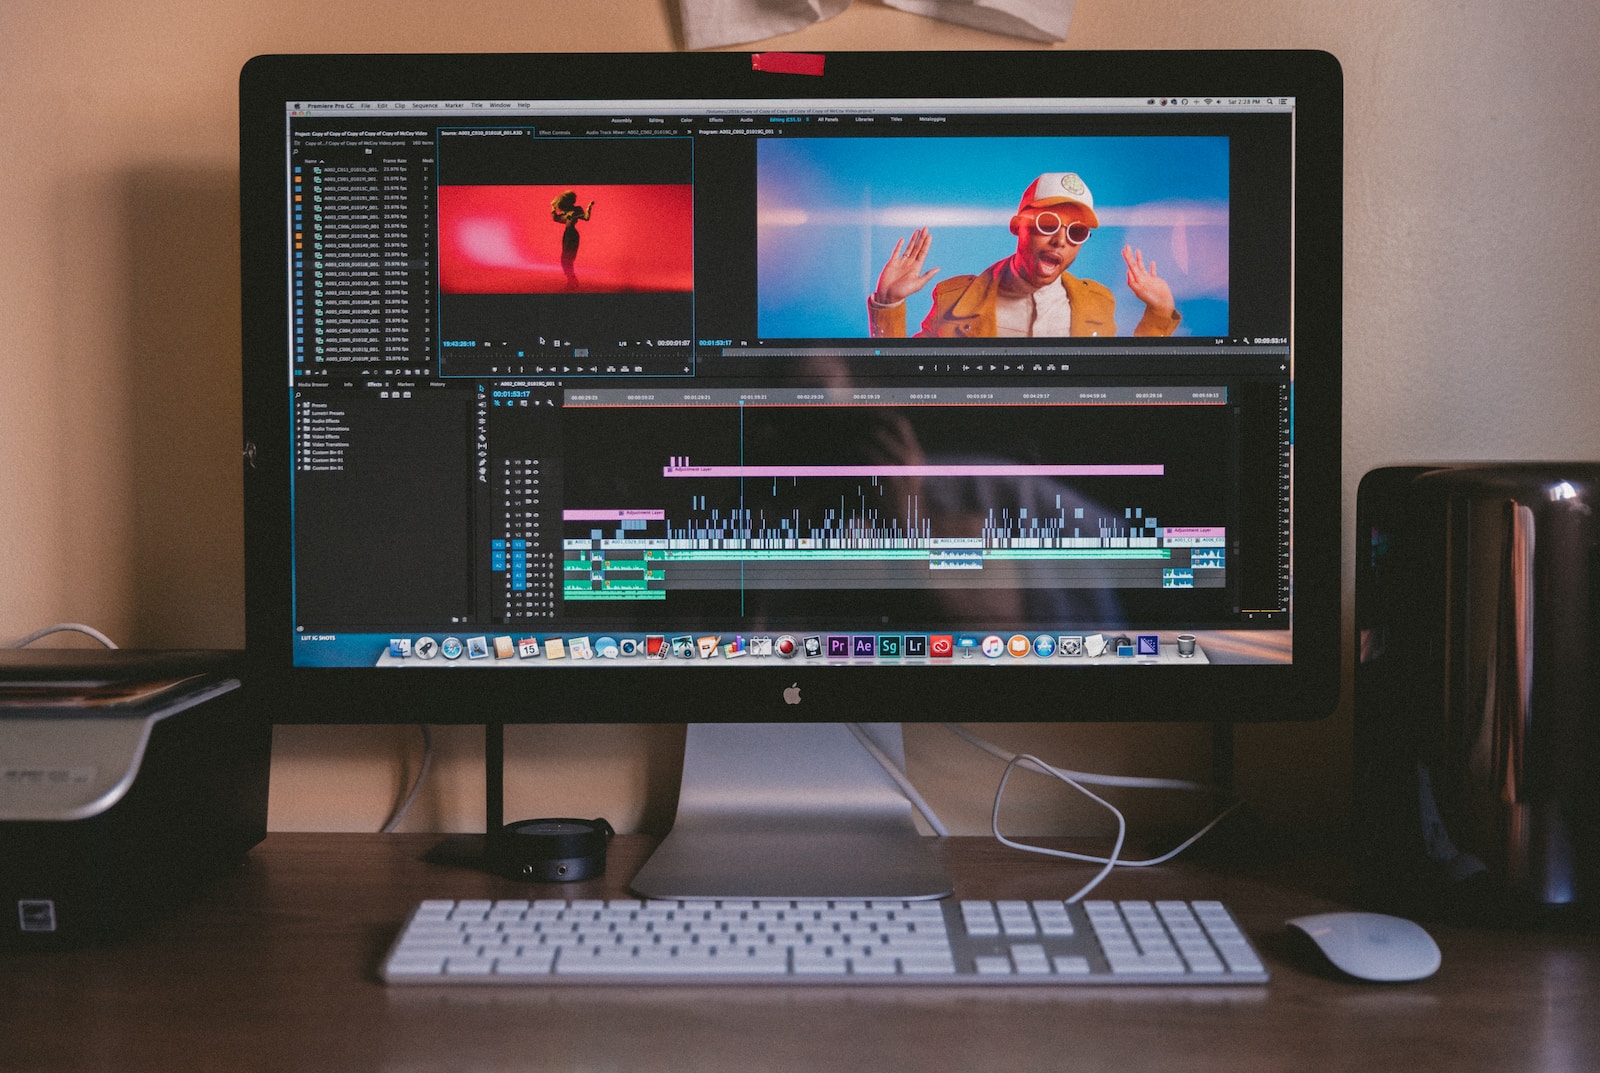
2. Choose the Right Software
Having the right tools is essential for successful video retouching. There are several software options available that offer powerful features for post-processing and aesthetic enhancement. Adobe Premiere Pro and Final Cut Pro X are two popular choices among professionals, providing a wide range of editing capabilities to transform your videos.
3. Start with Color Correction
Color correction is a crucial step in video retouching as it sets the overall tone and mood of your footage. Begin by adjusting the white balance to ensure accurate colors. Then, fine-tune the contrast, saturation, and brightness levels to achieve the desired look. Experiment with different settings until you find the perfect balance.
4. Apply Filters and Effects
Once you have corrected the colors, you can further enhance the aesthetic of your videos by applying filters and effects. This can include adding vignettes for a dramatic look, adjusting the sharpness or blur for a softer feel, or even experimenting with creative filters to add a unique touch. Remember, the goal is to enhance the visual impact while still preserving the natural essence of the footage.
5. Smooth Transitions and Transitions
Smooth and seamless transitions between scenes and shots are essential for a professional-looking video. Pay attention to the timing and pace of your edits, ensuring that they flow smoothly and create a cohesive narrative. Additionally, consider incorporating transitions such as fades, dissolves, or wipes to add a polished touch to your video.
6. Remove Unwanted Elements
During the video retouching process, it’s common to encounter unwanted elements that distract from the main focus. To ensure a clean and visually appealing video, take the time to remove or minimize these distractions. This can include anything from removing objects that shouldn’t be in the frame to minimizing the appearance of imperfections on the subject’s skin.
7. Fine-Tune Audio
While visual enhancements are crucial, audio plays an equally important role in creating an immersive experience for your viewers. Make sure to review and tweak the audio levels, ensuring that they are clear and balanced throughout the video. Additionally, consider adding background music or sound effects to enhance the overall atmosphere.
8. Preview and Adjust
After making the necessary adjustments, it’s important to preview your video to ensure everything looks and sounds as intended. Take the time to watch the footage in its entirety and make any additional tweaks or refinements as needed. Remember, the goal is to deliver a visually stunning and captivating video.
Once you are satisfied with the final result, it’s time to export your video and share it with the world. Choose the appropriate format and resolution based on your intended platform or audience. Whether you are posting on social media, uploading to a website, or showcasing your work on a big screen, be sure to optimize the settings for the best possible viewing experience.
In conclusion, video retouching allows you to make subtle edits and touchups to improve the overall aesthetic of your videos. By following this step-by-step guide, you can enhance the visual impact of your footage and captivate your audience. With the right techniques and tools at your disposal, the possibilities for video retouching are endless. So, get started and unleash your creativity!
Frequently Asked Questions
What is video retouching?
Video retouching refers to the process of making subtle edits and touchups to improve the overall aesthetic of your videos. It involves enhancing colors, adjusting brightness and contrast, removing blemishes or imperfections, and applying other post-processing techniques to create a polished and visually appealing final product.
Why is video retouching important?
Video retouching is important because it helps to enhance the overall quality and visual appeal of your videos. By making subtle edits and touchups, you can create a more professional-looking video that captures the attention of your audience and effectively delivers your message.
What tools and software do I need for video retouching?
There are various tools and software available for video retouching, depending on your level of expertise and specific requirements. Some popular options include Adobe Premiere Pro, Final Cut Pro, DaVinci Resolve, and iMovie. These software programs offer a wide range of features and tools to help you retouch and enhance your videos.
What are some common video retouching techniques?
Some common video retouching techniques include color correction, adjusting brightness and contrast, sharpening and smoothing, removing unwanted objects or blemishes, adding visual effects or filters, and improving audio quality. These techniques can be applied selectively or in combination to achieve the desired aesthetic enhancements for your videos.
Is video retouching time-consuming?
The time required for video retouching depends on the complexity of the project and the level of detail you want to achieve. Simple edits and touchups can be done relatively quickly, while more advanced techniques may require additional time and effort. It is important to plan accordingly and allocate sufficient time for the retouching process.
Are there any recommended resources or tutorials for video retouching?
Yes, there are numerous resources and tutorials available online that can help you learn and improve your video retouching skills. Websites, forums, and video-sharing platforms often provide valuable guides, tips, and step-by-step tutorials on video retouching techniques. Additionally, many software manufacturers also offer official documentation and tutorial videos for their products.
Wrap Up
In conclusion, video retouching and post-processing are crucial steps in enhancing the overall aesthetic appeal of your videos. By following this step-by-step guide, you can learn how to make subtle edits and touchups that will elevate the quality of your content. Remember to pay attention to details, such as color correction, sharpness, and noise reduction, to achieve a professional look.
Experiment with different techniques and software to find your own style and workflow. Don’t be afraid to think outside the box and try new creative approaches. Practice makes perfect, so keep refining your skills and learning from every project.
We hope this guide has been valuable in helping you understand the importance of video retouching and how to improve your videos. Now it’s time for you to put these tips into action! Start retouching your videos and let us know your thoughts and experiences in the comments below. We can’t wait to hear from you!