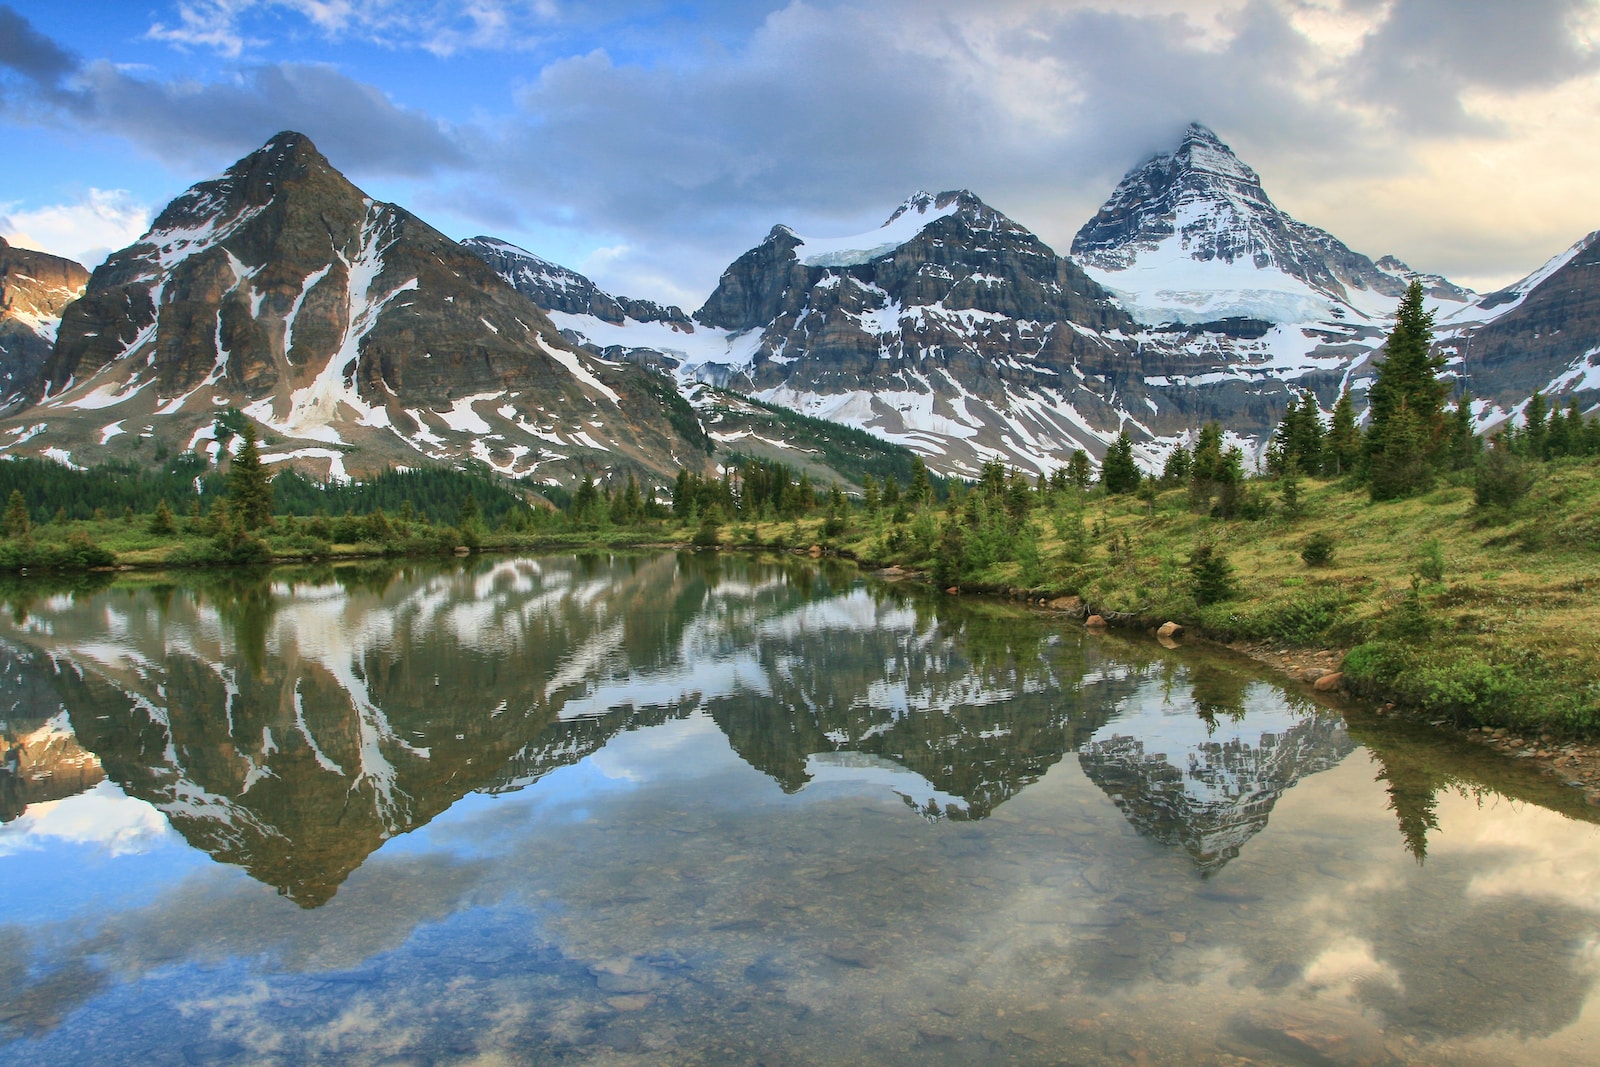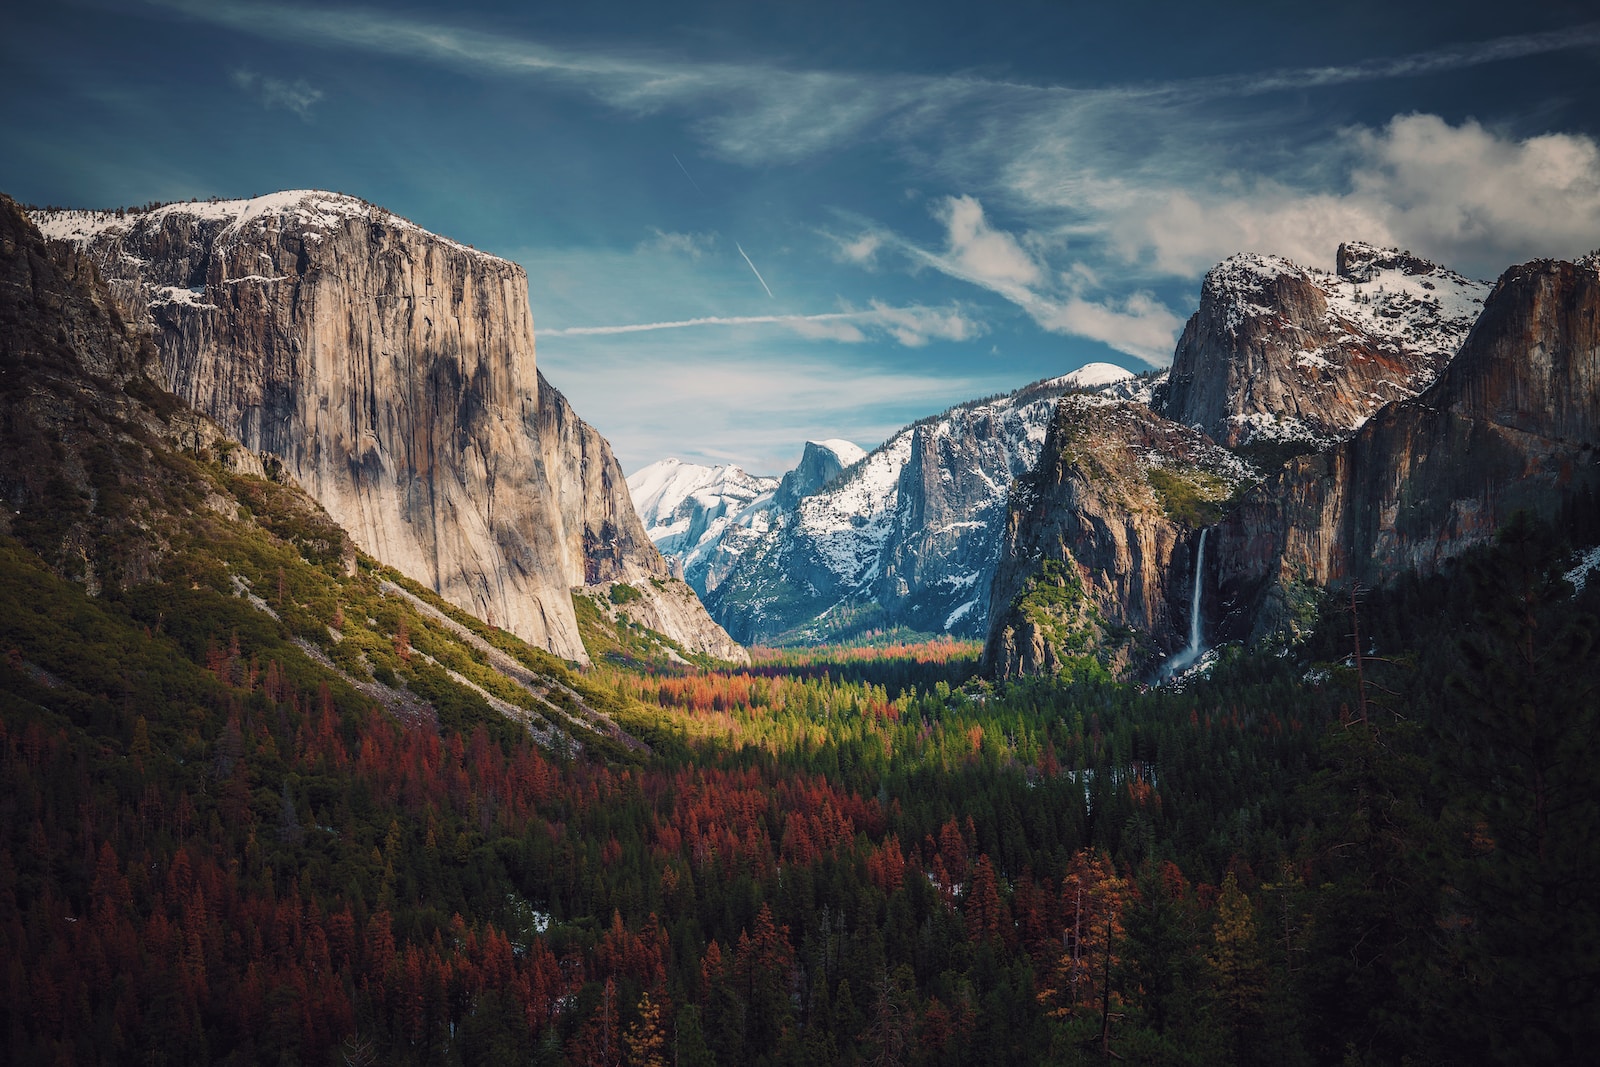
Welcome to my blog, where I will share valuable tips on digital blending for landscape photos. If you are a landscape photographer looking to take your images to the next level, then this blog is for you. Discover how digital blending can combine the best parts of several photos to create a superior final image. Learn the post-processing techniques and strategies that will enhance your photographs and make them stand out. Join me on this journey of exploring the world of digital blending and uncover the secrets to creating stunning landscape photos.
Table of Contents
- What is Digital Blending?
- Tips on Digital Blending for Landscape Photos
- Frequently Asked Questions
- What is digital blending?
- Why is digital blending beneficial for landscape photographers?
- How does digital blending work?
- What are some tips for successful digital blending?
- Can digital blending be done with any photo editing software?
- Is digital blending considered ethical in photography?
- Are there any limitations to digital blending?
- Where can I learn more about digital blending?
- Wrap Up
What is Digital Blending?
Before we dive into the tips and techniques, let’s first understand what digital blending is. Digital blending is a post-processing method used by photographers to combine multiple exposures of the same scene into a single, well-exposed image. It allows for the retention of detail in both the highlights and shadows, resulting in a final image that accurately represents the dynamic range of the scene.
The Benefits of Digital Blending
Why should landscape photographers consider incorporating digital blending into their workflow? Here are a few key benefits:
- Increased Dynamic Range: By blending multiple exposures, you can capture a wider range of tonal values, preserving detail in both the bright and dark areas of your images.
- Enhanced Details: Digital blending allows you to bring out the fine details in different areas of the photo, creating a more visually appealing and realistic image.
- Artistic Control: With digital blending, you have greater control over the final outcome of your image. You can highlight specific elements or areas, achieving a more personalized and artistic result.
Tips for Successful Digital Blending
Now that you understand the basics, let’s dive into some practical tips that will help you achieve impressive results with digital blending:
1. Shoot Bracketed Exposures
To have a range of exposures for blending, it’s essential to shoot bracketed images. This involves taking multiple exposures of the same composition, with varying settings for exposure compensation. Ensure one image is properly exposed for the highlights, one for the shadows, and one in between.
2. Use a Tripod and Remote Shutter Release
To ensure accurate alignment of images during blending, it’s crucial to use a sturdy tripod and a remote shutter release. This eliminates any camera movement and ensures the images align seamlessly, resulting in a perfectly blended final image.
3. Choose the Right Software
There are several software programs available for digital blending, but it’s essential to choose one that suits your needs and preferences. Popular options include Adobe Photoshop, Lightroom, and specialized software like Luminosity Masks or HDR programs. Experiment with different tools to find the one that works best for you.
4. Master Selections and Masks
Selections and masks are indispensable tools in digital blending. Understanding how to create precise selections and use masks effectively will allow you to blend different exposures seamlessly and control the visibility of specific elements within the image.
5. Blend with Purpose
When blending multiple exposures, it’s crucial to have a clear vision of the final image you want to create. Take your time to assess the strengths and weaknesses of each exposure and blend them purposefully to enhance the overall impact of the photograph.
Did you know that digital blending is not only suitable for landscapes but also for architectural photography? It allows photographers to bring out the textures and details in both the interior and exterior of buildings.
By implementing these tips and incorporating digital blending into your post-processing workflow, you can take your landscape photos to new heights. Remember, practice and experimentation are key to mastering this technique. So grab your camera, explore the diverse landscapes, and unleash your creativity through the powerful art of digital blending.
Tips on Digital Blending for Landscape Photos
Welcome to my blog where I will guide you through the fascinating world of digital blending for landscape photos. This post will provide valuable tips and techniques to help you achieve stunning results in your post-processing workflow. Whether you are a beginner or an experienced photographer, digital blending can take your landscape images to the next level.
What is Digital Blending?
Digital blending is a sophisticated technique used by photographers to combine the best parts of multiple images into a single final photograph. It allows you to capture a wider range of tones and details, resulting in a more dynamic and visually appealing image.
This technique is especially beneficial for landscape photographers. Often, when shooting landscapes, we face challenges such as extreme contrasts between the sky and the land or uneven lighting conditions. Digital blending helps overcome these challenges by blending multiple exposures, capturing the rich details of the highlights and shadows.
The Benefits of Digital Blending
Using digital blending techniques in your post-processing workflow offers several advantages.
- Enhanced dynamic range: By blending multiple exposures, you can expand the dynamic range, capturing more details in the highlights and shadows. This results in a more balanced and realistic final image.
- Greater control: Digital blending allows you to have complete control over the final result. You can fine-tune the blending process to emphasize your desired elements, such as enhancing the sky or bringing out the foreground details.
- Seamless blending: With the right techniques, you can achieve seamless blending of multiple exposures, creating a natural-looking image without any visible traces of manipulation.
- Creative possibilities: Digital blending opens up a world of creative opportunities. You can combine different exposures to create unique compositions, emphasizing different elements of the landscape and adding your artistic touch.

Tips and Techniques for Digital Blending
To make the most out of digital blending in your landscape photography, here are some tips and techniques to consider:
- Shoot in RAW: Shooting in RAW format provides you with the maximum amount of data to work with during the blending process. This gives you more flexibility and control in post-processing.
- Use a tripod: Consistency is key when capturing multiple exposures for digital blending. A sturdy tripod ensures that your images align perfectly, making the blending process smoother and more accurate.
- Bracket your exposures: To capture a wider dynamic range, bracket your exposures by taking multiple shots at different exposure values. This will give you more options to blend and ensure that you capture all the necessary details.
- Choose the right software: There are various software options available for digital blending, such as Adobe Photoshop and Luminosity Masking Tools. Experiment with different tools and find the one that suits your workflow and preferences.
- Master layer masks: Layer masks are crucial for digital blending. Learn how to create and manipulate layer masks to blend your exposures seamlessly and selectively enhance different parts of your image.
By implementing these tips and techniques, you will be able to harness the power of digital blending to create breathtaking landscape photos. The key is to practice and experiment, allowing your creativity to shine through in your final images.
So, are you ready to dive into the world of digital blending and take your landscape photography to new heights? Stay tuned for more in-depth tutorials and case studies in future blog posts.
Frequently Asked Questions
What is digital blending?
Digital blending is a post-processing technique where multiple photos of the same scene, taken with different exposures or settings, are combined to create a final image that showcases the best parts of each photo.
Why is digital blending beneficial for landscape photographers?
Digital blending allows landscape photographers to capture the full dynamic range of a scene, ensuring that both the brightest highlights and darkest shadows are properly exposed. This technique enables them to create stunning and well-balanced images that accurately represent the beauty of the landscape.
How does digital blending work?
To begin digital blending, photographers typically take multiple exposures of the same scene, adjusting the settings to capture the highlights, midtones, and shadows separately. They then use post-processing software, such as Photoshop, to blend these exposures together, selecting the best parts of each to create the final image.
What are some tips for successful digital blending?
Here are a few tips to enhance your digital blending process:
- Shoot with a tripod to ensure consistent framing.
- Use the bracketing feature on your camera to capture a range of exposures.
- Experiment with different blending techniques, such as luminosity masking or exposure blending.
- Take time to fine-tune the blending process for each image, meticulously blending areas to achieve a natural and seamless result.
- Practice and experiment to develop your own unique style and expression.
Can digital blending be done with any photo editing software?
Yes, digital blending techniques can be performed using various photo editing software. Adobe Photoshop is a popular choice due to its advanced blending capabilities and extensive control over the blending process. However, other software options, like GIMP or Lightroom, also offer tools for digital blending.
Is digital blending considered ethical in photography?
Digital blending is a creative technique widely accepted within the photography community. As long as the final image accurately reflects the scene as it appeared to the photographer and does not misrepresent reality, digital blending is considered an ethical practice.
Are there any limitations to digital blending?
While digital blending offers great advantages, it also comes with a few limitations. Some challenging scenes, such as those with moving subjects or complex dynamics, may require additional expertise and advanced blending techniques. Additionally, the blending process may be time-consuming for photographers who prefer a quicker streamline workflow.
Where can I learn more about digital blending?
To learn more about digital blending and improve your skills, consider exploring online tutorials, photography forums, and workshops dedicated to landscape photography and post-processing techniques. You can also find valuable resources in books and educational websites focused on photography.
Wrap Up
In conclusion, digital blending is a powerful technique that can take your landscape photos to the next level. By combining the best parts of multiple images, you can create a final result that showcases the stunning beauty of the scene. Whether you’re looking to bring out more details in the shadows, enhance the colors, or emphasize specific elements, digital blending offers endless possibilities for post-processing.
Remember to keep these tips in mind when using digital blending: plan your shots with blending in mind, choose the right software, and follow a systematic process. Practice and experimentation are key to mastering this technique, so don’t be afraid to try new things and learn from your results.
I hope these insights have inspired you to give digital blending a try! If you have any questions or would like to share your experiences, I encourage you to leave a comment below. Happy blending!