Welcome to DNA Models – A Photography Guide! If you have a passion for science and photography, this blog is for you. In this comprehensive guide, we will explore the art of photographing DNA models, from selecting the perfect lighting and background to mastering the art of capturing intricate details. Whether you are a professional photographer looking to expand your portfolio or a science enthusiast eager to showcase your love for genetics, this blog will provide you with all the essential tips and techniques to create stunning DNA model photographs. Let’s delve into the fascinating world of science photography!
Table of Contents
- DNA Models – A Photography Guide
- Choosing the Right Camera for DNA Model Photography
- The Magic of DNA Models: A Photography Guide
- Frequently Asked Questions
- 1. What equipment do I need for photographing DNA models?
- 2. How should I light my DNA models for photography?
- 3. What background should I use for photographing DNA models?
- 4. How can I achieve sharp focus on the intricate details of DNA models?
- 5. Any tips for composing visually appealing shots of DNA models?
- 6. Are there any editing techniques I can use to enhance my DNA model photographs?
- 7. Where can I find inspiration and further resources on DNA model photography?
- Wrap Up
DNA Models – A Photography Guide
Welcome to “DNA Models – A Photography Guide,” where we will explore the exciting world of photographing DNA models. DNA, the building block of life, offers a unique and fascinating subject for photographers. With its intricate structure and scientific significance, DNA models present endless possibilities for creating captivating and visually stunning photographs.
The Intricacies of DNA Model Photography
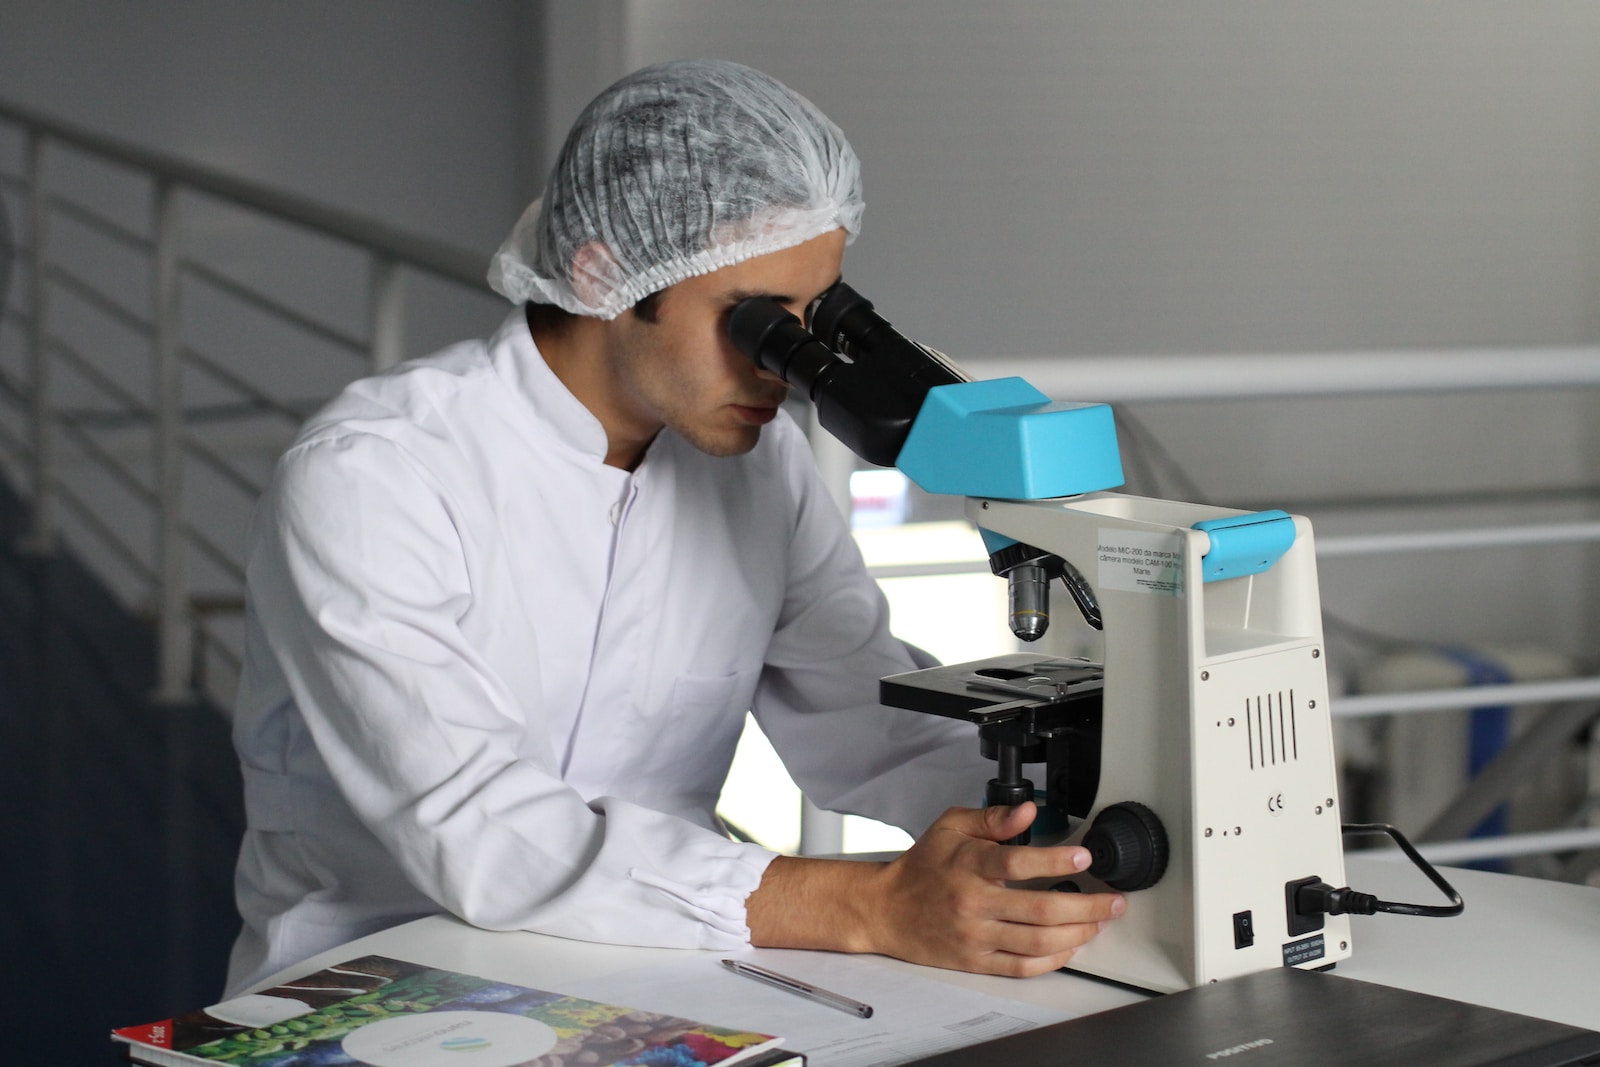
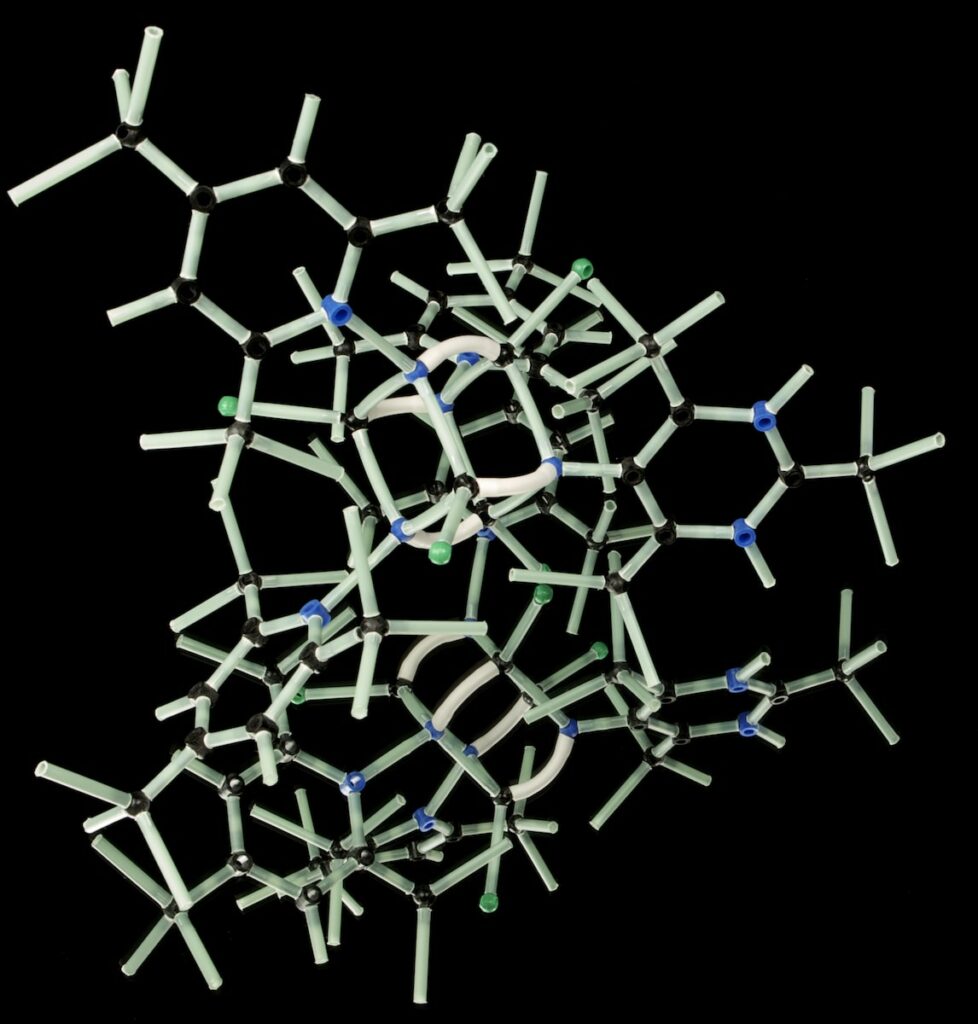
Photographing DNA models requires a keen eye for detail and a thorough understanding of lighting, composition, and focusing techniques. To capture the intricate details of the DNA structure, macro photography is the go-to technique. By using a macro lens or extension tubes, you can achieve magnification and capture the mesmerizing beauty hidden within the DNA model.
In terms of lighting, choosing the right setup is crucial. DNA models can be made from various materials, such as plastic or wire, and each material reacts differently to light. Experiment with both natural light and artificial lighting to see which best accentuates the curves and contours of the DNA model. Soft, diffused lighting can help eliminate harsh shadows and create a more pleasing and three-dimensional effect.
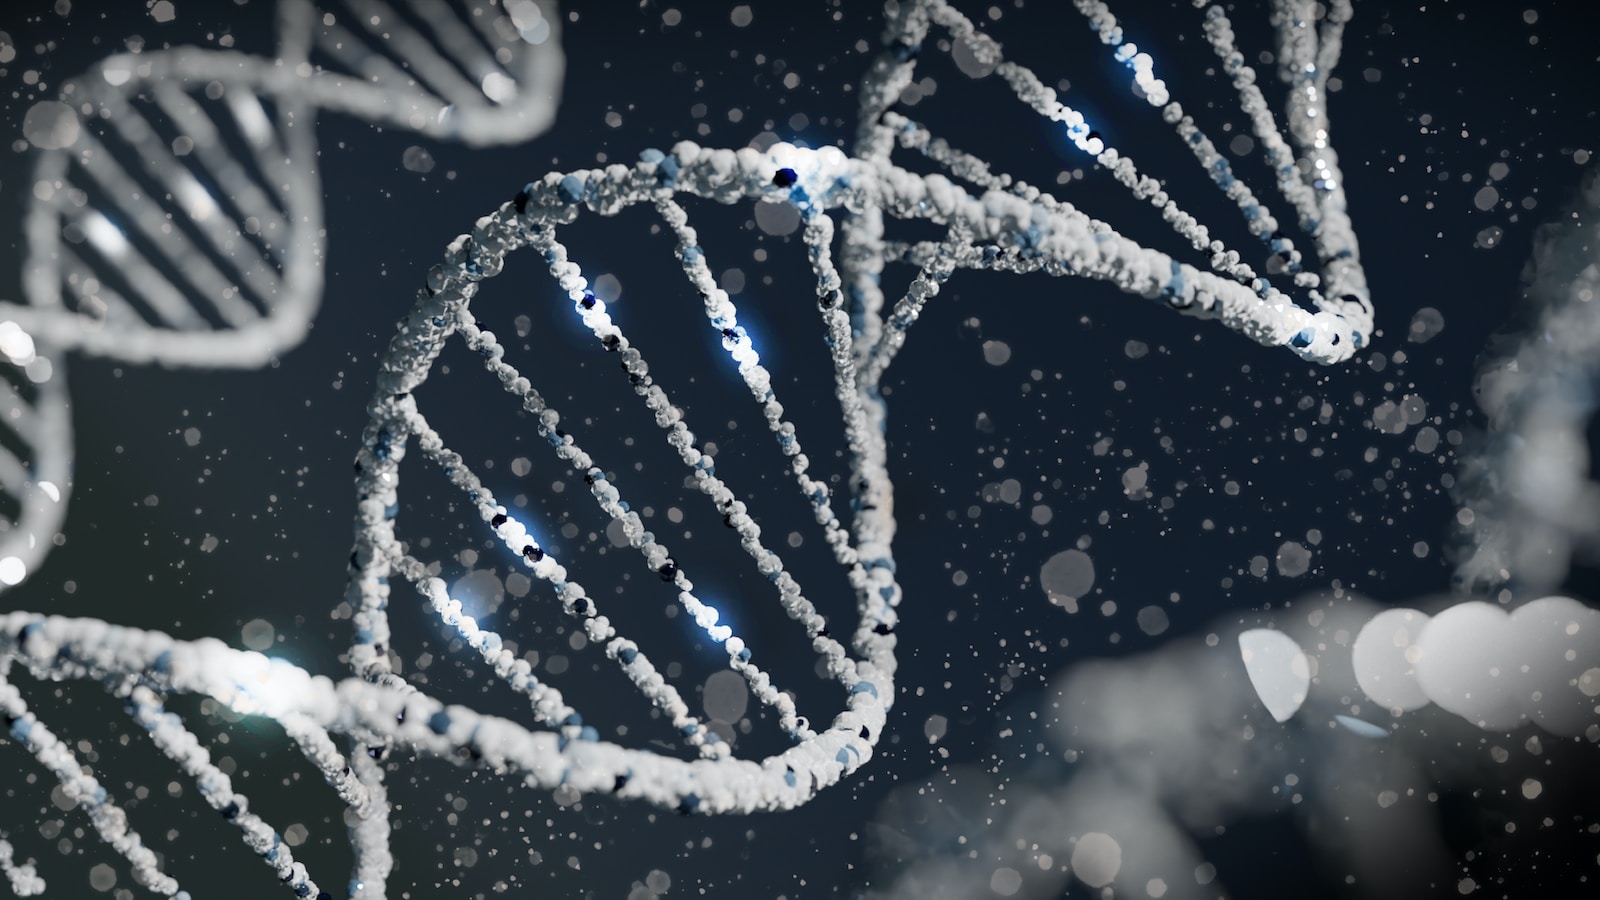
Consider using a black or white background to provide a contrasting backdrop for the DNA model. A black background can add drama and intensity to the photograph, while a white background can create a clean and scientific aesthetic. Experiment with different background colors to find the one that best complements your DNA model and enhances its visual impact.
Showcasing the Details
When photographing DNA models, it’s essential to focus on capturing the intricate details that make these structures so intriguing. Using a shallow depth of field can help draw attention to specific areas and create a sense of depth and dimension. Experiment with different aperture settings to achieve the desired level of focus and blur.
To showcase the tiny components of the DNA model, try using a macro lens with a high magnification ratio. This will allow you to capture even the smallest details, such as the individual base pairs and helix structure. Remember to use a tripod to ensure sharpness and stability while photographing at such close distances.
Consider experimenting with different angles and perspectives to create unique and visually appealing compositions. Capture close-up shots that highlight intricate patterns, or step back and capture the entire DNA model to showcase its overall structure. Don’t be afraid to get creative and think outside the box to create impactful and memorable photographs.
Whether you’re a science enthusiast, a biologist, or a photography enthusiast, photographing DNA models offers a fascinating and rewarding experience. By perfecting your lighting techniques, experimenting with different backgrounds, and focusing on capturing the intricate details, you’ll be able to create stunning visuals that showcase the beauty and complexity of DNA.
Did you know that DNA, the blueprint of life, has a spiral structure called a double helix? This elegant arrangement resembles a twisted ladder, with rungs made up of base pairs. It's truly a masterpiece of nature's design!
Choosing the Right Camera for DNA Model Photography
When it comes to photographing DNA models, having the right camera can make all the difference in capturing the intricate details and beauty of the subject. Look for a camera that offers high resolution, a full-frame sensor, and excellent low light performance. These features will ensure that you can capture every nuance and detail with clarity.
There are several options to consider when it comes to cameras. One option is a DSLR (Digital Single Lens Reflex) camera. These cameras provide great image quality, versatile lens options, and manual controls that allow you to fine-tune your settings. Another option is a mirrorless camera. These cameras are becoming increasingly popular due to their compact size, excellent image quality, and advanced autofocus capabilities.
Essential Lenses and Equipment
To further enhance your DNA model photography, investing in the right lenses can make a notable difference. Macro lenses are the go-to choice for capturing intricate details and achieving magnification. Look for a lens with a focal length of 90mm or longer to allow for greater working distance and minimize shadows. Alternatively, consider using extension tubes or close-up filters with a standard lens to achieve similar results at a lower cost.
In addition to lenses, utilizing a few key pieces of equipment can greatly improve your DNA model photography. Tripods are essential for keeping your camera steady, especially when shooting in low light conditions or using longer exposure times. A remote shutter release or self-timer function can further eliminate camera shake and ensure sharp images. Lastly, investing in a good quality diffuser or reflector can help control lighting and eliminate harsh shadows.
Remember, the gear you choose should align with your budget and photography goals. Regardless of the equipment you choose, always prioritize your understanding of composition, lighting, and technique to produce stunning photographs.
By using the appropriate camera, lenses, and equipment for your DNA model photography, you’ll have the tools necessary to capture every intricate detail and showcase the beauty of these models in your images.
The Magic of DNA Models: A Photography Guide
Welcome to our comprehensive guide on capturing the beauty of DNA models through photography. Whether you’re a science enthusiast, a photography enthusiast, or both, this blog post will provide you with invaluable tips and techniques to create stunning images. In this section, we’ll discuss the best time of year to take photos, as well as some optimal vantage points and positions to enhance your photography. So, let the exploration begin!
Choosing the Perfect Time of Year
When photographing DNA models, the time of year can greatly influence the overall aesthetic of your images. While DNA models can be captured throughout the year, certain seasons can offer unique opportunities.
In spring, when flowers are in bloom, incorporating them into the composition can add a touch of freshness and vibrancy to your photos. The burst of colors against the backdrop of the DNA model can create a visually appealing contrast.
Summer, with its longer daylight hours, presents the perfect opportunity for capturing intricate details. The ample natural light can help showcase the delicate structure of the DNA model. Additionally, the warm sunlight can create beautiful shadows, adding depth and dimension to your photographs.
During fall, the changing foliage provides a captivating backdrop for your DNA model photography. The rich tones of red, orange, and yellow can complement the model, resulting in visually striking images.
Finally, winter offers a unique atmosphere for photographing DNA models. The neutral tones of snow and ice can create a minimalist and ethereal look, emphasizing the elegance of the DNA structure.
Optimal Vantage Points and Positions
Choosing the right vantage point and position is vital to capturing the essence and intricacies of DNA models. Let’s explore a few options:
- Macro Photography: By using a macro lens or feature, you can get up close and personal with the DNA model, revealing the finest details. Every twist and turn of the structure will be magnified, showcasing the complexity of the helix arrangement.
- Experimenting with Angles: Play around with different angles to create unique perspectives. Capture the DNA model from above to showcase its symmetry, or shoot from a lower angle to emphasize its height. Don’t be afraid to get creative and experiment!
- Contextual Photography: Consider placing the DNA model within a scientific laboratory or classroom setting to add context and visual interest. This approach can help tell a story and make the photograph more dynamic.
- Using Natural Light: Position the DNA model near a window or in an outdoor setting to take advantage of natural light. Soft, diffused lighting can enhance the texture and details of the model, resulting in an organic and visually pleasing image.
Remember, these are just a few options to help you get started. Feel free to explore and find your own unique approach to photographing DNA models. Each choice you make adds a personal touch and allows you to express your creativity!
Now that you know the importance of timing and the impact of vantage points and positions, it’s time to dive into other essential aspects of DNA model photography. Stay tuned for our next section, where we’ll focus on lighting and background choices to bring your DNA model images to life!
One helpful tip for photographing DNA models is to use a macro lens to capture intricate details. By getting up close and personal with the model, you can highlight the unique structure and patterns of the DNA strands. Experiment with different angles and lighting to bring out the best features of the model.
Frequently Asked Questions
1. What equipment do I need for photographing DNA models?
To capture stunning images of DNA models, you’ll need a DSLR or mirrorless camera, a macro lens for capturing intricate details, a sturdy tripod for stability, and remote shutter or cable release for minimizing camera shake.
2. How should I light my DNA models for photography?
When lighting DNA models, it’s best to use diffused light to eliminate harsh shadows. You can achieve this by using a softbox or shooting near a large window with natural light. Experiment with different lighting angles to bring out the texture and structure of the models.
3. What background should I use for photographing DNA models?
Choose a background that complements the DNA models and enhances their visual impact. A plain, solid-colored background works well to keep the focus on the models themselves. Consider using neutral tones or colors that contrast with the model’s colors to make them pop.
4. How can I achieve sharp focus on the intricate details of DNA models?
To capture the fine details of DNA models, it’s crucial to use a small aperture (high f-stop number) to increase the depth of field. Additionally, use manual focus and zoom in on the areas you want to emphasize to ensure precise focus.
5. Any tips for composing visually appealing shots of DNA models?
When composing your shots, experiment with different angles and perspectives to create visually interesting images. Consider capturing close-ups to showcase the intricate details or try capturing the DNA models in their surroundings to give context to the images.
6. Are there any editing techniques I can use to enhance my DNA model photographs?
Absolutely! In post-processing, you can enhance the colors, adjust the contrast and brightness, and selectively sharpen specific areas to further emphasize the details. Experiment with different editing tools to achieve the desired look while maintaining a natural appearance.
7. Where can I find inspiration and further resources on DNA model photography?
There are several online communities, photography forums, and social media groups dedicated to science and macro photography. Explore websites, blogs, and books on macro and detail photography to gather inspiration and learn new techniques.
Wrap Up
Now that you have all the tools and knowledge to capture stunning DNA model photographs, it’s time to put them into action! Experiment with different lighting setups, backgrounds, and angles to find what works best for you. Don’t be afraid to get up close and personal for those beautiful macro shots that capture every intricate detail.
Remember, practice makes perfect, so keep honing your skills and pushing yourself to try new techniques. And don’t forget to share your amazing DNA model photographs with the world! Whether you’re posting them on social media or submitting them to science publications, let your creativity shine through.
We hope this photography guide has inspired you to take your DNA model photography to the next level. If you have any questions or would like to share your own experiences, we’d love to hear from you in the comments below.