Welcome to “Food Art – The Beauty of Culinary Creations,” a mouthwatering guide to capturing the beauty of food art. Whether you’re an amateur food photographer or a seasoned culinary artist, this blog aims to inspire and educate you on the art of food photography. Join us on a delicious journey as we delve into the world of creative photography, exploring lighting techniques, composition ideas, color tones, and post-processing tips. Learn how to elevate your food photography skills and make your culinary creations shine like true works of art.
Table of Contents
- The Beauty of Culinary Creations
- Mastering the Art of Post-Processing
- The Ultimate Guide to Capturing Food Art: Camera Selection
- Best Time and Locations to Capture Food Art
- Frequently Asked Questions
- 1. Why is food photography so popular?
- 2. How can I improve my food photography skills?
- 3. What lighting setup is best for food photography?
- 4. How can I achieve mouthwatering food photos?
- 5. What post-processing techniques can enhance food photography?
- 6. How can I get started in the world of food photography?
- Wrap Up
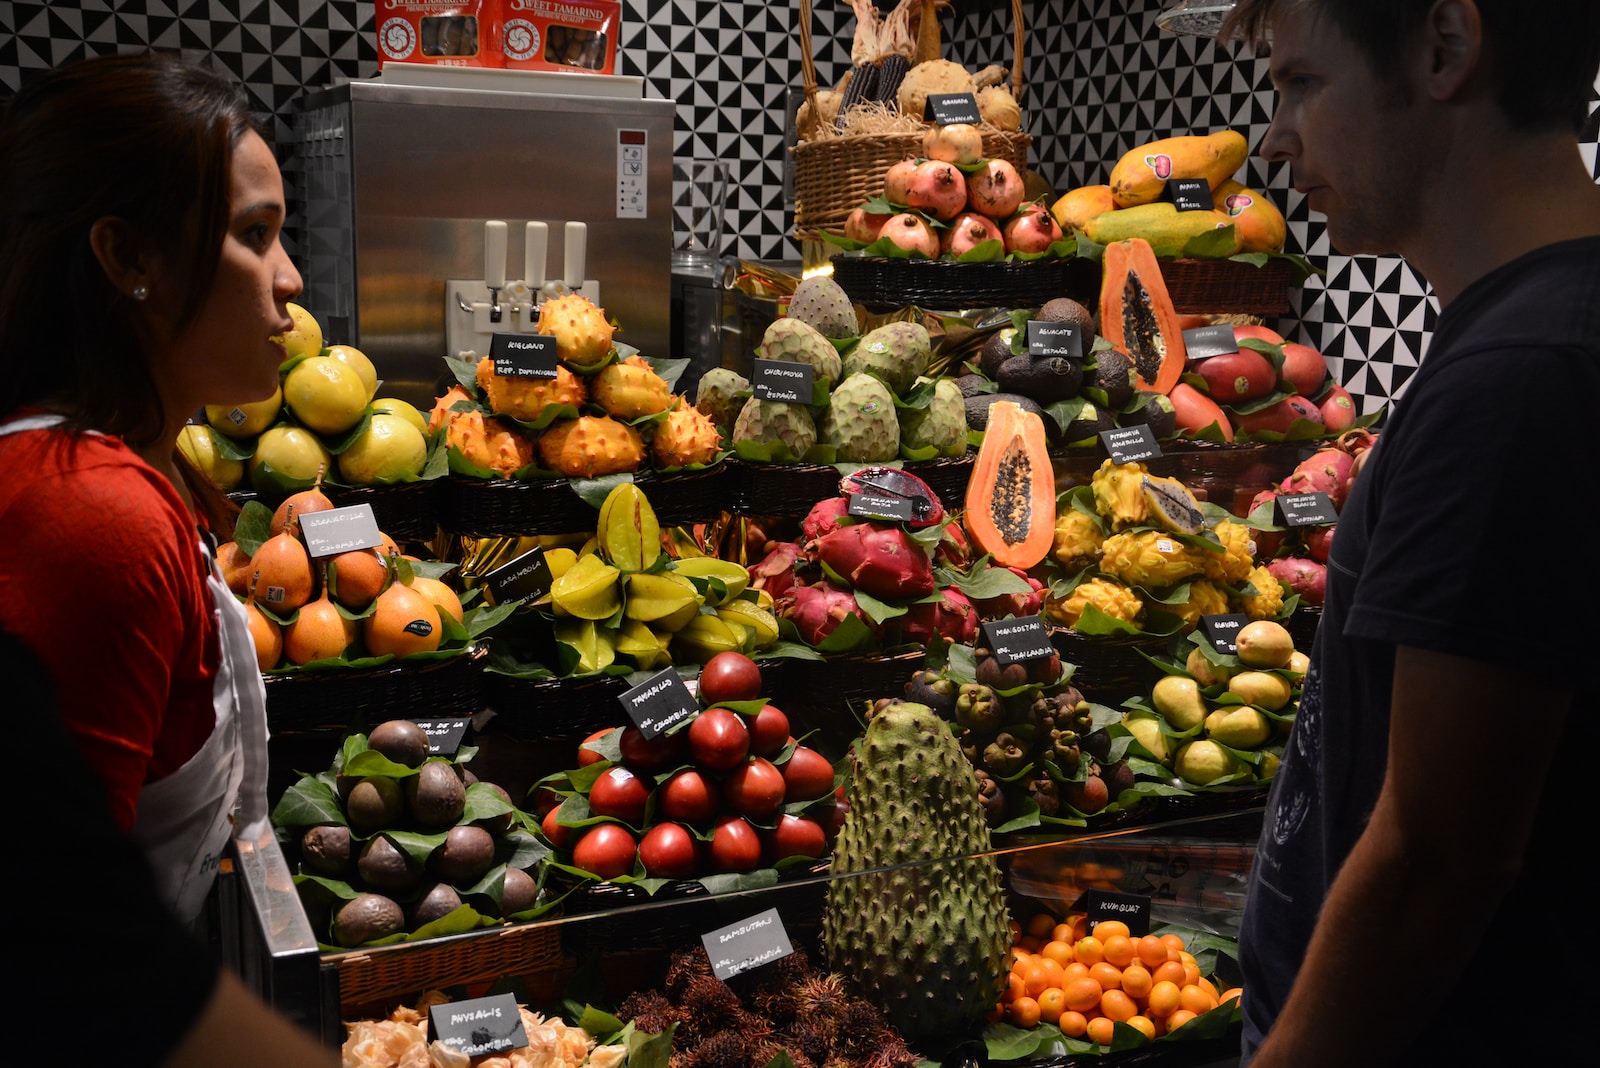
The Beauty of Culinary Creations
Food art is not limited to only the taste buds; it extends to visual senses as well. Food photography is a form of creative art that allows us to capture the beauty of culinary creations. From elegant plating to vibrant ingredients, every dish offers unique features that make for great photographs. In this article, we will explore the techniques and tips to master the art of food photography and capture mesmerizing images that will tantalize your audience.
Lighting: Illuminating the Art
Lighting plays a crucial role in food photography. Natural light, especially during the golden hours (early morning or late afternoon), can add warmth and depth to your images. Try positioning your subject near a window or shoot outdoors, relying on diffused sunlight for a soft and dreamy effect. Alternatively, you can experiment with artificial lighting setups, such as flash or studio lights, to create dramatic and moody compositions. Remember, the right lighting can accentuate the textures, colors, and details of your culinary masterpiece.
Composition: Creating a Visual Feast
Composition is the art of arranging elements within the frame to create visually pleasing images. When it comes to food photography, consider applying the rule of thirds. Imagine dividing your frame into a 3×3 grid and place the main subject along the intersecting lines. This creates balance and visual interest. Experiment with different angles and perspectives, such as overhead shots, close-ups, or capturing the food in action. Remember, creativity and thinking outside the box can elevate your photographs from ordinary to extraordinary.
In addition to the rule of thirds, other composition techniques like leading lines, symmetry, and negative space can also add a dynamic element to your food images. Leading lines, such as utensils or ingredients, can guide the viewer’s eye towards the subject, creating a visual journey. Symmetry can bring a sense of harmony and balance to your photos, while negative space can provide simplicity and draw attention to the main dish.
Another technique to consider is the use of props. Incorporating related elements like beautiful tableware, fresh herbs, or colorful ingredients can add depth and context to your food photography, creating a story within the frame.
Mastering the Art of Post-Processing
The journey of culinary art does not end with the click of a camera. Post-processing is an essential step to enhance the beauty of your food photographs further. Here are some key tips to make your images come alive:
Color Tones and White Balance
Color tones set the mood of your photograph. Experiment with different color grading techniques, such as warm tones for comfort food or cool tones for refreshing dishes. Additionally, pay attention to white balance to ensure accurate colors. Adjusting white balance can transform the overall ambiance of your image.
Enhancing Textures
Food photography often highlights the textures of the ingredients. Use editing tools to enhance the textures and make them more visually appealing. Play with contrast, clarity, and sharpness to bring out the details that may have been lost in the initial photograph.
Removing Distractions
Inevitably, there might be some distractions in your photographs. Whether it’s a stray crumb or an unwanted reflection, utilize editing software to remove such distractions, ensuring that the focus remains on the food itself.
If you’re ready to embark on your food photography journey, keep these essential techniques in mind. Remember, practice makes perfect, so grab your camera, experiment with different dishes, and let your creativity flow. Capturing the beauty of food art is not only satisfying but also an opportunity to share your passion with the world.
Did you know that food photography dates back to the 19th century when photographers captured images of meticulously arranged still life compositions adorned with mouthwatering culinary creations?
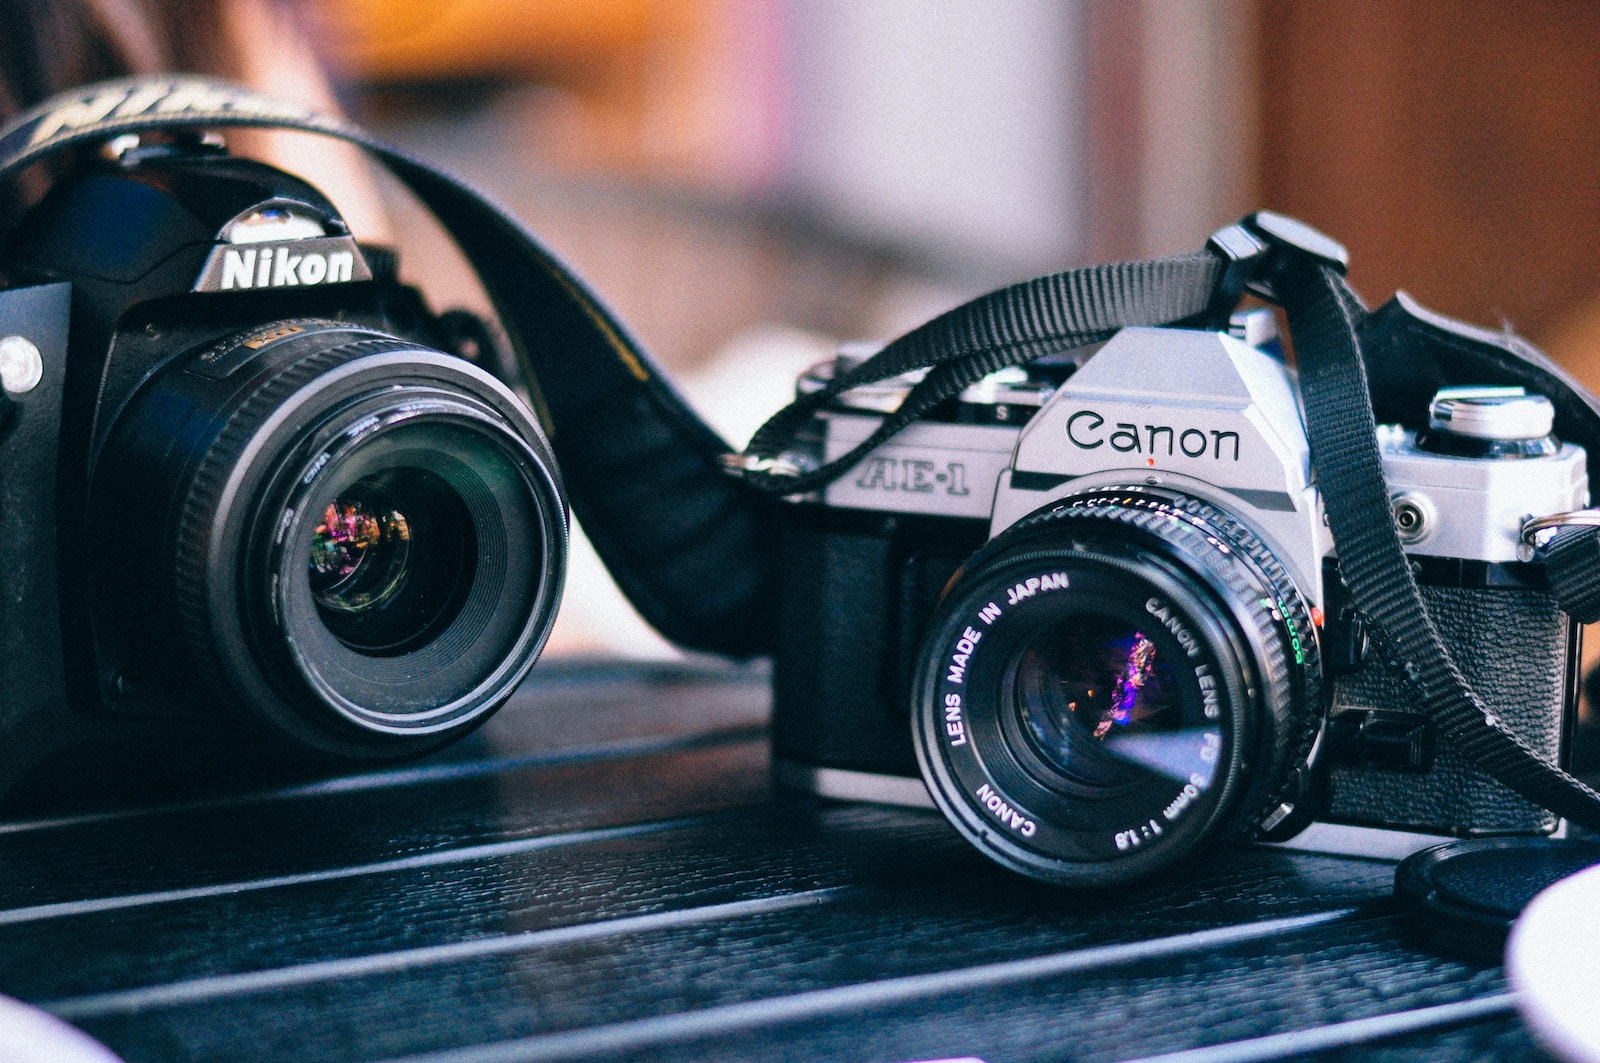
The Ultimate Guide to Capturing Food Art: Camera Selection
When it comes to photographing food art, having the right equipment can make all the difference. While there are various options available, it’s important to consider a few key factors before making your decision.
One popular choice among food photographers is a DSLR camera, known for its versatility and image quality. The advantage of a DSLR is the ability to interchange lenses, giving you more creative control over your shots. However, mirrorless cameras are gaining popularity for their compact size, exceptional image quality, and the ability to preview the exposure and focus in real-time.
Another option to consider is a high-quality smartphone with an advanced camera. With advancements in technology, smartphones now offer impressive capabilities, making them a convenient choice for on-the-go food photography.
Lens Selection
Once you’ve chosen your camera, selecting the right lens is crucial for capturing stunning food art. Different lenses offer various focal lengths and aperture ranges, providing different perspectives and effects.
A prime lens, such as a 50mm or 85mm, is a popular choice among food photographers due to its wide aperture, which allows for beautiful bokeh and background separation. It also provides a natural perspective and is great for capturing detail shots.
If you prefer a wider perspective, consider investing in a wide-angle lens, such as a 24mm or 35mm. This lens is ideal for capturing the entire scene or for shooting in tight spaces. It can also create a sense of depth and add a dramatic element to your images.
For those wanting to capture intricate details and close-up shots, a macro lens should be your go-to choice. A macro lens offers a 1:1 magnification ratio, allowing you to focus on the smallest details of your culinary creations.
Other Essential Equipment
In addition to your camera and lenses, there are a few other essential pieces of equipment to consider for your food photography adventures.
- Tripod: A sturdy tripod is invaluable for keeping your camera steady and allows for precise composition and focus. It also comes in handy when shooting in low light situations.
- Lighting: Good lighting is crucial for capturing the beauty of food art. Natural light is highly recommended, so a large window or shooting outdoors can provide soft and diffused lighting. However, if natural light is limited, investing in artificial lighting options like softboxes or continuous LED lights can help achieve the desired ambiance.
- Reflectors and Diffusers: These handy tools help control and manipulate light. Reflectors can bounce light back onto your subject to fill in shadows, while diffusers soften harsh lighting.
Remember, the equipment you choose ultimately depends on your personal preferences, shooting style, and budget. Experimenting with different options can help you discover the gear that suits you best. So get out there and start capturing the beauty of food art!
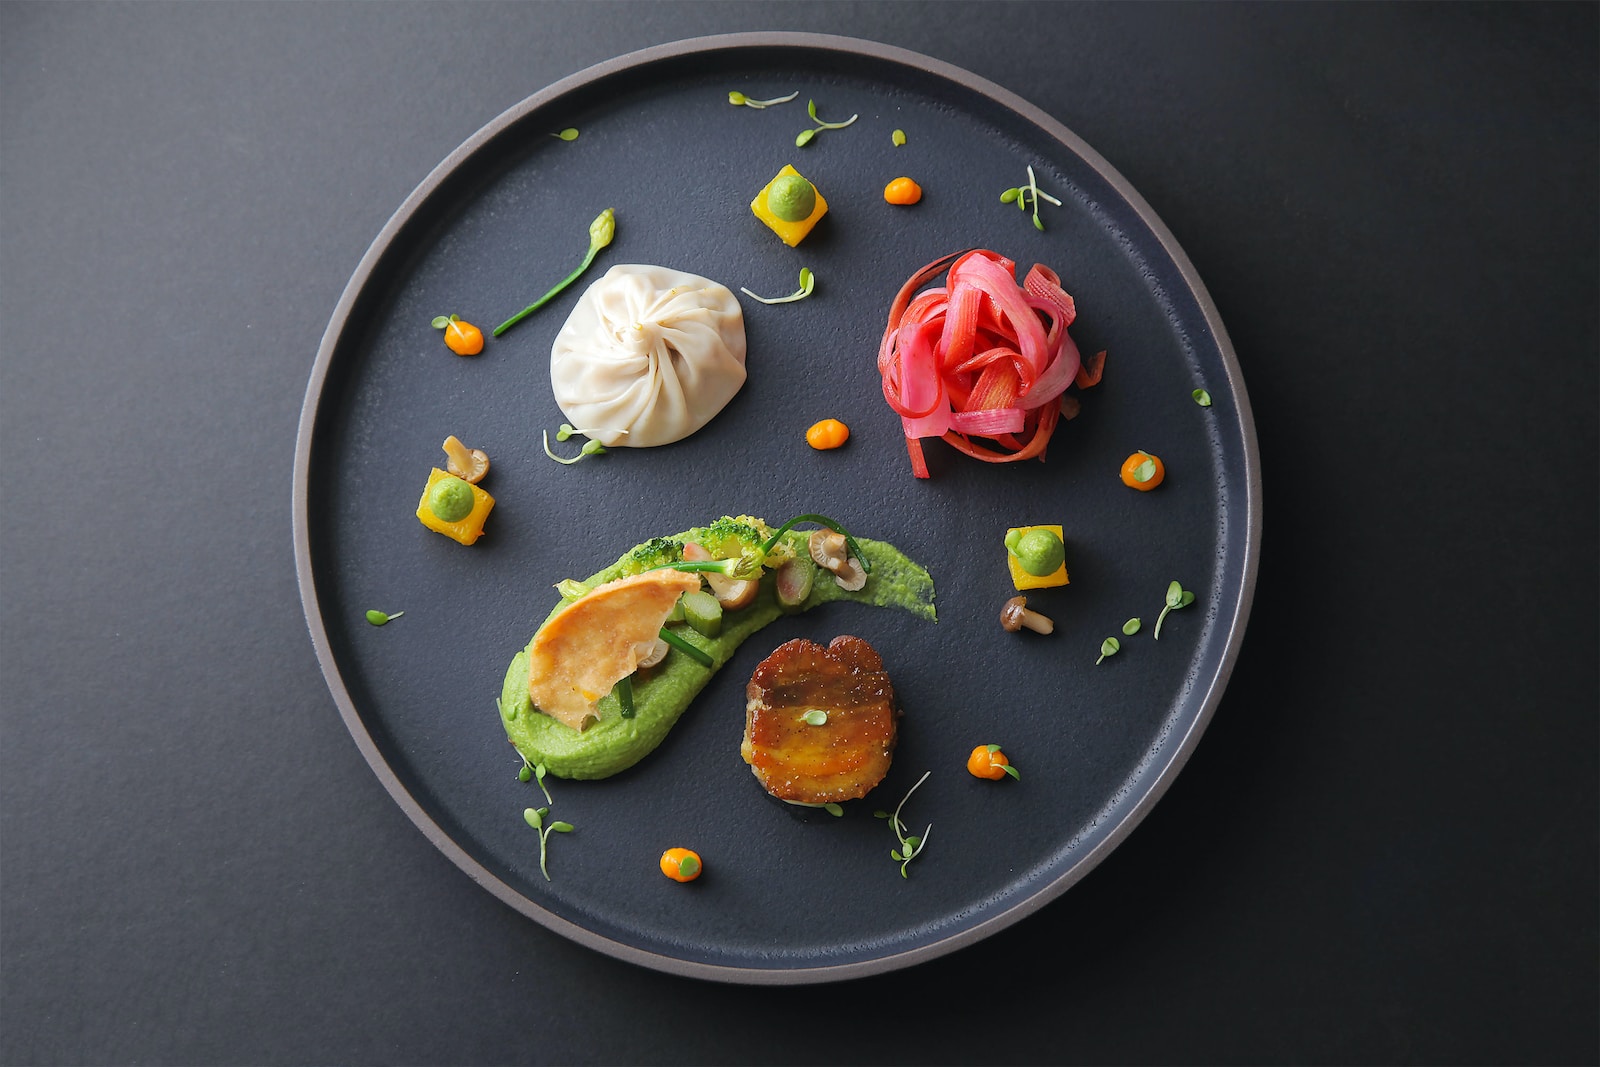
Best Time and Locations to Capture Food Art
Food photography, like any other form of photography, is greatly influenced by lighting. One of the best times to capture stunning shots of culinary creations is during the golden hour, which is the period shortly after sunrise or before sunset.
During this time, the lighting is soft, warm, and diffused, casting a beautiful golden glow on the food. This gentle light creates a natural, inviting atmosphere and adds a touch of warmth to the images. The soft shadows and subtle highlights created during this time also enhance the texture and details of the ingredients and dishes.
Whether you’re shooting indoors or outdoors, try to plan your food photography sessions around the golden hour. If you’re shooting indoors, position your subject near a window where the soft, ambient light can flood the scene. In outdoor settings, take advantage of the natural light and find a spot where sunlight is filtered through trees or buildings.
Exploring Different Vantage Points
When it comes to food art photography, the choice of vantage point and composition plays a crucial role in creating visually appealing images. Here are two options to consider:
Option 1: Bird’s Eye View
Taking photos from a bird’s eye view gives viewers a unique perspective and allows them to see the elements of the dish in a visually interesting way. This perspective offers a full view of the entire plate and can be particularly effective for capturing beautifully arranged flat lay compositions.
Try experimenting with different angles of bird’s eye view shots, such as shooting directly from above or tilting the camera slightly for a dynamic composition. Play with props, such as utensils and ingredients, to add depth and storytelling to the image.
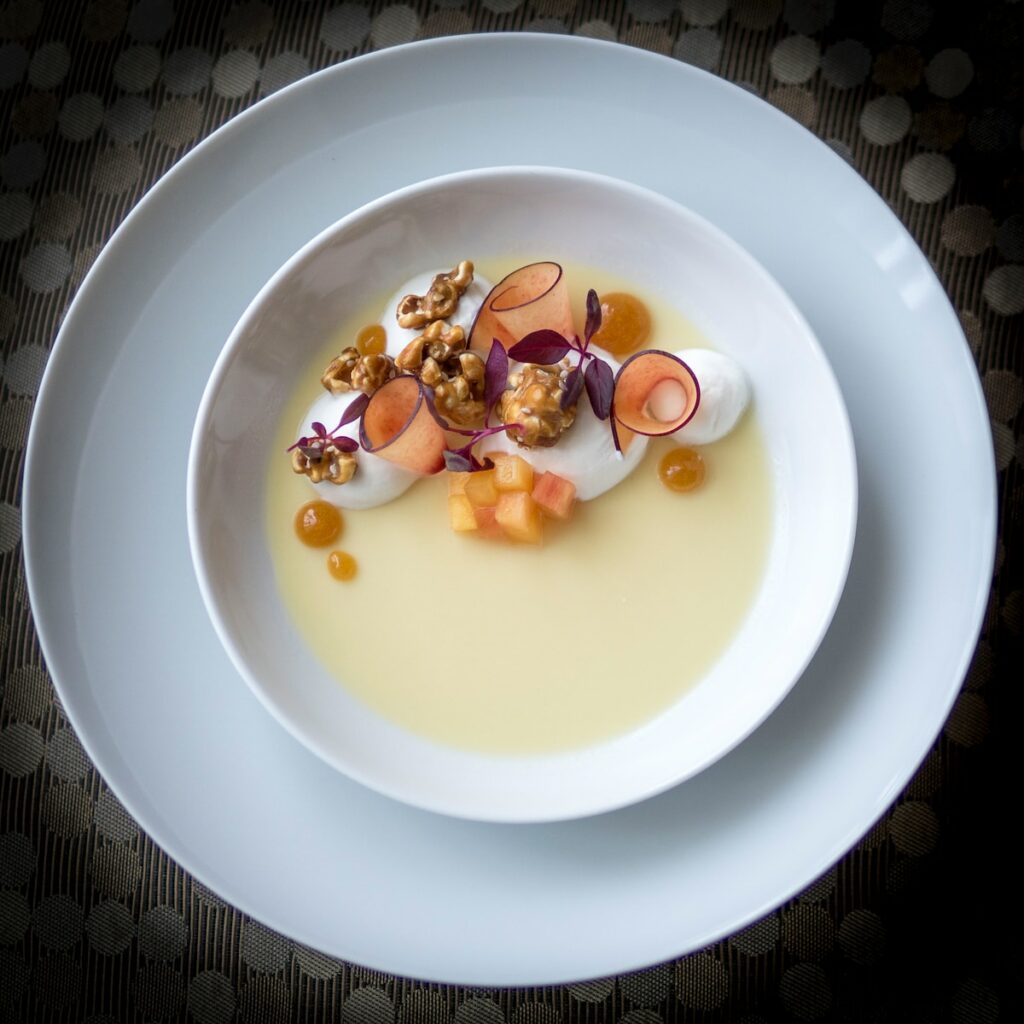
Option 2: Eye-Level View
Shooting food at eye level creates a more intimate and relatable experience for the viewer. It provides a sense of familiarity, as if they are sitting at the table ready to enjoy the meal themselves. This perspective can be ideal for capturing close-up shots that highlight the textures, colors, and intricate details of the dish.
When shooting at eye level, pay attention to the composition and framing. Experiment with different angles, such as slightly tilting the camera or capturing the food from a diagonal perspective, to add visual interest. Incorporating the surrounding environment or props can also help establish a narrative and enhance the overall composition.
Remember, the best vantage point and composition ultimately depend on the specific dish and the story you want to tell. Don’t be afraid to explore different options and experiment with various perspectives to create truly captivating food art photographs.
Capture the intricate details of food art with a macro lens. This lens allows you to get up close and personal, highlighting the textures and colors of the culinary creation. Set a narrow aperture (high f-stop) for a greater depth of field, ensuring that every element is in sharp focus. Experiment with different angles to find the most visually appealing composition.
Frequently Asked Questions
1. Why is food photography so popular?
Food photography is popular because it combines the art of culinary creations with the visual appeal of photography. It allows chefs, food bloggers, and restaurant owners to showcase their dishes in a visually attractive and enticing way.
2. How can I improve my food photography skills?
To improve your food photography skills, focus on lighting, composition, color tones, and post-processing techniques. Experiment with different angles, props, and backgrounds to create captivating images. Study the work of other food photographers and practice regularly to enhance your skills.
3. What lighting setup is best for food photography?
It is best to use natural light whenever possible for food photography. Position your subject near a large window or shoot outdoors during the golden hour for soft, flattering light. If natural light is not available, equip yourself with a good quality continuous light source or use a bounce card to soften harsh artificial light.
4. How can I achieve mouthwatering food photos?
To achieve mouthwatering food photos, pay close attention to the styling and presentation of the dish. Use props that complement the food and add visual interest. Incorporate elements such as steam, drips, and textures to make the image more enticing. Capture the food at its freshest and most vibrant stage.
5. What post-processing techniques can enhance food photography?
Post-processing can greatly enhance food photography. Use editing software to adjust exposure, white balance, and colors to make the food appear more appetizing. Focus on enhancing the details and textures of the dish while maintaining a natural and realistic look. Experiment with different filters and presets to create a unique visual style.
6. How can I get started in the world of food photography?
To get started in food photography, invest in a good camera and lens combination that allows you to capture sharp and detailed images. Build a portfolio by practicing at home or collaborating with local restaurants and food bloggers. Network with professionals in the industry and seek feedback to improve your skills.
Wrap Up
Food photography is an art that captures the essence and beauty of culinary creations. It is a skill that requires careful consideration of lighting, composition, color tones, and post-processing techniques. By following these tips and tricks, you can elevate your food photography game and create stunning images that will make mouths water.
Remember to experiment with different settings and angles to find your unique style. Pay attention to the details and tell the story of the dish through your lens. Whether you are a professional photographer or an enthusiastic foodie, capturing the beauty of food art is a delightful way to celebrate the artistry of culinary creations.
Do you have any tips or experiences to share about food photography? Leave a comment below and let’s continue the conversation!