Welcome to Fueling the Flames – How to Photograph Fire, an extensive guide on capturing the dynamic nature of fire photography. Whether you’re drawn to the mesmerizing allure of candle flames, the intense heat of bonfires, or the breathtaking beauty of fireworks, this blog is your gateway to mastering the art of capturing fire in all its forms. From essential safety precautions to camera settings and composition tips, unleash your creativity and learn how to create stunning images that truly ignite the viewers’ imagination.
Table of Contents
- Illuminate Your Photography Skills with Fire
- The Essential Equipment for Fire Photography
- The Best Time and Positions for Capturing Stunning Fire Photography
- Frequently Asked Questions
- 1. What equipment do I need for fire photography?
- 2. Are there any safety precautions I should take while photographing fire?
- 3. What camera settings work best for fire photography?
- 4. How can I compose visually appealing fire photographs?
- 5. Where can I find inspiration for fire photography?
- 6. How can I ensure my fire photographs are unique?
- Wrap Up
Illuminate Your Photography Skills with Fire
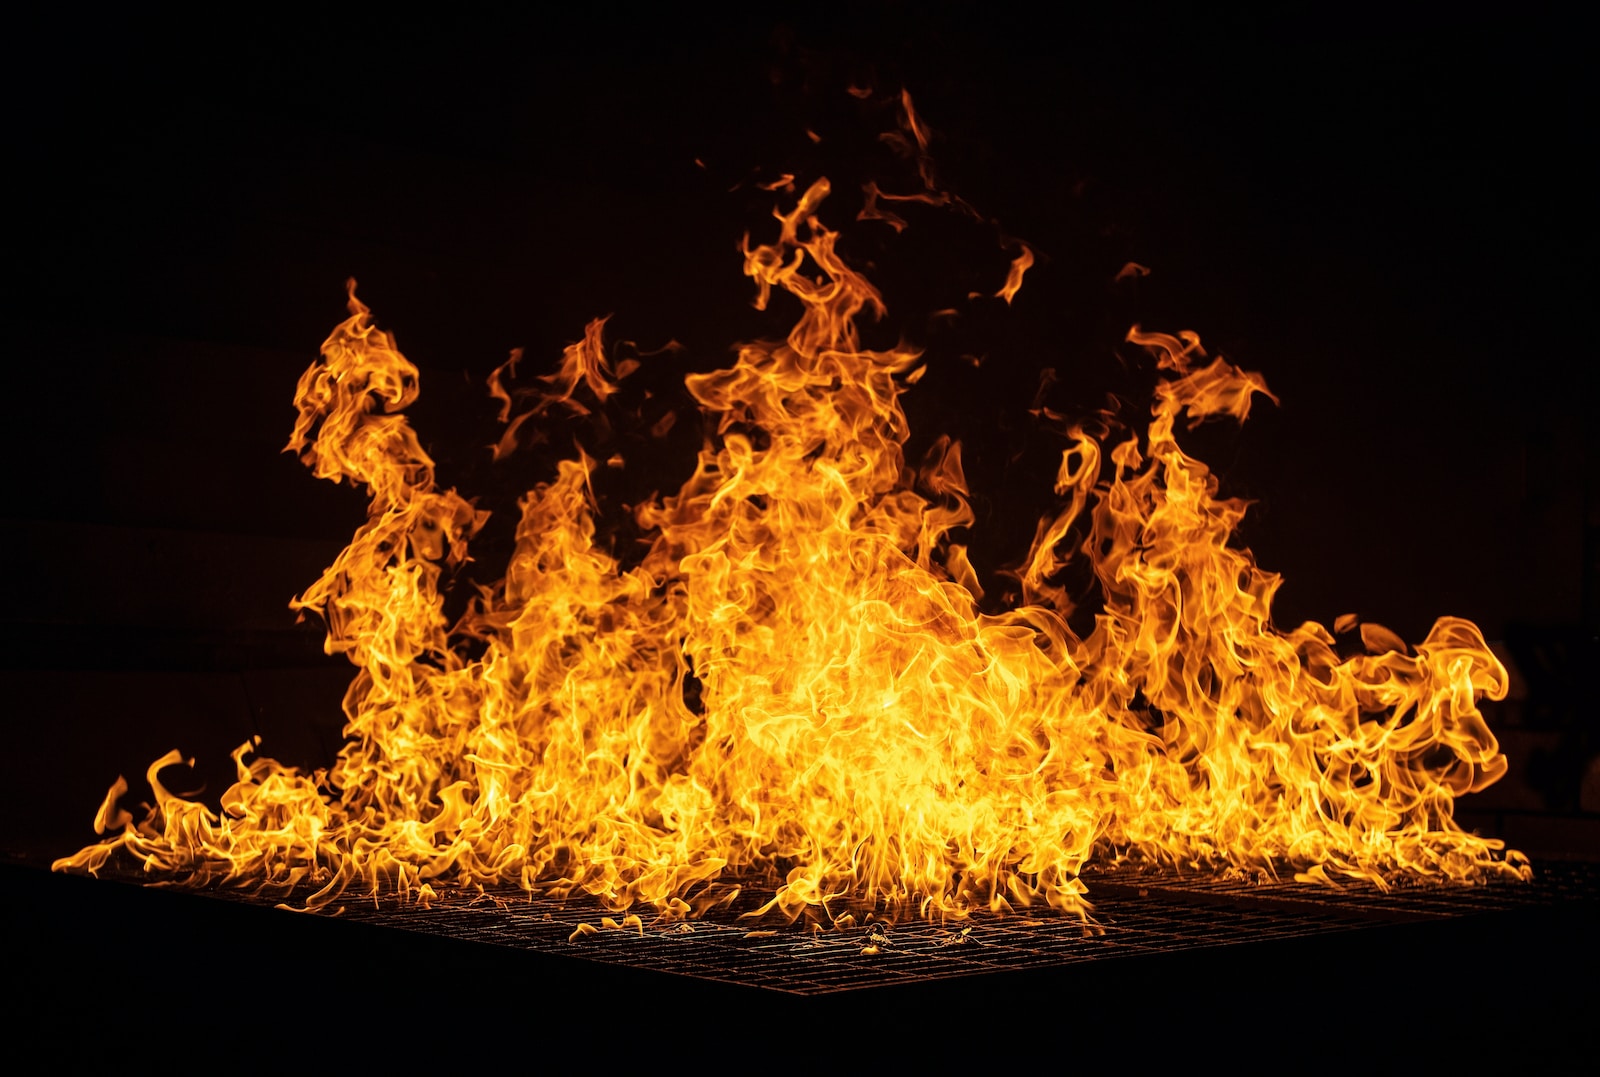
Fire is a captivating subject that can ignite your passion for photography. The dynamic nature of fire provides a unique opportunity to capture mesmerizing and striking images. Whether you are photographing a blazing bonfire, fireworks, or a controlled burn, these fiery scenes offer endless creative possibilities. In this section, we will explore the fascinating features of fire photography and provide you with valuable tips to fuel your flames of creativity.
Capturing the Essence of Fire
Fire is a powerful element, radiating warmth and intensity. To truly capture the essence of fire in your photographs, there are a few key techniques to keep in mind:
- Expose for the Flames: When photographing fire, it’s important to properly expose for the flames. This means adjusting your camera settings to ensure the flames are properly exposed, while still capturing the surrounding details. Experiment with different exposure settings to find the perfect balance.
- Play with Shutter Speed: Manipulating the shutter speed can create different effects in your fire photography. A faster shutter speed will freeze the flames, capturing each dancing flicker with precision. On the other hand, a slower shutter speed can create beautiful motion blur, highlighting the dynamic nature of fire.
- Experiment with Angles: Don’t be afraid to get up close and personal with the fire. Capturing the flames from different angles can provide unique perspectives and add depth to your photographs. Try shooting from above, below, or even through objects to create interesting compositions.
- Focus on Details: Fire is full of intricate details that can make for captivating images. Zoom in on individual embers or focus on the patterns formed by the flames. By highlighting these details, you can create visually stunning photographs that draw viewers into the fiery scene.
Composition and Safety Precautions
When photographing fire, composition plays a vital role in creating impactful images. Additionally, it’s crucial to prioritize safety while capturing these fiery moments. Here are some guidelines to help you compose your photographs effectively and ensure a safe photography experience:
- Rule of Thirds: Apply the rule of thirds to your fire photography compositions. Position the flames or the focal point of your shot along the intersecting lines or at their intersections. This technique will create a visually pleasing and well-balanced composition.
- Leading Lines: Incorporate leading lines into your fire photography to guide the viewer’s eyes toward the flames. This can be done by including objects, such as logs or branches, that naturally lead towards the fire. Utilizing leading lines adds depth and visual interest to your photographs.
- Foreground Elements: To enhance the overall composition, consider including foreground elements in your fire photographs. This can be a silhouette of a person, a fallen leaf, or even a structure. These elements add context to your images and create a more compelling story.
- Safety First: Fire photography can be exhilarating, but safety should always be the top priority. Make sure you are in a controlled environment and take necessary precautions such as keeping a safe distance from the flames, wearing protective gear, and being mindful of your surroundings. Fire can be unpredictable, so it’s important to prioritize your safety at all times.
By implementing these techniques and adhering to safety precautions, you will be able to capture stunning fire photographs that fuel your creativity and ignite the imaginations of your viewers.
Did you know that fire photography is not just about capturing flames, but it also involves capturing the mesmerizing patterns and vibrant colors that are created as the fire dances and moves?
The Essential Equipment for Fire Photography
When it comes to photographing fire, having the right equipment is crucial to capturing those mesmerizing shots. In this section, we will explore the necessary camera gear, lenses, and additional equipment that will help you fuel your flames of creativity.
Camera
Your choice of camera plays a significant role in fire photography. Look for a camera that offers manual controls for shutter speed, aperture, and ISO. This will allow you to have full control over your exposure settings, resulting in stunning images.
There are various options available to suit different budgets and skill levels.
If you’re just starting out, an entry-level DSLR or mirrorless camera can deliver excellent results. These cameras often come bundled with a versatile kit lens, which can cover a range of focal lengths.
For more advanced photographers, consider investing in a mid-range or professional-grade camera. These cameras offer higher resolution, better low-light performance, and faster burst rates.
Lenses
Selecting the right lens is crucial for capturing the dynamic nature of fire. Here are a few options to consider:
Wide-Angle Lens: A wide-angle lens, such as a 24mm or 35mm, is ideal for capturing the expansive nature of fire. It allows you to include more of the surroundings and create an immersive scene.
Telephoto Lens: If you want to capture fire in detail from a safe distance, a telephoto lens, like a 70-200mm or 100-400mm, would be a great choice. This lens will enable you to focus on specific flames or patterns, adding depth to your composition.
Macro Lens: For an entirely different perspective, consider using a macro lens to capture close-up shots of flames, sparks, or burning embers. A macro lens allows you to explore the intricate details within the fire and gives your images a unique artistic touch.
Additional Equipment
In addition to your camera and lenses, consider the following equipment to enhance your fire photography:
Tripod: Using a sturdy tripod is essential to prevent camera shake and ensure sharp images, especially when shooting in low light conditions.
Remote Shutter Release: A remote shutter release will allow you to capture long exposure shots without touching the camera, minimizing the risk of introducing unwanted camera shake.
Filters: Neutral Density (ND) filters can be useful for controlling the exposure and capturing long exposures of fire. These filters reduce the amount of light entering the camera, allowing you to slow down the shutter speed and create stunning motion effects.
Protective Gear: When photographing fire, safety should be the top priority. Ensure you have proper protective gear, including fire-resistant clothing and gloves, to keep yourself out of harm’s way.
Remember, the best camera and equipment for fire photography ultimately depends on your personal preferences, shooting style, and budget. By selecting the right gear, you’ll be well-equipped to capture the mesmerizing beauty and dynamic nature of fire.
The Best Time and Positions for Capturing Stunning Fire Photography
Photographing fire is a thrilling and dynamic experience, one that requires careful consideration of timing. The best time to capture mesmerizing fire photography is during the golden hour – the period shortly after sunrise or just before sunset. This magical window provides warm, soft light that adds depth and dimension to your images. The vibrant colors of fire against the soft glow of the golden hour create a captivating contrast, enhancing the overall impact of your photographs. During this time, the flames appear more vivid and intense, making for truly breathtaking shots.
Choosing the Perfect Vantage Points and Positions
When it comes to fire photography, selecting the right vantage point and position can make all the difference in capturing that perfect shot. Here are a few options to consider:
- Front and Center: Station yourself directly in front of the fire to get a close-up view of the flames. This position allows you to capture the intricate details and play of light within the fire itself. It’s ideal for showcasing the beautiful shapes and patterns that emerge from the dancing flames.
- Overhead View: If you want to depict the grand scale of a bonfire or a large burning structure, positioning yourself above the fire is a fantastic option. Climb a nearby hill or use a drone to capture aerial shots. This viewpoint adds a unique perspective and creates a sense of majesty and drama.
- Side Angle: Shooting from the side provides an opportunity to capture the full extent of the fire’s movement and energy. It allows you to show the power and intensity of the flames as they reach out in different directions. This position is great for action photography and capturing the dynamic nature of fire.
- Foreground Interest: Incorporating elements in the foreground can enhance the composition of your fire photography. Look for interesting objects like silhouettes of people, trees, or structures that add depth and context to your image. Experiment with different angles and positions to find the perfect balance between the fire and foreground elements.
Remember, safety should always be your top priority when photographing fire. Make sure to position yourself at a safe distance, especially when photographing large fires or intense flames. Also, consider the direction of the wind to avoid any potential hazards.
By understanding the best time to photograph fire and experimenting with various vantage points and positions, you can truly capture the essence and beauty of this captivating subject. With these tips in mind, your fire photography will ignite viewers’ imagination and leave them in awe of your skills as a photographer.
One helpful tip for photographing fire is to use a tripod to ensure sharp and steady shots. This is especially useful when photographing fire at night or in low light conditions. By stabilizing your camera on a tripod, you can use longer exposure times without worry of camera shake, resulting in stunning, crisp images of the flickering flames.
Frequently Asked Questions
1. What equipment do I need for fire photography?
To capture stunning photographs of fire, you’ll need the following equipment:
- A DSLR or mirrorless camera
- A tripod or stable surface
- A lens suitable for low light conditions
- A remote shutter release or cable
- Protective gear such as heat-resistant gloves
2. Are there any safety precautions I should take while photographing fire?
Safety should always be your top priority when photographing fire. Consider the following precautions:
- Keep a safe distance from the flames
- Never leave your camera unattended near fire
- Be aware of your surroundings and potential obstacles
- Carry a fire extinguisher or water source for emergencies
3. What camera settings work best for fire photography?
When photographing fire, use the following camera settings as a starting point:
- ISO: Set it to a low value (e.g., 100-400) for less noise
- Aperture: Choose a wide aperture (low f-number) to capture more light
- Shutter Speed: Experiment with slower shutter speeds for long exposures or faster speeds to freeze the flames
- White Balance: Adjust it based on the prevailing firelight or use a custom white balance
4. How can I compose visually appealing fire photographs?
Consider these composition tips to create visually striking fire photographs:
- Experiment with different angles and perspectives
- Include elements of the environment or people to add interest
- Utilize leading lines or patterns to draw attention to the flames
- Play with depth of field to focus on specific parts of the fire
5. Where can I find inspiration for fire photography?
Looking for inspiration? Try these sources:
- Books or online tutorials on fire photography techniques
- Fire performances or events in your local community
- Online photography communities and forums
- Explore nature areas with controlled fire systems (always follow safety guidelines)
6. How can I ensure my fire photographs are unique?
To create unique fire photographs, think outside the box:
- Experiment with different light sources or colored gels
- Combine fire photography with other techniques like light painting
- Explore different types of fire, such as bonfires or candles
- Create a series with a specific theme or story
Wrap Up
Now that you have all the tools and knowledge needed to capture stunning fire photography, it’s time to dive in and start shooting! Remember to prioritize safety first, always keeping a safe distance from the flames and wearing appropriate protective gear.
Experiment with different camera settings to capture the dynamic nature of fire. Play with shutter speed to freeze or blur the flames, and adjust your aperture to control the depth of field. Don’t forget to apply the rule of thirds and look for interesting compositions to make your photos truly stand out.
So, what are you waiting for? Grab your camera, find a controlled fire environment, and embrace the unpredictable beauty of fire photography. Feel free to leave a comment below and share your thoughts, experiences, or any additional tips you may have. Happy shooting!