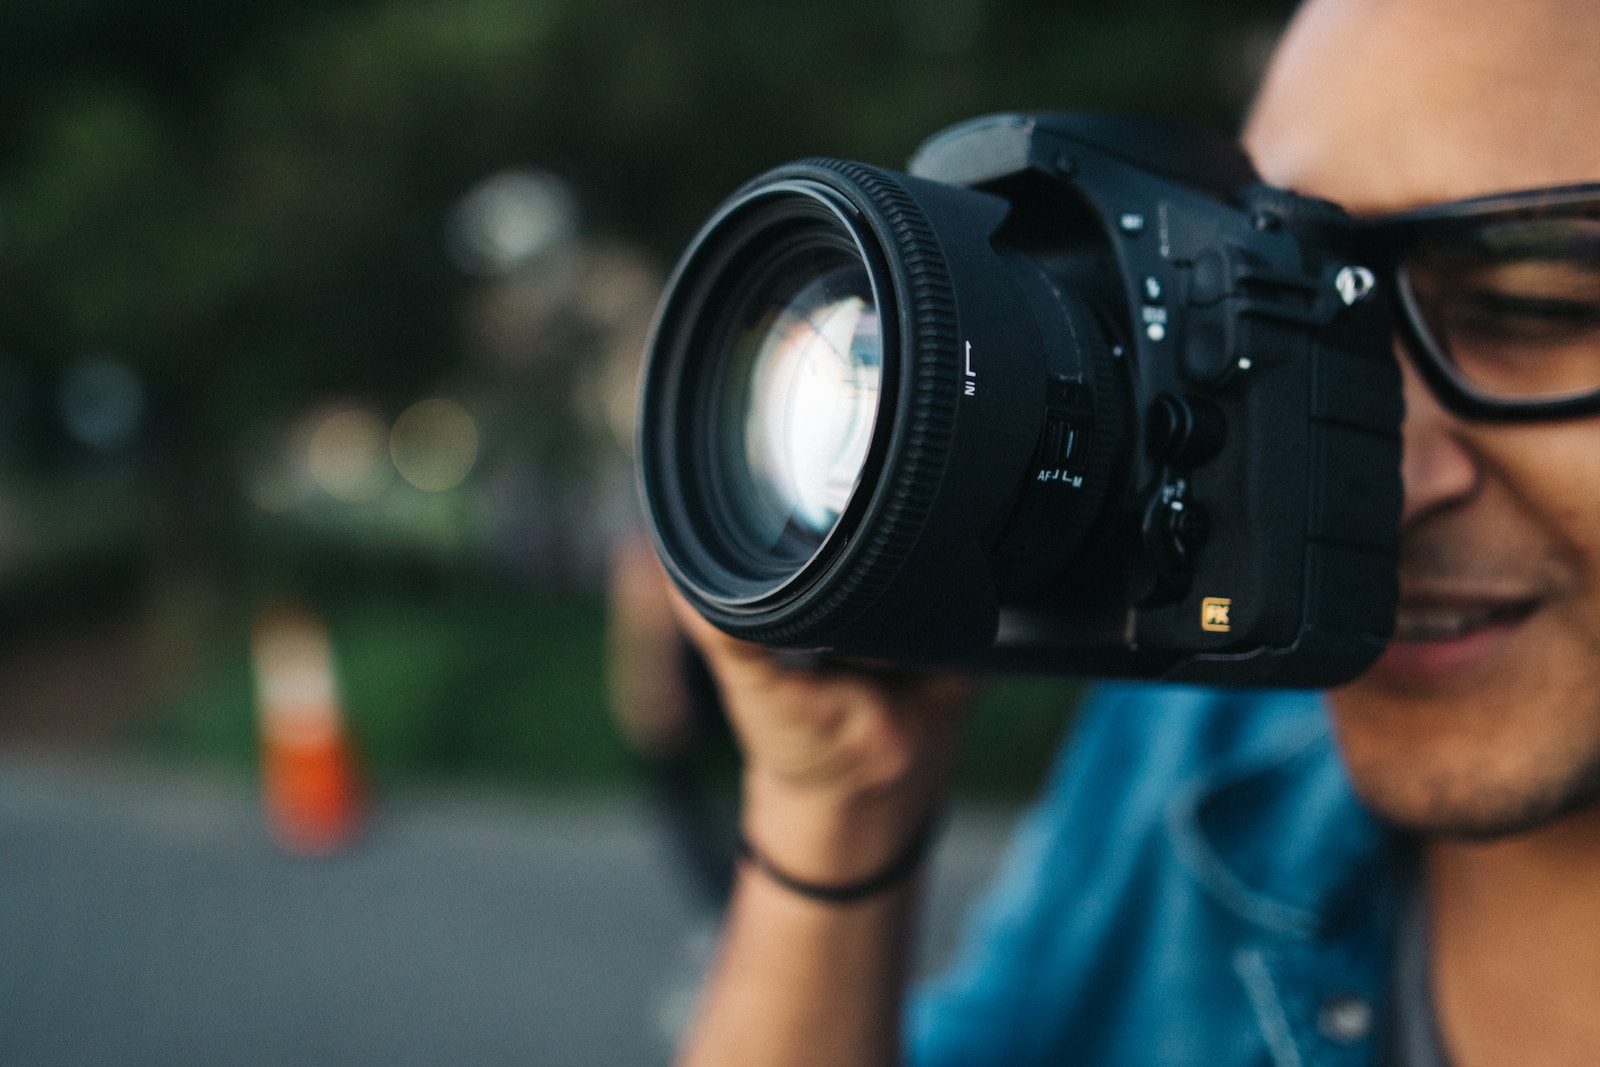
Are you ready to take your photography skills to the next level? If so, then mastering the art of RAW image editing is a must. In this blog, we will delve into the world of RAW image format and explore the untapped benefits of editing uncompressed, unprocessed snapshots in post-production. Whether you’re a professional photographer looking to enhance your images or an amateur enthusiast seeking to improve your photography game, this guide will provide you with invaluable insights and techniques to create stunning visuals that stand out from the crowd.
Table of Contents
- The Power of RAW Images
- Enhance Exposure and Dynamic Range
- Tips for Mastering RAW Editing
- A How-To Guide: Master the Art of Raw Image Editing
- Frequently Asked Questions
- What is RAW Image Editing?
- Why should I edit RAW images?
- What are the benefits of editing in post-production?
- Which software is best for RAW image editing?
- Do I need advanced technical skills to edit RAW images?
- Can RAW images be converted to other file formats?
- What are some popular post-processing techniques for RAW images?
- Wrap Up
The Power of RAW Images
Understanding the RAW image format is essential for any photographer. Unlike JPEG, which compresses and processes the image in-camera, RAW captures all the available data, giving you flexibility and control during the editing process. With RAW, you’re able to adjust exposure, white balance, contrast, and other settings with ease. This ensures your images retain maximum detail and quality, even in challenging lighting conditions. So, let’s dive in and unlock the true potential of RAW images!
Benefits of Editing in Post-Production
Post-production is where your RAW images truly come to life. By leveraging the power of image editing software, you can transform your unprocessed snapshots into captivating works of art. Here are some key benefits of editing your images in post-production:
Enhance Exposure and Dynamic Range
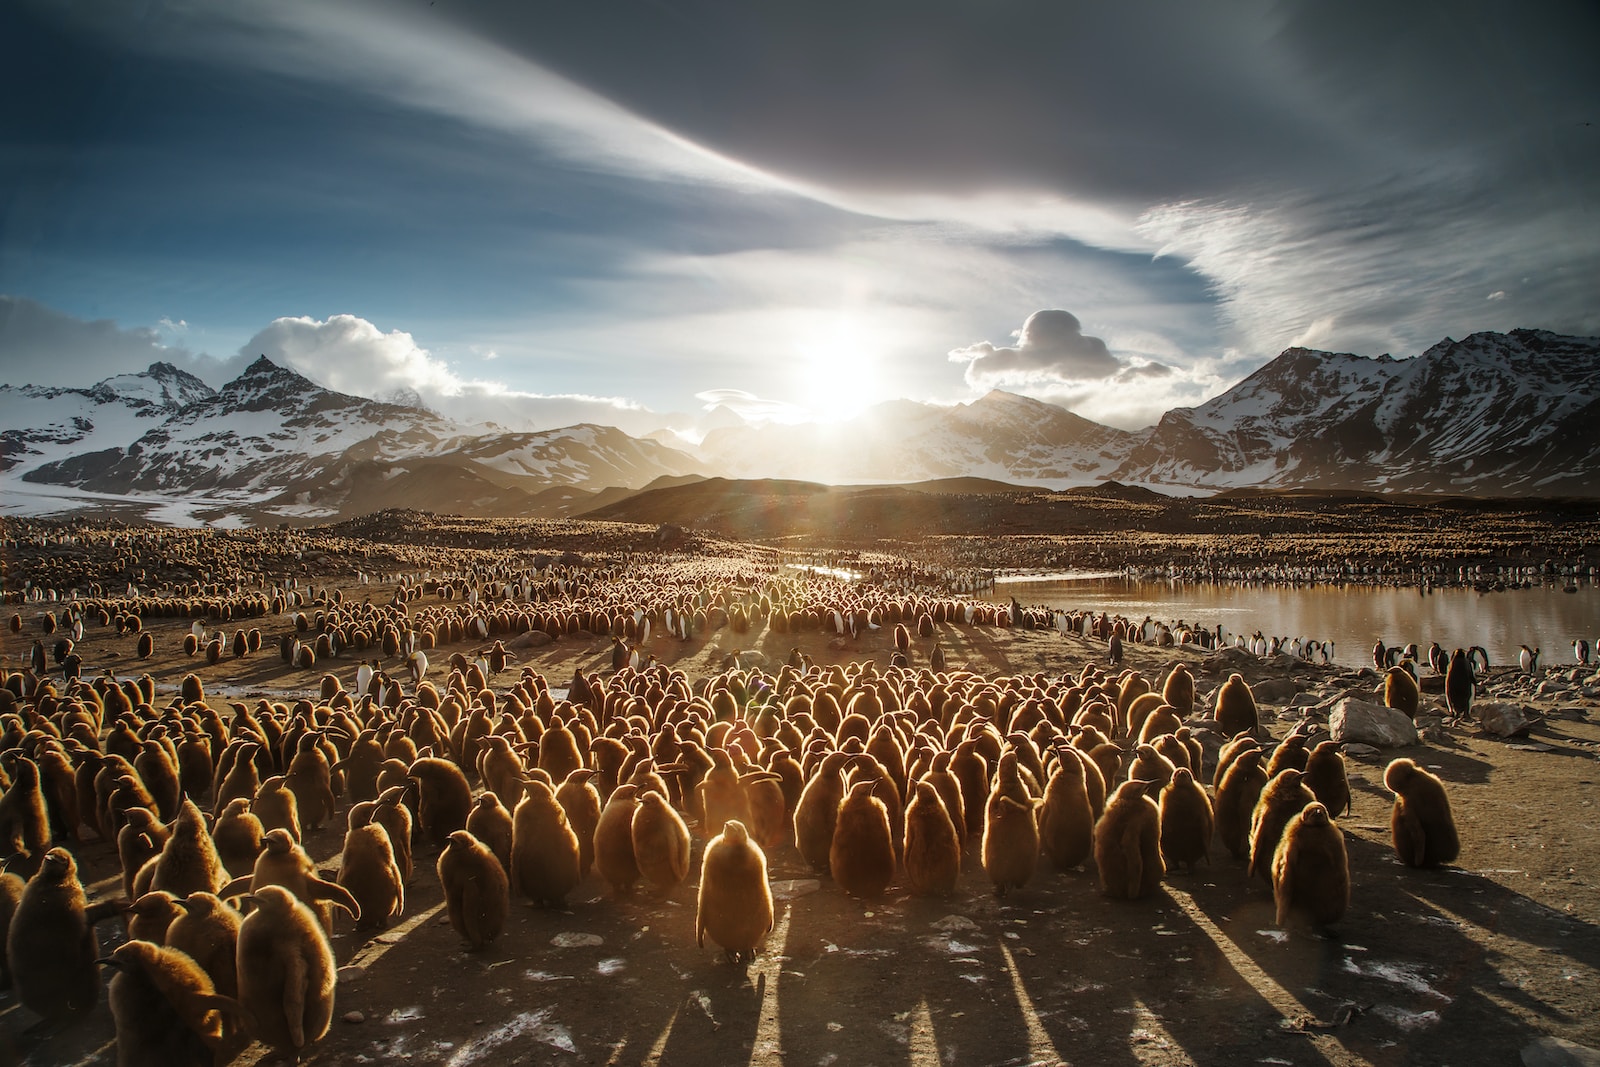
One of the primary advantages of RAW image editing is the ability to adjust exposure and recover details from both shadows and highlights. With fine-tuned control over brightness and contrast, you can achieve a perfectly balanced image with an extended dynamic range.
Optimize White Balance
Incorrect white balance can significantly impact the overall mood and color temperature of your images. RAW editing allows you to fine-tune white balance settings after the fact, enabling you to achieve accurate colors and eliminate any unwanted color casts.
Retain Maximum Image Quality
Since RAW images are not compressed or processed, they retain all the details and information captured by your camera sensor. This means you have more flexibility to manipulate the image without compromising its quality, resulting in sharper, more detailed final photographs.
Unlimited Creativity
RAW editing opens up a world of creative possibilities. You can experiment with different color grading techniques, apply selective adjustments to specific areas of the image, and even fix lens distortions or chromatic aberrations. The freedom to explore your artistic vision is limitless.
Tips for Mastering RAW Editing
Now that you understand the benefits, let’s explore some essential tips to help you master the art of RAW image editing:
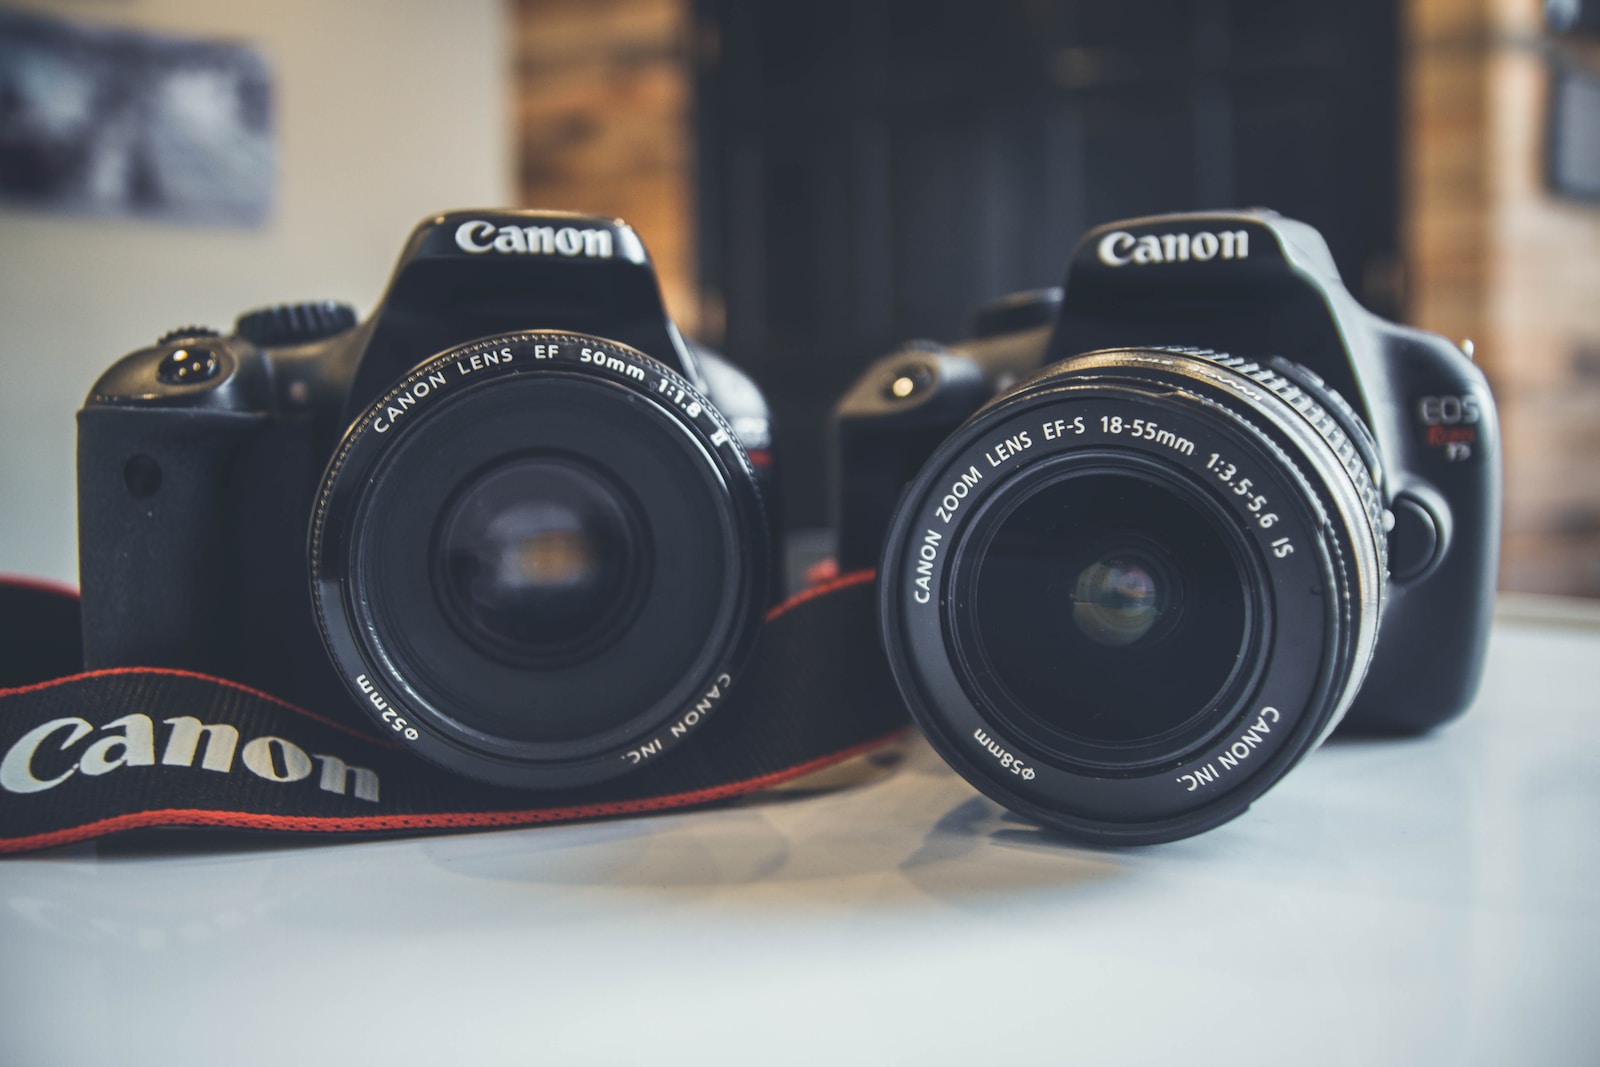
1. Shoot in RAW
The first step in the RAW editing process is capturing images in RAW format. Set your camera to save images in RAW so that you have the maximum amount of data to work with during post-production.
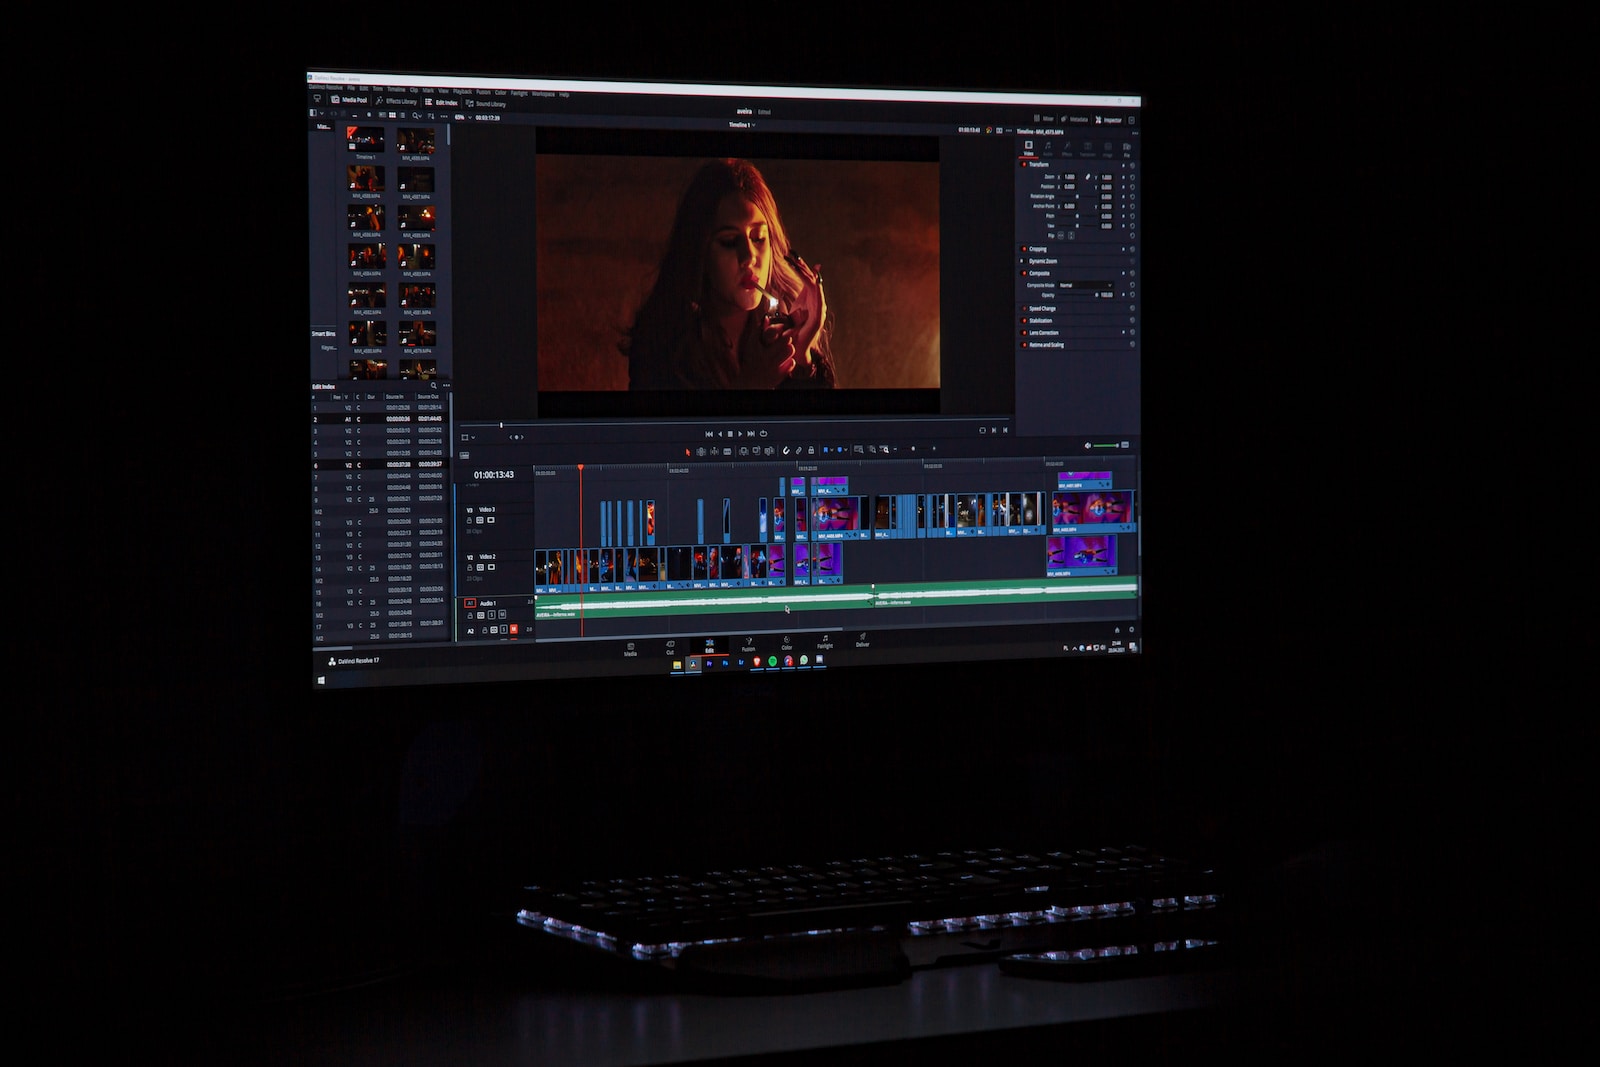
2. Use a Dedicated RAW Editor
While most image editing software supports RAW files, using a dedicated RAW editor like Adobe Lightroom or Capture One Pro will provide you with advanced tools specifically designed for RAW processing. These tools offer greater control and precision over image adjustments.
3. Get Familiar with Histogram
The histogram is a powerful tool that helps you analyze the exposure and tonal range of your images. Understanding how to read and interpret the histogram will enable you to make informed adjustments and achieve the desired look for your photographs.
4. Non-Destructive Editing
One of the advantages of RAW editing is that it allows for non-destructive adjustments. Make use of adjustment layers or virtual copies to retain the original image data and have the ability to revert back to the original settings at any time.
Did you know that RAW images contain up to 16 bits of data per channel, whereas JPEG images are only 8 bits per channel? This means RAW files have a significantly higher color depth, resulting in more accurate and vibrant colors in the final image.
5. Develop a Consistent Editing Workflow
Having a well-defined editing workflow not only saves time but also ensures consistency across your image portfolio. Develop a step-by-step process that you follow for every image, from basic adjustments to more advanced edits, such as selective retouching or noise reduction.
Mastering RAW image editing techniques empowers you to bring out the full potential of your photographs. By understanding the RAW image format and taking advantage of post-production editing, you can create visually stunning images that captivate your audience. So, start exploring the world of RAW editing, unleash your creativity, and elevate your photography skills to new heights!
A How-To Guide: Master the Art of Raw Image Editing
Raw image editing is the key to unlocking the true potential of your photographs. Whether you’re a professional photographer or an enthusiastic hobbyist, understanding the benefits of editing uncompressed, unprocessed snapshots in post-production can take your images to the next level. In this comprehensive guide, we will delve into the world of raw image editing and provide you with valuable tips and techniques to enhance your skills.
Why Choose Raw?
Before we dive into the editing process, let’s first understand the significance of shooting in raw format. Raw images store all the unprocessed data captured by your camera’s sensor, giving you maximum flexibility and control during post-production. Unlike JPEG images, which are already processed and compressed by the camera, raw files retain all the details, allowing for finer adjustments and better image quality.
Now that we’ve established the importance of raw images, let’s explore the steps involved in editing them:
Step 1: Importing
The first step is to transfer your raw images from your camera to a computer. Use a reliable image management software, such as Adobe Lightroom or Capture One, to import your files. These programs offer efficient organization and easy accessibility for your editing workflow.
Step 2: Selecting the Best Shots
Once your raw images are imported, it’s time to choose the best shots to work on. Use the software’s preview function to quickly browse through your images and identify the ones with the most potential. Remember, quality over quantity!
Step 3: Basic Adjustments
Start by making basic adjustments like exposure, white balance, contrast, and saturation. Experiment with different settings to achieve the desired look and feel for your image. Remember, the goal here is to enhance and not overprocess.
Step 4: Fine-Tuning
Now it’s time to dive deeper into the editing process. Use advanced tools and techniques to fine-tune your image. Adjust the tone curve to add depth and contrast, apply localized adjustments to specific areas, and reduce noise if necessary. Keep in mind that every image is unique, so trust your artistic instincts and experiment with different editing options.
Step 5: Sharpening and Noise Reduction
To achieve a professional and polished look, it’s important to apply appropriate sharpening and noise reduction techniques. Sharpening enhances the clarity and details of your image, while noise reduction smooths out any digital noise caused by high ISO settings. Strike a balance between sharpness and noise reduction to achieve a visually pleasing result.
Step 6: Exporting
Once you’re satisfied with the final result, it’s time to export your edited raw image. Choose the appropriate file format and settings based on your intended use, such as web sharing or print. This final step ensures your edited image is ready to be viewed and admired by others.
By following these steps and mastering the art of raw image editing, you can elevate the quality and impact of your photographs. Remember, post-production is an integral part of the creative process, allowing you to fully express your artistic vision and bring your images to life.
So, grab your camera, shoot in raw, and embark on this exciting journey of capturing and editing raw images. Let your creativity unfold!
Frequently Asked Questions
What is RAW Image Editing?
RAW image editing is the process of making adjustments to uncompressed and unprocessed snapshots captured using a digital camera. Unlike JPEG or other image formats, RAW preserves all the data captured by the camera’s sensor, allowing for greater flexibility and control during post-production.
Why should I edit RAW images?
Editing RAW images provides several advantages over editing JPEGs or other compressed formats. RAW images contain more information and offer greater latitude for adjusting exposure, color, contrast, and other parameters without degrading image quality. This allows photographers to achieve their artistic vision while maintaining the highest level of detail.
What are the benefits of editing in post-production?
Post-production editing enables you to enhance the visual impact of your images, correct exposure and white balance issues, fine-tune colors, and bring out the details that may be hidden in the RAW file. It allows for creative experimentation and the ability to refine the overall look and feel of your photographs.
Which software is best for RAW image editing?
There are several popular software options for RAW image editing, including Adobe Lightroom, Capture One, and DxO PhotoLab. Each software has its own unique features and interface, so it’s worth exploring different options to find the one that best suits your needs and workflow.
Do I need advanced technical skills to edit RAW images?
No, you don’t need advanced technical skills to edit RAW images. While it may take some time to familiarize yourself with the software and learn the basics of RAW editing, there are plenty of tutorials, online courses, and resources available to help you get started. With practice, you’ll develop your own editing style and techniques.
Can RAW images be converted to other file formats?
Yes, RAW images can be converted to other file formats such as JPEG or TIFF after editing. Once you’ve finished editing your RAW file, you can export it to a more widely supported format for sharing or printing purposes. It’s important to keep the original RAW file as it allows for non-destructive editing and future adjustments.
What are some popular post-processing techniques for RAW images?
Some popular post-processing techniques for RAW images include adjusting exposure and contrast, fine-tuning white balance and color temperature, applying selective adjustments to specific areas of an image, and enhancing details and sharpness. These techniques help to bring out the best in your RAW captures and create stunning, professional-looking photographs.
Wrap Up
In conclusion, mastering the art of RAW image editing can take your photography to new heights. By understanding the intricacies of the RAW format and taking advantage of the benefits it offers, you can unlock the true potential of your captured moments.
Remember, post-production is not about manipulating reality but enhancing the essence of your images. With the right techniques and tools, you can bring out the details, colors, and emotions that were captured in the RAW format.
So, immerse yourself in the world of post-production, explore different editing techniques, and make your images truly stand out. Feel free to engage with us in the comments section below and share your experiences, tips, or questions. Happy editing!