Welcome to my blog, where we explore the fascinating world of time-lapse photography! If you’re passionate about capturing stunning moments and transforming them into captivating visual stories, this blog is for you. In this article, we’ll delve into the crucial aspect of optimizing storage for time-lapse photography, providing you with insightful tips and recommendations on choosing and using the right memory storage options. So, let’s dive in and unlock the secrets to preserving your time-lapse memories!
Table of Contents
- Understanding the Importance of Memory Storage
- Optimizing Storage for Time-Lapse Photography
- Frequently Asked Questions
- 1. What is time-lapse photography?
- 2. Why is memory storage important for time-lapse photography?
- 3. What types of memory storage options are suitable for time-lapse photography?
- 4. How do I choose the right memory storage option for my time-lapse photography?
- 5. Are there any specific tips for managing storage during a time-lapse shoot?
- 6. How can I avoid losing my time-lapse footage due to memory storage issues?
- 7. Is it recommended to shoot time-lapse in RAW or JPEG format?
- Wrap Up
Understanding the Importance of Memory Storage
Time-lapse photography involves capturing moments at regular intervals over an extended period. As a result, it generates a vast amount of data, requiring ample memory storage capacity. By optimizing your storage options, you ensure seamless shooting experiences and safeguard those precious time-lapse memories.
Choosing the Right Memory Cards
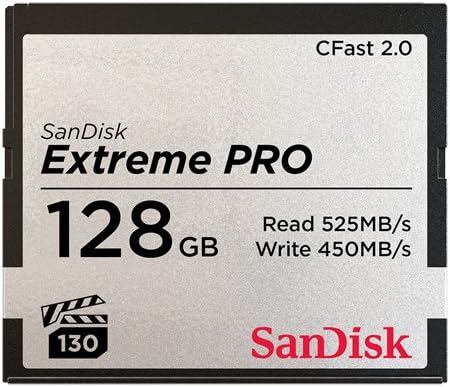
When it comes to memory storage for time-lapse photography, choosing the right memory cards is crucial. Look for high-capacity cards that offer fast writing speeds, ensuring your camera can handle continuous shooting without buffering or delays. Cards with UHS-II or faster speeds are ideal for smooth time-lapse captures.
Consider the Card’s Endurance
Time-lapse photography sessions can be lengthy, sometimes lasting for hours or even days. To avoid running out of storage space, it’s essential to choose durable memory cards with high endurance ratings. This ensures they can handle the constant read and write cycles associated with extended shooting sessions.
Backup Your Data Regularly
Don’t let all your hard work go to waste due to a memory card failure. Regularly backing up your time-lapse data ensures you have a copy in case of any unexpected events. Invest in external hard drives, cloud storage, or even portable SSDs to keep backups of your time-lapse captures.
Organizing and Labeling
As you accumulate a vast library of time-lapse sequences, organizing and labeling becomes crucial. Create a logical file-naming system and folder structure that helps you quickly locate specific sequences when needed. This saves time and makes post-processing a breeze, allowing you to focus on creating stunning time-lapse videos.
Safe Storage Practices
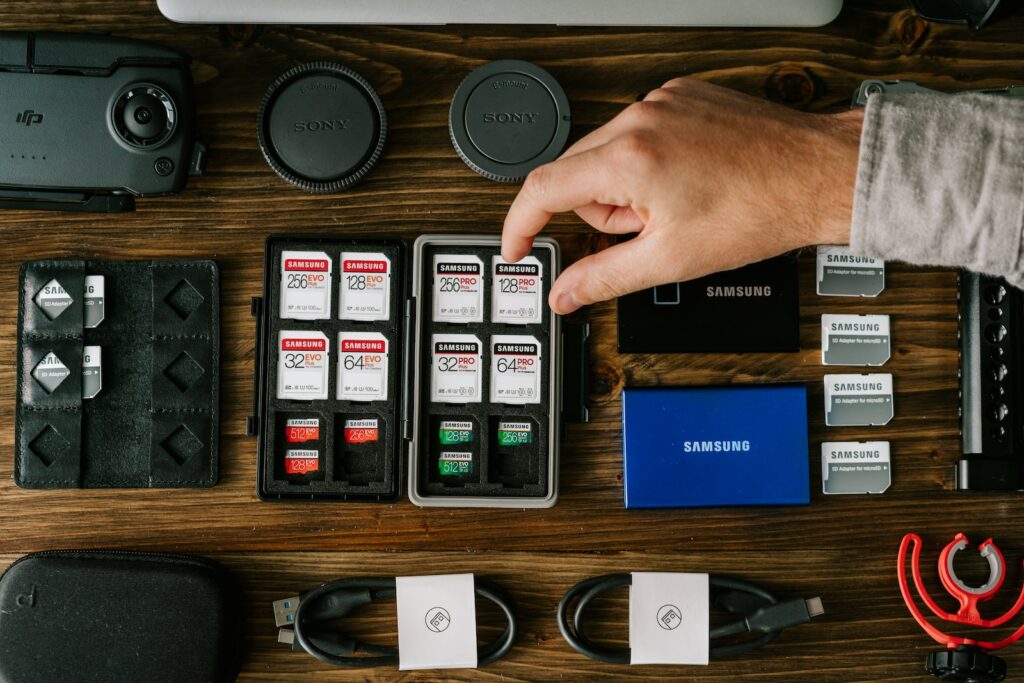
Protecting your memory storage devices is essential to ensure their longevity and the safety of your precious data. Keep your memory cards and external storage in a dry, dust-free environment within the recommended temperature range. Additionally, invest in protective cases or sleeves to safeguard your memory cards from physical damage.
Did you know that the longest continuous time-lapse video ever recorded spans across 4 years, capturing the construction of a bridge?
Invest in High-Speed Data Transfer
As the size of your time-lapse sequences grows, transferring data quickly becomes paramount. Invest in high-speed card readers or USB 3.0/3.1 interfaces to expedite the transfer process. This saves you valuable time during post-processing and allows you to focus on editing and creating remarkable time-lapse videos.
Utilize RAID Solutions for Enhanced Security
For professionals or enthusiasts handling massive amounts of time-lapse data, RAID storage solutions offer enhanced security and reliability. RAID configurations provide redundancy and protect against data loss in case of a drive failure. Consider RAID systems as a long-term storage option for your extensive time-lapse collection.
Cloud Storage and Remote Access
Embrace the power of cloud storage for seamless access to your time-lapse captures from anywhere. Sync your files to cloud services and take advantage of remote-access features, allowing you to edit, download, or share your time-lapse sequences on the go. This provides flexibility and convenience for both personal and professional projects.
Future-Proofing Your Storage
As camera technology advances, resolutions and file sizes increase. When choosing memory storage options for time-lapse photography, it’s essential to future-proof your setup. Invest in devices with ample room for growth and compatibility with upcoming camera models, ensuring your storage solution stands the test of time.
By optimizing your storage options for time-lapse photography, you ensure that your creative journey remains uninterrupted and your memories are preserved securely. Whether you’re a beginner or an experienced time-lapse photographer, implementing these insightful tips will elevate your shooting experience and give your time-lapse sequences the storage they deserve. So, go ahead and capture those mesmerizing moments that unfold over time!

Optimizing Storage for Time-Lapse Photography
Time-lapse photography allows us to capture the passage of time in a visually stunning way. Whether you are a professional photographer or simply a hobbyist, the key to successful time-lapse photography lies in choosing and using the right memory storage options. In this blog post, we will provide you with insightful tips to optimize your storage for time-lapse photography.
The Importance of Memory Storage
Before delving into the tips, it’s essential to understand why memory storage is crucial for time-lapse photography. Time-lapse sequences typically consist of numerous high-resolution images taken over an extended period. Therefore, a large amount of storage space is necessary to accommodate these files without compromising image quality.
Now, let’s move on to our tips and techniques for optimizing storage.
Tips for Choosing the Right Memory Storage
- Consider the Capacity: When selecting memory storage for time-lapse photography, opt for devices with ample capacity. Look for options with at least double the storage space you think you’ll need to avoid running out of storage midway through a project.
- Choose High-Speed Options: To ensure smooth and uninterrupted capturing, it’s essential to choose memory storage options with high-speed write capabilities. This will enable your camera to save images quickly, preventing any delay between shots and ensuring a seamless time-lapse sequence.
- Opt for Reliable Brands: Stick to reputable brands and well-known memory storage manufacturers. This way, you can trust the reliability and durability of your chosen storage option, minimizing the risk of data loss or corruption.
- Consider Storage Redundancy: Time-lapse projects can be time-consuming and often irreplaceable, so it’s wise to consider having a backup of your files. Use redundancy options like RAID storage systems or regularly backing up your images to external hard drives or cloud storage.
Techniques for Using Memory Storage Efficiently
- Schedule Frequent Data Transfers: To free up space quickly and avoid maxing out your memory storage, regularly transfer your images to a computer or external hard drive. This ensures that you always have sufficient space available to continue your time-lapse project.
- Shoot in RAW + JPEG: While shooting in RAW format is ideal for post-processing flexibility, it takes up more storage space than JPEG. Consider shooting in RAW + JPEG mode to have a smaller JPEG copy for preview purposes, while preserving the high-quality RAW images for editing.
- Delete Unusable Frames: It’s common to capture more frames than you actually need in a time-lapse sequence. Be selective during the editing process and delete any unusable frames or redundant shots to save storage space.
- Invest in High-Quality Cards: Memory cards are available in various speeds and qualities. Investing in high-quality, reliable cards will ensure data integrity and minimize the chances of corruption or loss during long time-lapse projects.
By following these tips and techniques, you can optimize your storage for time-lapse photography, allowing you to capture stunning visuals and seamlessly preserve them. Remember, adequate storage capacity, high-speed options, and efficient usage are key to ensuring a successful time-lapse project.
Now, it’s time for you to go out there and unleash your creative potential through the captivating world of time-lapse photography!
Frequently Asked Questions
1. What is time-lapse photography?
Time-lapse photography is a technique where a series of photos are captured at regular intervals and then played back at a faster speed to create a video-like effect. It is commonly used to capture the passage of time and to show changes that occur slowly over a long period.
2. Why is memory storage important for time-lapse photography?
Memory storage is crucial in time-lapse photography because it determines the amount of footage you can capture. Time-lapse sequences can involve capturing thousands of photos, which require sufficient storage to ensure you don’t run out of space during the shoot.
3. What types of memory storage options are suitable for time-lapse photography?
There are several memory storage options you can consider for time-lapse photography, including SD cards, CF cards, and external hard drives. The choice depends on the camera you are using and the amount of footage you plan to capture. It’s essential to select a storage option with enough capacity and a fast write speed to handle the continuous shooting required for time-lapse.
4. How do I choose the right memory storage option for my time-lapse photography?
When choosing a memory storage option, consider factors such as capacity, speed, reliability, and compatibility with your camera. Look for options that offer ample storage space, fast write speeds to minimize lag time between shots, and durability. It’s also important to check if your camera supports the specific type of memory card or external drive you plan to use.
5. Are there any specific tips for managing storage during a time-lapse shoot?
Yes, here are a few tips for managing storage during a time-lapse shoot:
- Use high-capacity memory cards or external drives to avoid running out of space.
- Regularly backup your footage to ensure data security.
- If shooting in RAW format, consider using larger capacity storage options.
- Format your memory cards before each shoot to avoid potential issues.
6. How can I avoid losing my time-lapse footage due to memory storage issues?
To prevent losing your time-lapse footage, follow these precautions:
- Check your memory card or external drive for errors before the shoot.
- Keep spare memory cards or drives handy in case of emergencies.
- Regularly transfer your footage to a computer or secure cloud storage during breaks.
- Consider using redundant storage options, such as dual memory card slots or RAID systems, for extra data protection.
7. Is it recommended to shoot time-lapse in RAW or JPEG format?
Shooting in RAW format is generally recommended for time-lapse photography as it offers more flexibility during post-processing. RAW files contain more information and allow for adjustments to exposure, white balance, and other settings without sacrificing image quality. However, shooting in RAW requires larger storage capacity compared to JPEG.
Wrap Up
Optimizing storage for time-lapse photography is crucial to ensuring a smooth and successful shooting experience. By following these insightful tips and utilizing the right memory storage options, you can capture stunning time-lapse sequences effortlessly.
Remember to consider factors such as storage capacity, write speed, and durability when choosing memory cards or external storage devices. Keep your files organized and regularly backup your footage to prevent data loss.
Do you have any other tips or experiences with time-lapse photography and memory storage? We’d love to hear from you! Leave a comment below and let’s start a conversation.


