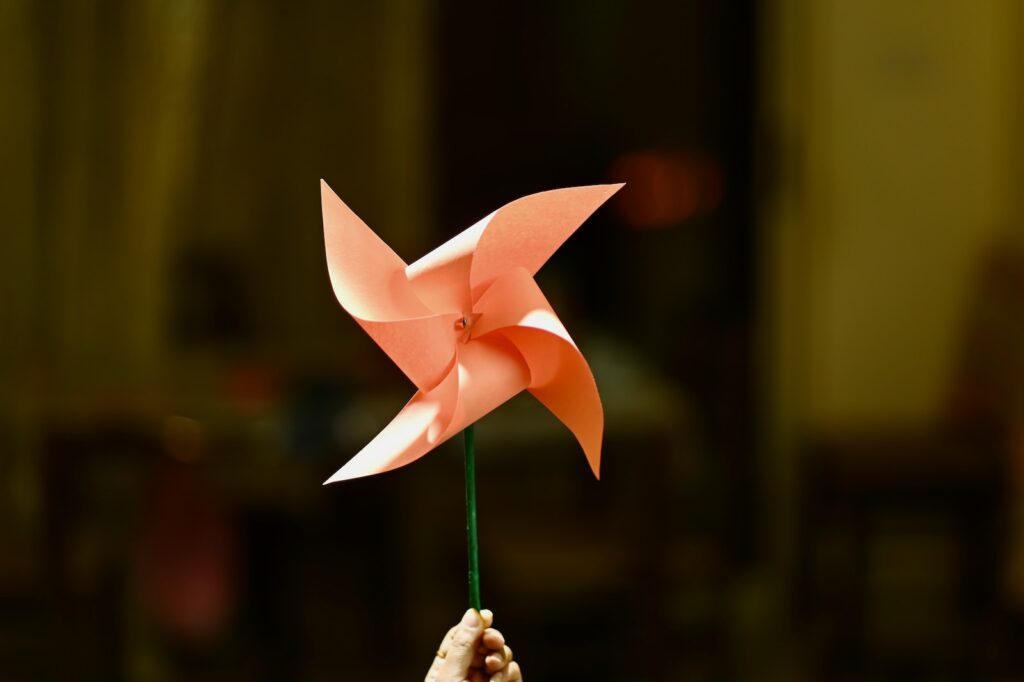
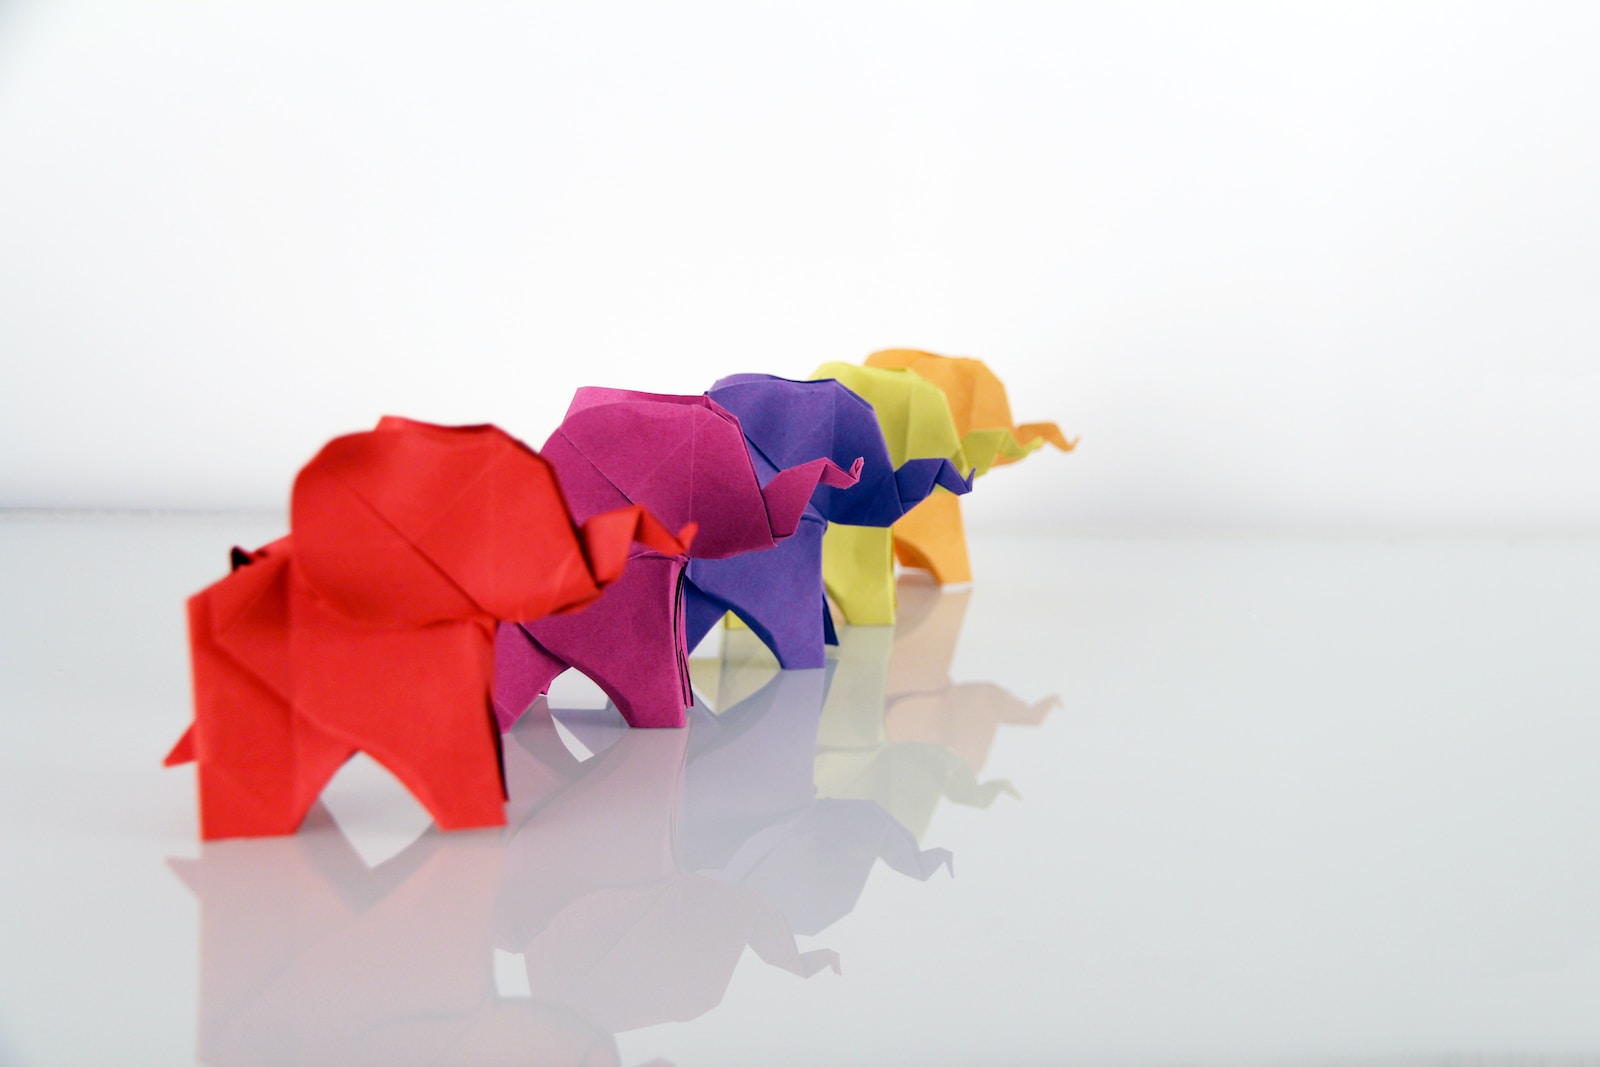
Welcome to “The Art of Capturing Origami on Camera”! If you’re passionate about photography and intrigued by origami, you’ve come to the right place. This blog will introduce you to the techniques and tricks of photographing origami, whether it’s delicate cranes, intricate flowers, or stunning geometric shapes. We’ll delve into the importance of lighting, background choice, and composition, uncovering the secrets to capturing the essence of origami through the lens. Get ready to embark on a visual journey where origami and photography collide in harmony.
Table of Contents
- The Art of Capturing Origami on Camera: Exploring the Beauty of Folded Art
- The Art of Capturing Origami on Camera: The Essential Equipment for Origami Photography
- The Art of Capturing Origami on Camera: Finding the Perfect Shot
- Frequently Asked Questions
- 1. What is origami photography?
- 2. What are some tips for capturing origami on camera?
- 3. How can I achieve proper lighting for origami photography?
- 4. How can I choose an appropriate background for origami photography?
- 5. What are some composition techniques for origami photography?
- 6. How can I achieve a macro photography effect when photographing origami?
- Wrap Up:
The Art of Capturing Origami on Camera: Exploring the Beauty of Folded Art
Origami, the ancient Japanese art of paper folding, has captivated people around the world with its intricate designs and delicate aesthetics. Each meticulously folded piece of paper transforms into a work of art, with endless possibilities for creative expression. As a photographer, capturing the essence and beauty of origami on camera can be a visually striking and rewarding experience. In this blog, we will delve into the techniques and tricks to elevate your origami photography, highlighting the importance of lighting, background choice, and composition.
Macro Photography: Unveiling the Intricate Details
When it comes to photographing origami, macro photography can be a game-changer. This technique allows you to capture the minute details of each fold, revealing the intricate craftsmanship and texture of the paper. By using a macro lens or macro extension tubes, you can magnify the subject and create visually stunning images that immerse the viewer in the world of origami.
To enhance the details further, pay attention to your depth of field. A shallow depth of field will blur the background, drawing focus solely on the folded art. Experiment with different angles and distances to achieve the desired level of sharpness in your photographs. By capturing close-up shots, you can showcase the artistry and precision invested in each fold.
Still Life Photography: Creating Captivating Compositions
Origami lends itself well to still life photography, offering endless possibilities for creative compositions. By arranging origami pieces in visually appealing ways, you can create a captivating narrative within your photographs. Consider incorporating other elements, such as natural objects or interesting props, to add depth and visual interest to your compositions.
When setting up your still life, pay close attention to lighting. Soft, diffused lighting enhances the delicate nature of origami, while casting gentle shadows and highlights to enhance the three-dimensional look of the folded paper. Experiment with natural light, window light, or diffused artificial light sources to achieve the desired effect. Avoid harsh, direct light as it can flatten the origami and obscure the intricate details.
To engage your viewers and create a sense of movement, explore different angles and perspectives. Play with the lines and geometric shapes of the origami, using leading lines or diagonals to guide the viewer’s eye through the photograph. Add a sense of storytelling by capturing the folding process or incorporating other origami pieces to create a visually dynamic composition.
In conclusion, origami photography allows you to showcase the beauty and intricacy of folded paper art. By employing macro photography techniques, you can capture the minute details, while still life compositions offer creative opportunities to tell a visually captivating story. Remember to experiment with lighting, background choices, and composition to create visually striking photographs that highlight the artistry of origami. With practice and patience, you can master the art of capturing origami on camera and bring these exquisite folded creations to life in your photographs.
Did you know that origami, the Japanese art of paper folding, has been around for centuries? Its intricate designs and delicate folds have captivated artists and enthusiasts alike. Now, imagine capturing these miniature masterpieces through the lens of a camera. That's the art of origami photography!
The Art of Capturing Origami on Camera: The Essential Equipment for Origami Photography
When it comes to photographing origami, having the right equipment is crucial to capturing its intricate folds and delicate details. In this section, we will explore the essential camera gear and accessories that will help you elevate your origami photography to the next level.
The Camera
The camera you choose will greatly impact the quality of your origami photographs. While any camera can technically be used, certain features will provide significant benefits:
- Interchangeable Lens Cameras: For maximum flexibility and control, consider using a DSLR or mirrorless camera that allows you to change lenses. This will enable you to experiment with different focal lengths and achieve various perspectives on your origami creations.
- High Megapixel Count: A camera with a higher megapixel count will produce sharper images, allowing you to capture even the tiniest details of your origami.
- Manual Mode: To have complete control over exposure and depth of field, it’s essential to work with a camera that offers manual settings. This will enable you to adjust the aperture and shutter speed according to your creative vision.
The Lens
Choosing the right lens for origami photography depends on several factors, including the desired composition, working distance, and level of detail you wish to capture. Here are a couple of lens options to consider:
- Macro Lens: A macro lens is ideal for capturing extreme close-up shots of origami details. It offers a high level of magnification and allows you to focus on the intricate textures and patterns of the paper folds. With a macro lens, you can showcase the fine craftsmanship that goes into origami art.
- Standard Prime Lens: A standard prime lens, such as a 35mm or 50mm, is a versatile option for capturing both the overall composition and smaller details of your origami creations. It provides a natural field of view that is similar to the human eye, making it perfect for capturing the artistry and subtleties of the folds.
In addition to the camera and lens, here are a few other accessories that can enhance your origami photography:
- Tripod: To ensure sharp and blur-free images, especially when shooting in low light or using longer shutter speeds, a sturdy tripod is a must-have. It provides stability and allows you to compose your shots precisely while keeping the camera steady.
- Reflectors and Diffusers: Controlling light is key to capturing the textures and dimensionality of origami. Reflectors help bounce light onto your subject, while diffusers soften harsh lighting conditions. Experimenting with different lighting setups will allow you to achieve the desired ambiance and bring out the subtleties of the paper folds.
Remember, while having high-quality equipment is important, it’s the photographer’s artistic eye and understanding of composition, lighting, and subject matter, that truly make the difference. So, grab your camera, gather your origami creations, and get ready to embark on a creative journey in capturing the art of origami through photography!

The Art of Capturing Origami on Camera: Finding the Perfect Shot
Origami, the ancient Japanese art of paper folding, offers a visually stunning subject for photography. Capturing the delicate details, intricate folds, and graceful lines of origami creations requires skill and understanding. In this blog post, we will explore the techniques and tricks that can help you become a master of photographing origami. From the best time of year to shoot to finding the ideal vantage points and positions, we will cover it all.
Finding the Ideal Ways to Capture Origami
When photographing origami, the vantage point and position you choose can significantly impact the final image. A top-down view provides a comprehensive view of the origami creation, allowing you to capture the details of each intricate fold. This vantage point works particularly well for showcasing origami sculptures or larger, complex models.
For a more intimate and artistic approach, try shooting at eye level with the origami subject. This technique allows you to create a connection between the viewer and the paper creation. It brings a sense of depth and dimension to the photograph, emphasizing the three-dimensionality of the folds.
Alternatively, experimenting with low angles can add a unique perspective to your origami photography. By positioning yourself at ground level or even lower, you can create a sense of grandeur and drama, making the origami subject appear larger than life.
Remember, these are just a few options to consider when finding the perfect vantage point and position for your origami photography. The key is to experiment and let your creativity flow to discover new and intriguing compositions.
Photographing origami is an art in itself. It requires attention to detail, thoughtful planning, and a deep appreciation for the beauty of paper folds. By understanding the importance of timing, vantage points, and positions, you can elevate your origami photography to new heights. So grab your camera, unfold your creativity, and immerse yourself in the captivating world of origami photography.
One helpful photography tip for capturing origami is to use macro mode on your camera. This will allow you to get up close and capture intricate details of the paper folds. Experiment with different angles and focus on the textures and patterns created by the origami.
Frequently Asked Questions
1. What is origami photography?
Origami photography is the art of capturing images of folded paper creations, known as origami, through the lens of a camera. It involves highlighting the intricate details, textures, and shapes of the paper folds in a visually appealing way.
2. What are some tips for capturing origami on camera?
When photographing origami, it’s important to consider lighting, background choice, and composition. Here are a few tips to help you capture stunning origami photographs:
- Use natural light or soft diffused lighting to enhance the details of your origami.
- Select a background that complements the colors and patterns of your origami, ensuring it doesn’t distract from the main subject.
- Pay attention to the composition by positioning the origami in an interesting way and experimenting with different angles.
3. How can I achieve proper lighting for origami photography?
Proper lighting is crucial for capturing the intricate details and textures of origami. Here are a few lighting techniques that can help:
- Shoot near a window or in a well-lit area to utilize natural light.
- If using artificial lighting, diffuse it using a softbox or white umbrella to create a soft and even illumination.
- Experiment with different angles and intensities of light to create shadows and highlights that add depth to your origami.
4. How can I choose an appropriate background for origami photography?
Choosing the right background is essential to showcase the beauty of your origami creations. Consider the following tips:
- Opt for a plain and non-distracting background to ensure the focus remains on the origami itself.
- Try contrasting backgrounds to make the colors and shapes of the origami stand out.
- Experiment with different textures and patterns to create an interesting visual interplay between the origami and the background.
5. What are some composition techniques for origami photography?
Composition plays a vital role in capturing captivating origami photographs. Here are a few composition techniques to keep in mind:
- Utilize the rule of thirds by placing the origami off-center to create a visually pleasing balance.
- Experiment with different angles, such as shooting from above or below, to add a unique perspective to your photographs.
- Consider the use of negative space to highlight the origami and create a sense of simplicity and elegance.
6. How can I achieve a macro photography effect when photographing origami?
Macro photography allows you to capture the finest details of the origami folds. Here’s how you can achieve a macro effect:
- Use a macro lens or extension tubes to get closer to the origami and capture intricate details.
- Adjust your camera settings to a wide aperture (low f-stop number) to achieve a shallow depth of field, blurring the background and making the origami the main focal point.
- Ensure your camera is steady by using a tripod or stabilizing your hands, as macro photography can be more prone to camera shake.
Remember, capturing origami on camera is an art form that requires practice and experimentation. With these techniques and tricks, you can elevate your origami photography skills and create stunning visuals.
Wrap Up:
Photographing origami is a unique and fascinating art form that requires precision and creativity. By following the techniques and tricks discussed in this blog, you can elevate your skills in capturing the intricate details and beauty of origami through the lens.
Remember, lighting is key to bring out the textures and folds, while the choice of background and composition can make or break your shot. Experiment, observe, and continuously improve your skills to create stunning origami photography.
We hope this blog has inspired you to explore the world of origami photography. Share your thoughts and experiences in the comments below. We would love to hear about your own tips, challenges, and successes in capturing the art of origami on camera!


