Welcome to the Ultimate Guide to Lightroom Presets! If you’re looking to speed up your image editing process and discover the wonderful world of Adobe Lightroom Presets, you’ve come to the right place. In this blog, we’ll delve into the art of creating, installing, and using presets in Lightroom. Whether you’re a beginner or an experienced photographer, this guide will equip you with all the knowledge you need to elevate your editing game and create stunning visuals. Let’s dive in!
Table of Contents
What are Lightroom Presets?
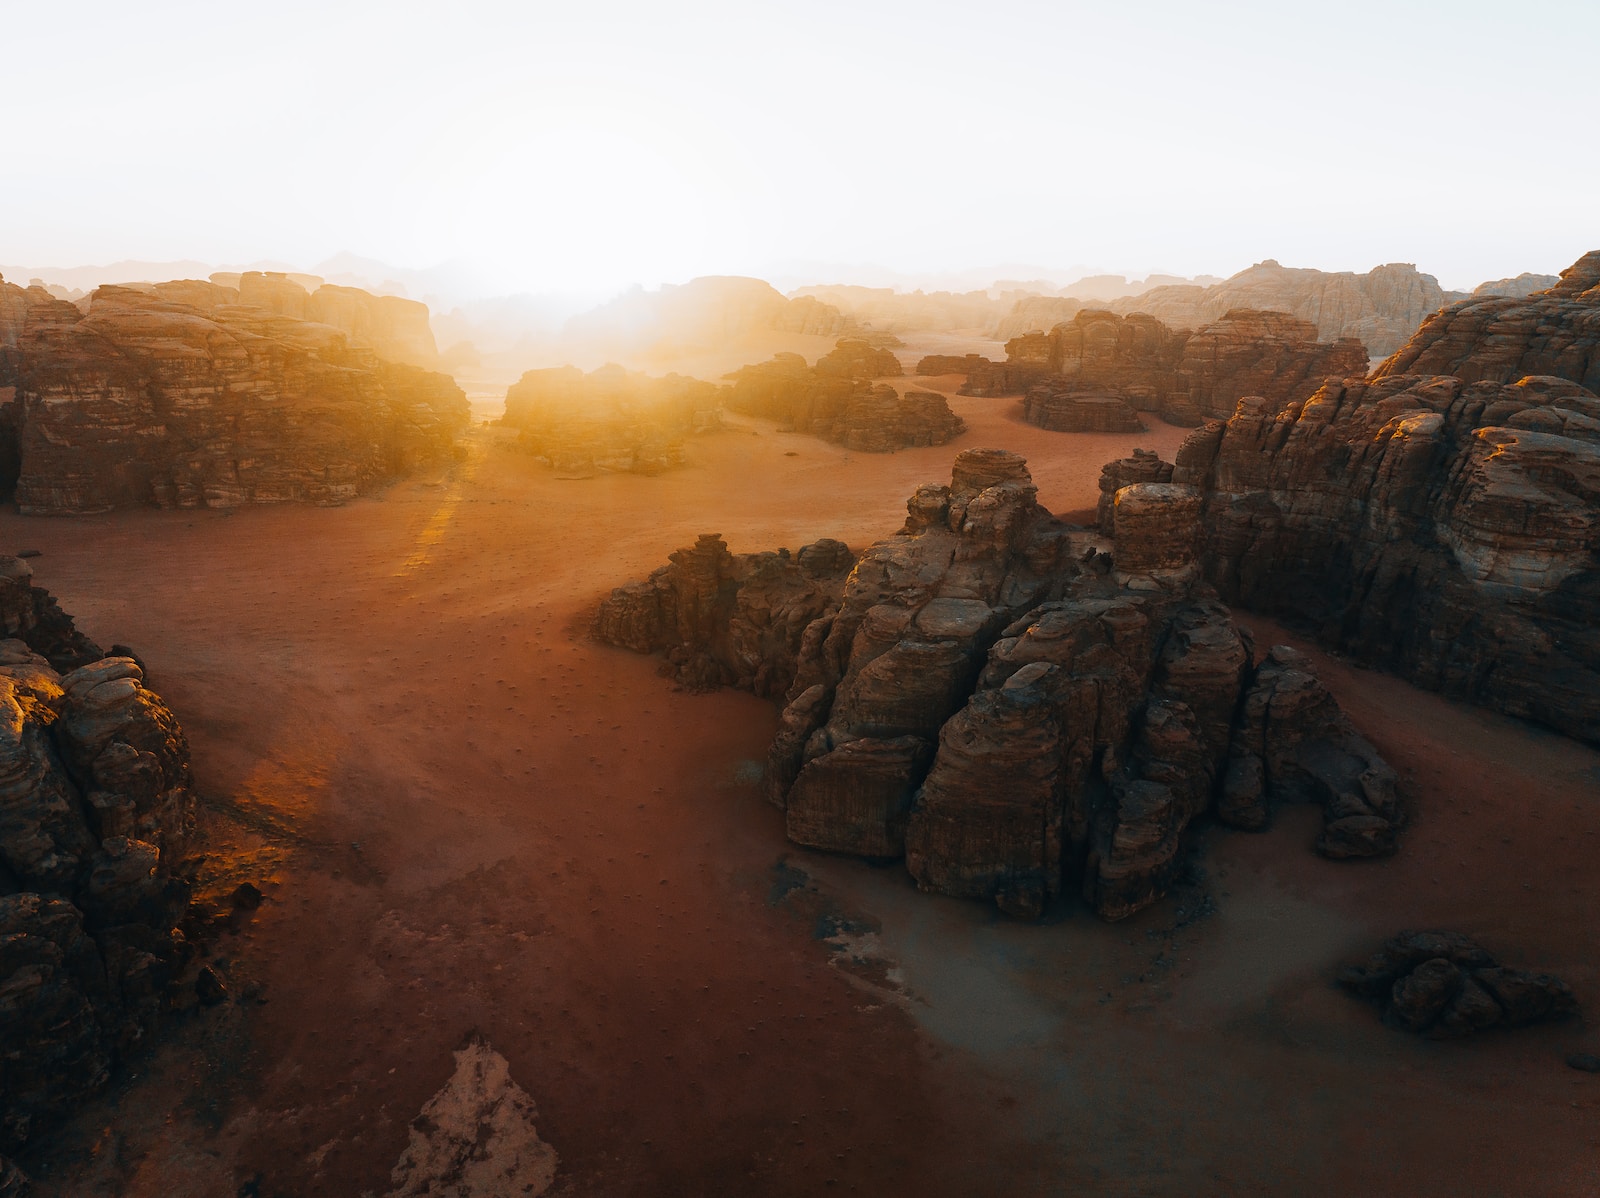
Lightroom Presets are predefined settings that allow you to apply a consistent look and style to your photos with just a click. These settings include adjustments to exposure, contrast, saturation, tone, and more. By using presets, you can streamline your editing process and maintain a cohesive aesthetic across your images.
Why Use Lightroom Presets?
Using Lightroom Presets can significantly speed up your editing workflow. Instead of manually adjusting each photo, presets let you apply a desired style instantly. They also provide a great starting point for your own creative experiments, offering inspiration and consistency throughout your work.
Did you know that Lightroom CC saves your presets to the cloud, allowing you to access them from any device?
How to Create Custom Presets
Creating your own presets enables you to personalize your editing style and maintain a unique visual identity. We’ll walk you through the process of creating custom presets step-by-step, from making adjustments to saving and organizing your presets.
Installing Lightroom Presets
Once you’ve mastered the art of creating presets, it’s time to learn how to install them. Discover multiple methods to install presets in Lightroom, whether you’re using the desktop or mobile version of the software. We’ll provide easy-to-follow instructions to ensure your presets are up and running in no time.
Did you know that Adobe Lightroom offers a vast collection of preset libraries that you can explore and use for free?
Applying Presets to Your Photos
Now it’s time to unleash the power of presets! Learn how to apply presets to your images and adjust them to achieve the desired look. We’ll cover essential techniques like tweaking exposure, white balance, and tone curves to enhance the preset’s effect and tailor it to your specific photo.
Organizing and Managing Presets
As your preset collection grows, it’s crucial to keep everything organized. Discover tips and tricks for efficiently managing your presets, organizing them into folders, and even sharing your preset libraries with others.
Advanced Editing with Presets
Take your editing skills to the next level by utilizing presets as a starting point for more advanced adjustments. Learn how to combine and layer presets, create your own preset variations, and fine-tune the settings to achieve your artistic vision.
Exporting and Sharing Presets
Have you created a set of amazing presets you want to share with others? We’ll guide you through the process of exporting and sharing your presets with fellow photographers or even selling them online. Explore different platforms and strategies to showcase your presets to the world.
Exploring Lightroom Alternatives
While Lightroom is undoubtedly powerful, it’s always good to explore alternatives. We’ll introduce you to some popular alternatives to Lightroom, highlighting their features, strengths, and weaknesses, allowing you to find the perfect fit for your editing needs.
Using Presets in Other Editing Software
Wondering if you can use Lightroom presets in other software? We’ll show you how to adapt and apply presets in software like Photoshop, Capture One, and more. With a few tweaks and adjustments, you can still leverage the power of presets outside of Lightroom.
That’s it for the Ultimate Guide to Lightroom Presets! Get ready to revolutionize your editing process, breathe new life into your photos, and unlock your full creative potential with the magic of Lightroom presets. Remember, presets are here to enhance and inspire, helping you achieve your unique visual style effortlessly.
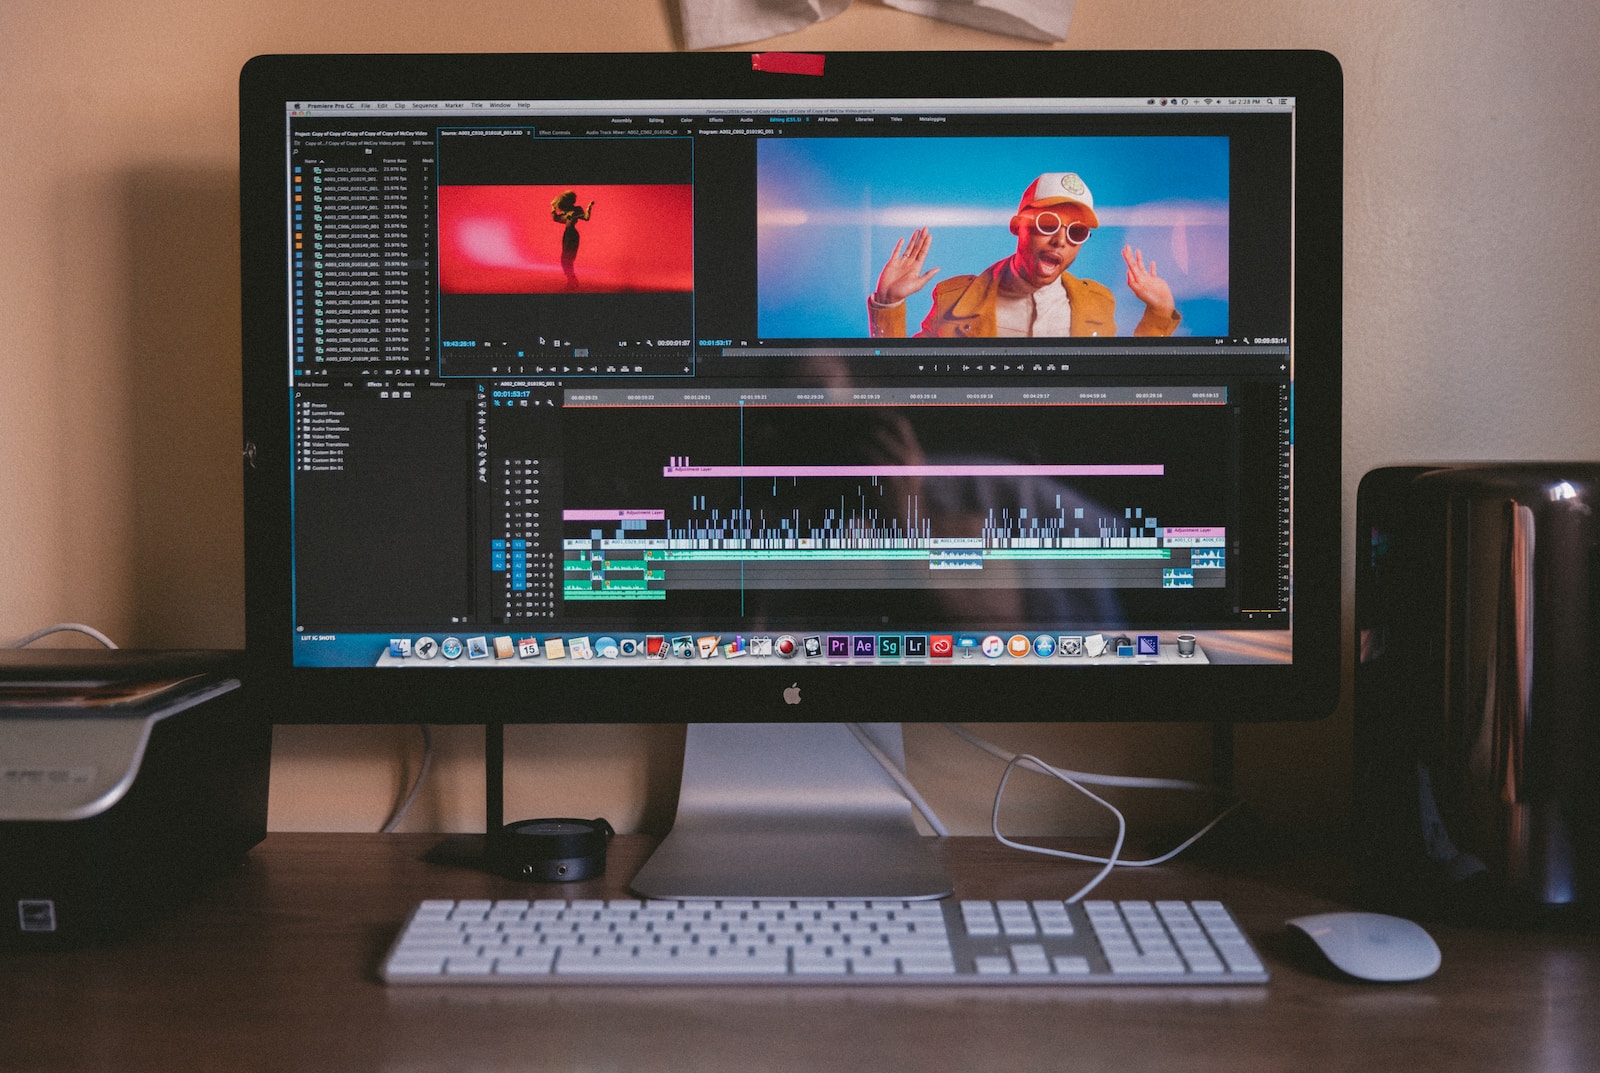
A How-To Guide: Creating and Using Lightroom Presets
Are you tired of spending hours editing your photos? Look no further than Adobe Lightroom Presets. These powerful editing tools can revolutionize your workflow and save you valuable time. In this guide, we will walk you through the process of creating, installing, and using Lightroom presets. Get ready to transform your images with just a few clicks.
Step 1: Creating Your Own Lightroom Presets
Creating your own Lightroom presets is a great way to personalize your editing style and make it consistent across all your photos. Follow these simple steps to get started:
- Open Adobe Lightroom and import a photo you want to edit.
- Adjust the settings to achieve your desired look. This could include changes to exposure, contrast, saturation, and more.
- Once you are happy with your edits, navigate to the Develop module and locate the Presets panel on the left-hand side.
- Click the “+” icon at the top right corner of the Presets panel to create a new preset.
- Give your preset a descriptive name that reflects the editing style or effect it represents.
- Select the settings you want to include in your preset. You can choose to include or exclude certain adjustments.
- Click the “Create” button to save your preset.
Step 2: Installing Lightroom Presets
Now that you have created your own presets, let’s learn how to install them in Adobe Lightroom:
- Locate the folder on your computer that contains your Lightroom presets. This is typically in your User folder, under “Develop Presets”.
- Copy and paste your preset files into the appropriate folder.
- Restart Adobe Lightroom to ensure the presets are loaded correctly.
Step 3: Using Lightroom Presets
With your presets created and installed, it’s time to apply them to your photos. Follow these steps to use Lightroom presets:
- Open Adobe Lightroom and import a photo you want to edit.
- Go to the Develop module and locate the Presets panel on the left-hand side.
- Browse through your presets and click on the one you want to apply.
- Observe the changes made to your photo. You can further adjust the settings if needed.
- Click the “Reset” button in the Develop module to remove the preset and start from scratch.
By leveraging the power of Lightroom presets, you can dramatically speed up your editing process without compromising quality. Experiment with different presets, customize them to fit your unique style, and watch as your images transform with just a few clicks. Start exploring the wonderful world of Adobe Lightroom presets today!
Frequently Asked Questions
What are Lightroom presets?
Lightroom presets are pre-saved settings or configurations that can be applied to your photos in Adobe Lightroom. They allow you to instantly enhance and transform the look of your images with just a single click.
How do I create my own Lightroom presets?
To create your own Lightroom presets, start by making adjustments to a photo in Lightroom that you want to replicate. Once you’re satisfied with the edits, go to the Develop module and click on the “+” icon next to the Presets panel. Fill in the preset details and click “Create” to save it as a new preset.
Where can I find Lightroom presets?
There are various sources to find Lightroom presets. You can search online marketplaces, photography blogs, and websites dedicated to presets. Additionally, many professional photographers and preset creators offer their presets for sale or as free downloads on their websites or online platforms.
How do I install Lightroom presets?
To install Lightroom presets, start by opening Adobe Lightroom. Then, go to the Develop module and locate the Presets panel on the left-hand side. Right-click on the panel and select “Import…” from the dropdown menu. Navigate to the folder where your downloaded presets are saved, select them, and click “Import” to install them into Lightroom.
Can I use Lightroom presets on my mobile device?
Yes, you can use Lightroom presets on your mobile device. Adobe offers a mobile version of Lightroom, which allows you to import and apply presets to your photos on the go. Simply sync your presets from your desktop version of Lightroom to the mobile app, and you’ll be able to use them on your smartphone or tablet.
How do I use Lightroom presets on my photos?
To apply Lightroom presets to your photos, open the image you want to edit in Lightroom. Then, go to the Develop module and locate the Presets panel on the left-hand side. Click on the preset you want to use, and it will be applied to your photo automatically. You can further adjust the settings if desired or continue editing with additional adjustments.
Can I customize or modify Lightroom presets?
Yes, you can customize or modify Lightroom presets according to your preferences. After applying a preset to your photo, you can adjust individual settings such as exposure, contrast, saturation, or any other specific adjustment to fine-tune the look. Saving the modifications as a new preset allows you to have your personalized variations of existing presets.
Wrap Up
In conclusion, the world of Adobe Lightroom presets is truly a game-changer for photographers and image editors. By using these pre-defined settings, you can speed up your editing process, enhance your images, and create stunning visuals with just a few clicks.
Now that you have learned how to create, install, and use presets, it’s time to dive in and explore the vast collection of presets available. Experiment, tweak, and have fun with different styles and looks to find your own unique editing style.
Don’t forget to share your experiences and thoughts in the comments below. Have you found Lightroom presets to be a time-saving addition to your workflow? Are there any specific presets or techniques you would like to learn more about? Let’s continue the conversation and enhance our editing skills together!
Remember, the ultimate guide to Lightroom presets doesn’t end here. Stay updated with the latest trends, tips, and tricks by subscribing to our newsletter. Happy editing!