Welcome to Under the Big Top: A Guide to Photographing Circus Performers! Step right up and join us on a mesmerizing journey into the world of circus photography. Whether you’re an amateur photographer or a seasoned professional, this comprehensive guide is designed to help you capture breathtaking images of the enchanting performances that unfold under the vibrant circus tent. From freezing action to capturing motion blur, we’ll provide you with valuable tips and tricks to unleash your creativity and master the art of photographing these awe-inspiring acrobats, clowns, and trapeze artists. Let’s dive in and unlock the secrets of this captivating art form!
Table of Contents
- Photographing Circus Performers: Capturing the Magic
- Choosing the Right Equipment for Circus Photography
- The Best Vantage Points for Capturing Stunning Circus Shots
- Frequently Asked Questions
- 1. How can I freeze action while photographing circus performers?
- 2. What techniques can I use to capture motion blur in my circus photographs?
- 3. How can I work with different light conditions when photographing circus performers?
- 4. How can I create a sense of atmosphere in my circus photographs?
- 5. What are some tips for event photography at a circus?
- 6. Do I need special equipment for circus photography?
- 7. Are there any safety considerations when photographing circus performers?
- Wrap Up
Photographing Circus Performers: Capturing the Magic
The world of circus performers is filled with excitement, energy, and breathtaking performances. As a photographer, capturing the essence of these incredible artists can be both challenging and immensely rewarding. In this guide, we will explore tips and techniques to help you freeze action, capture motion blur, work with varying light conditions, and create a sense of atmosphere in your circus photography.
Freezing Action: Freeze the Thrill
One of the most exhilarating aspects of circus photography is freezing the performers in mid-air, capturing their incredible feats with precision. To achieve this, use a fast shutter speed. Start with a setting of around 1/1000th of a second and adjust accordingly based on the speed of the action. This will help you capture the performers in sharp, crisp detail, showcasing their strength and agility.
Additionally, make use of burst mode or continuous shooting to increase your chances of capturing the perfect moment. This allows you to capture a series of shots in rapid succession, increasing the likelihood of obtaining the ideal image.
Capturing Motion Blur: The Art of Fluidity
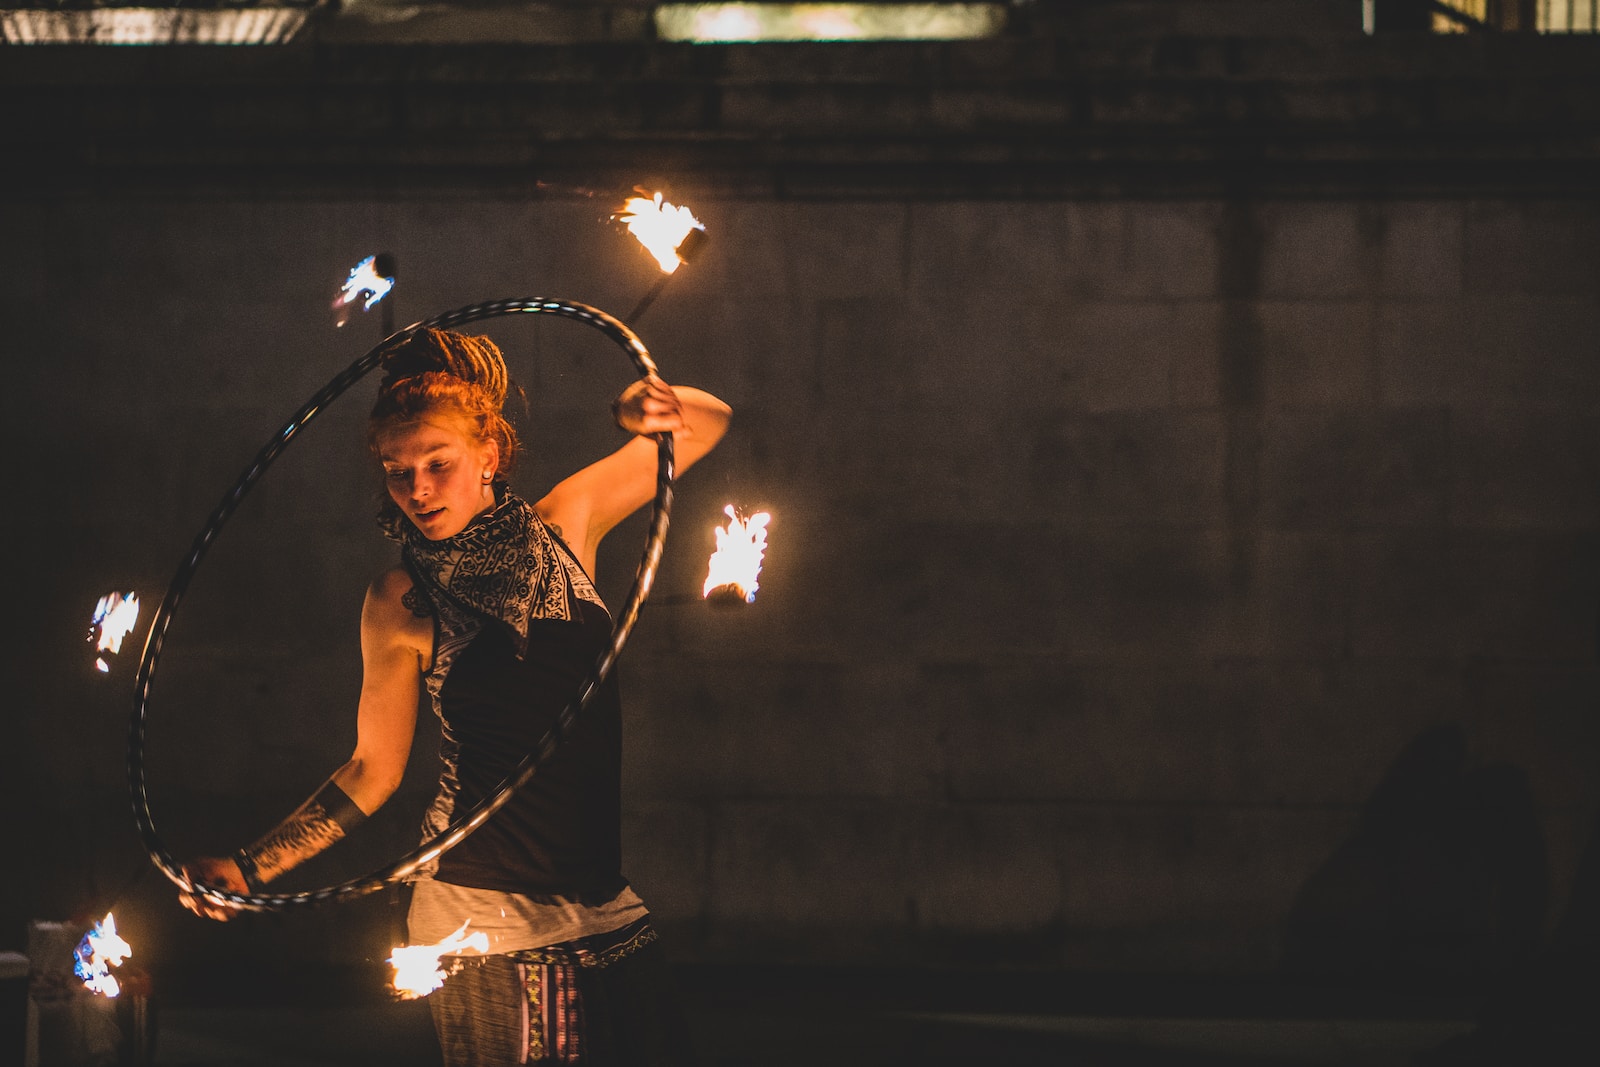
While freezing action can be captivating, introducing motion blur can add a sense of dynamism and elegance to your circus photographs. Experimenting with slower shutter speeds, around 1/60th of a second or slower, allows you to create a sense of movement and showcase the performers’ graceful motions.
When incorporating motion blur, it’s important to keep the performer in focus while allowing their surroundings to blur. This technique requires practice and careful timing but can result in stunning images that convey the energy and fluidity of the performance.
Working with Different Light Conditions: Shine a Spotlight
Circus performances often involve dramatic lighting, creating a visually enticing atmosphere. To make the most of these lighting conditions, adjust your camera’s settings accordingly. Increase the ISO to compensate for low light situations, ensuring your images remain properly exposed.
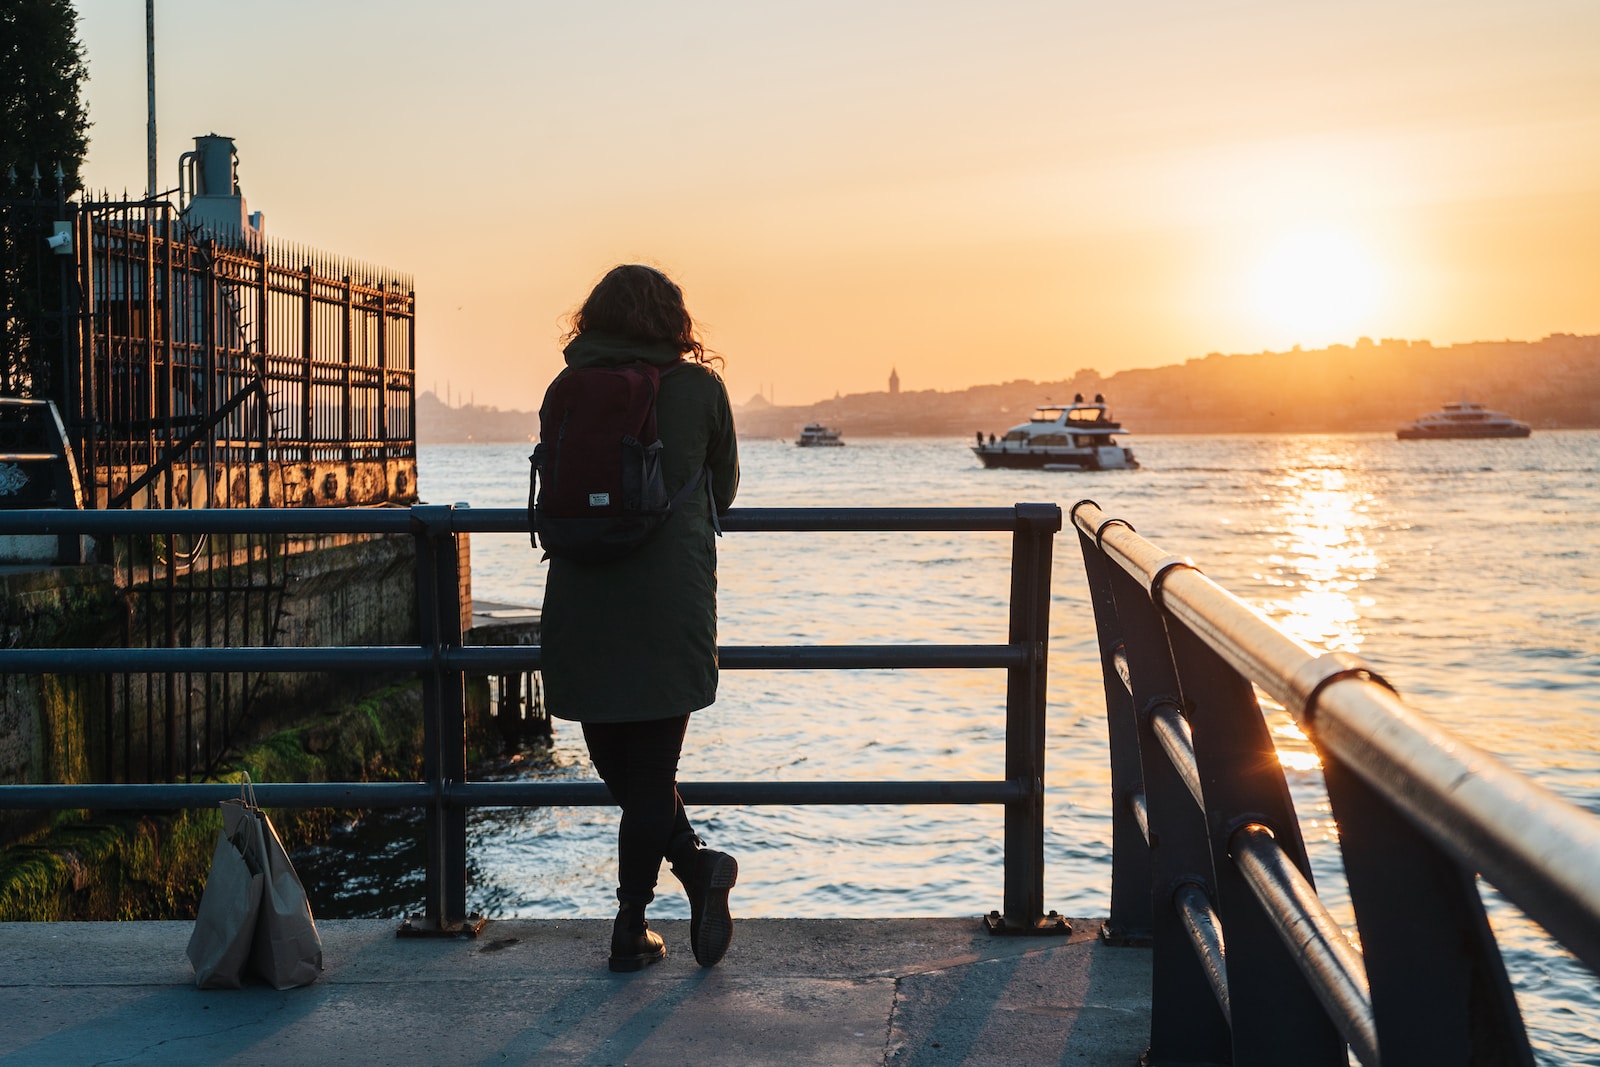
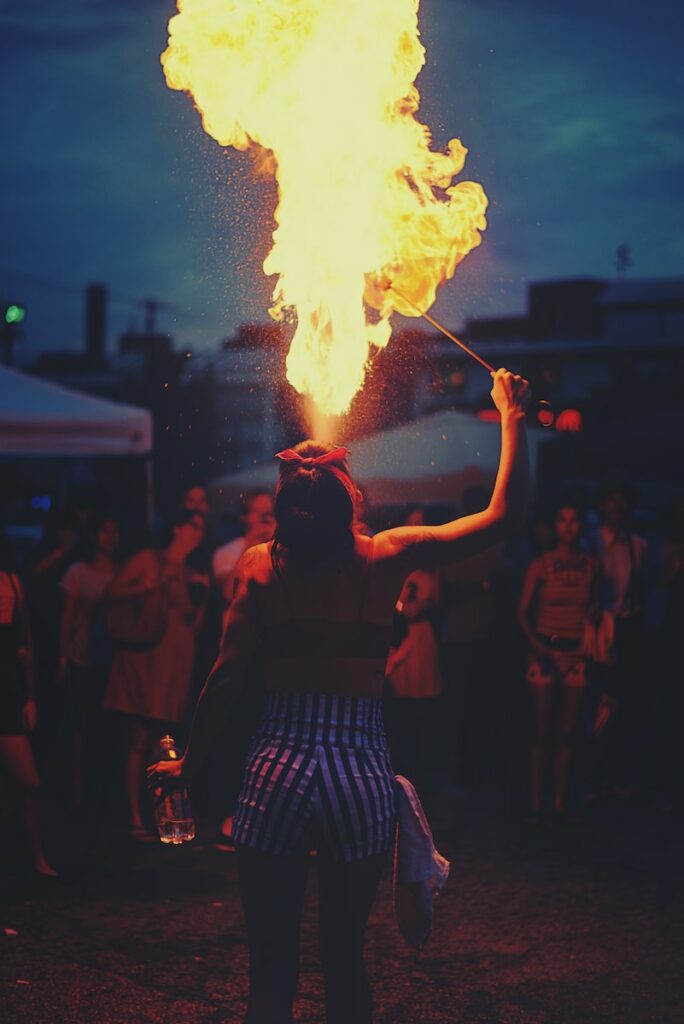
Additionally, pay attention to the direction and quality of light. Experiment with capturing silhouettes or creating dramatic contrasts by placing the performers against backlighting. This can create stunning visual effects and add depth to your photographs.
Don’t be afraid to get creative with lighting and experiment with different techniques such as using colored gels or capturing long exposures of light trails created by props or fireworks. These techniques can add a unique and captivating touch to your circus photography.
Creating a Sense of Atmosphere: The Magic Beyond the Performers
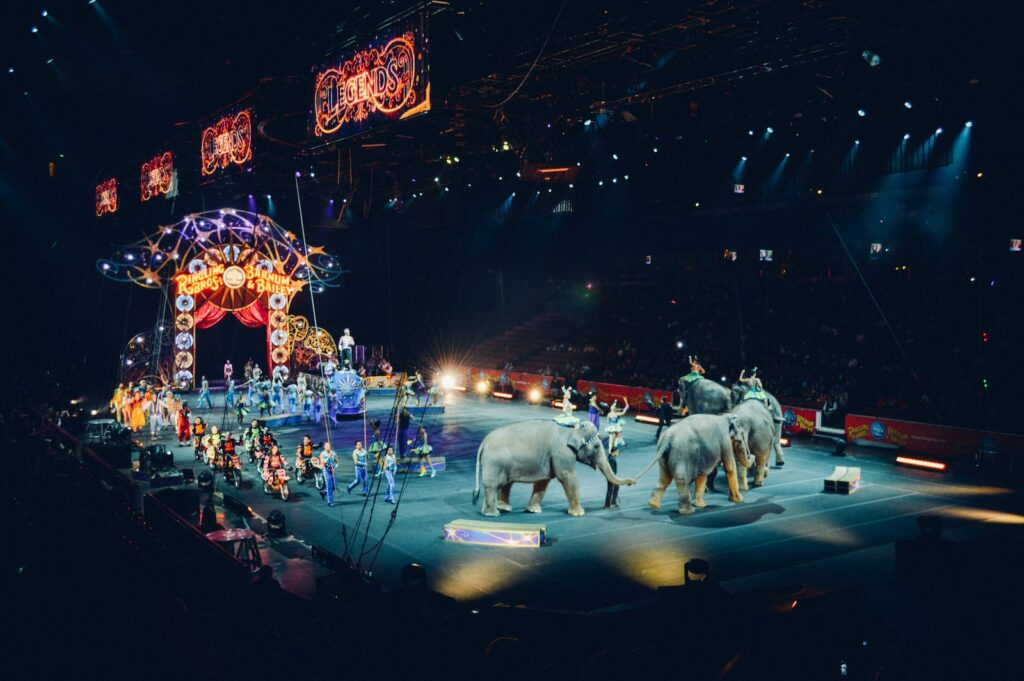
While the performers are undoubtedly the stars of the show, capturing the overall atmosphere of the circus can elevate your photographs to the next level. Pay attention to the details and surroundings that contribute to the enchantment of the performance.
Include elements such as the colorful tents, audience reactions, and intricate props to provide context and immerse viewers in the world of the circus. Look for opportunities to capture candid moments and interactions between performers and spectators to add authenticity and a sense of wonder to your images.
Remember, practice and experimentation are key when photographing circus performers. Each performance and venue presents unique challenges and opportunities. With these tips and techniques, you’ll be well-prepared to capture the magic and excitement of the circus through your photography.
Did you know that circus photography dates back to the 19th century? In fact, famous photographers like Edward J. Kelty and Frederick W. Glasier captured breathtaking images of circus performers, preserving their acrobatic feats for generations to come.
Choosing the Right Equipment for Circus Photography
As a photographer, capturing the thrilling moments of circus performers requires the right equipment. With the fast-paced action and dynamic movements, having the proper gear can make all the difference in getting those incredible shots. Let’s explore the essential camera and lens options for circus photography.
The Perfect Camera for the Job
To freeze action and capture the high-energy performances under the big top, you need a camera with a high burst rate. This allows you to capture multiple frames per second, ensuring you won’t miss any of the action. Additionally, look for a camera with a reliable autofocus system to ensure sharpness and accuracy in your photos.
Consider options such as the X camera, known for its exceptional burst rate and advanced autofocus capabilities. Another option worth exploring is the Y camera, which offers a robust burst rate and excellent low-light performance, essential for indoor circus photography. Both of these options provide the speed and precision needed to capture those split-second acrobatic maneuvers.
Choosing the Right Lenses
When it comes to lenses for circus photography, versatility is key. You want lenses that can adapt to different shooting conditions and capture both close-up details and wide-angle shots of the overall spectacle.
For close-ups, a telephoto lens with a long focal length, such as the Z lens, can help you zoom in on the performers and capture their expressions with stunning clarity. This lens also helps you isolate your subjects from distracting backgrounds, allowing you to focus on the performer’s skill and grace.
For wide-angle shots that convey the grandeur of the circus, a wide-angle zoom lens like the W lens is the way to go. This lens allows you to capture the entire scene, including the performers, the tent, and the audience. It’s perfect for showcasing the scale and atmosphere of the circus.
While these camera and lens options are excellent choices for circus photography, it’s important to remember that the ultimate decision should be based on your shooting style and preferences. Don’t be afraid to explore other brands and models that offer similar features and benefits.
Remember, the right equipment is just one piece of the puzzle. In the following sections, we’ll delve into the essential techniques and considerations to further enhance your circus photography skills.
The Best Vantage Points for Capturing Stunning Circus Shots
When it comes to capturing captivating images of circus performers, timing and perspective play a crucial role. Whether you are an amateur photographer or a seasoned professional, understanding the best time and vantage points can make all the difference in bringing your circus photography to life. In this section, we will explore the optimal times of the year and various positions from which you can capture breathtaking photos of circus performers in action.
The Ideal Time of Year to Photograph Circus Performers
While circus performances can be found year-round, certain times of the year offer unique opportunities for photographers. Summer is typically the peak season for circus performances, with numerous tours and festivals taking place. With longer daylight hours and vibrant outdoor settings, summer provides excellent lighting conditions for capturing vivid and energetic images.
However, don’t discount other seasons. Autumn, with its warm colors and crisp air, can add a touch of magic to your circus photographs. During the winter months, indoor circus shows can offer a cozy and intimate atmosphere, perfect for capturing the performers’ emotions up close. Spring, on the other hand, presents the opportunity to document circus performers against the backdrop of blooming flowers and lush greenery.
Choosing the Perfect Vantage Points and Positions
When photographing circus performers, your position and vantage point are crucial elements that can greatly impact the outcome of your images. Here are a few options to consider:
- Front Row Center: Positioning yourself in the front row allows you to capture the performers’ facial expressions and intricate details from a close distance. With a prime view of the action, this position is ideal for freezing thrilling moments.
- Elevated Angle: By positioning yourself on an elevated platform or using a telephoto lens, you can gain a unique perspective that captures the performers from an unexpected angle. This angle can accentuate the height and aerial movements of circus performers.
- Backstage Access: If you have the opportunity to gain backstage access, you can capture the behind-the-scenes moments of circus performers. These candid shots can convey the dedication, nervous energy, and camaraderie among the performers.
- Circumferential View: Walking around the performance space and capturing images from different angles can provide a variety of perspectives. This allows you to capture the full range of movements and interactions among the performers and the audience.
Remember, each vantage point offers its own unique benefits, and the best choice depends on your artistic vision and the story you want to convey through your photographs. Experimenting with different positions and angles can lead to stunning and unexpected results.
In conclusion, to capture the essence of circus performers through your photography, understanding the best time to photograph, as well as exploring different vantage points, is key. Whether you choose the summer with its vibrant outdoor performances or the cozy winter shows indoors, combining the right timing with strategic positioning will help you freeze breathtaking moments and create images full of atmosphere, action, and artistry.
One helpful tip for photographing circus performers is to use a fast shutter speed to freeze the action and capture the performers in mid-air or mid-trick. This will ensure that you capture the moment with sharpness and clarity, highlighting the acrobatics and athleticism of the performers.
Frequently Asked Questions
1. How can I freeze action while photographing circus performers?
To freeze action in your circus photography, use a fast shutter speed. This will help capture the performers in sharp focus and prevent motion blur. Experiment with shutter speeds of 1/500th of a second or faster to freeze the action effectively.
2. What techniques can I use to capture motion blur in my circus photographs?
To capture motion blur in your circus photography, try using a slower shutter speed combined with panning. Panning involves tracking the movement of the performer with your camera while taking the shot. This creates a sense of movement and adds dynamism to your images.
3. How can I work with different light conditions when photographing circus performers?
Working with different light conditions in circus photography requires adjusting your camera settings accordingly. In low light conditions, consider using a wider aperture to let in more light or increase your ISO for better exposure. In bright lighting, you may need to adjust your shutter speed or use a neutral density filter to control the amount of light entering your camera.
4. How can I create a sense of atmosphere in my circus photographs?
To create a sense of atmosphere in your circus photography, pay attention to the background and use it to your advantage. Look for interesting backdrops, such as colorful tents or vibrant circus props. Additionally, using wide-angle lenses can help you capture more of the surroundings and the overall ambiance of the circus.
5. What are some tips for event photography at a circus?
When photographing circus events, be prepared and familiarize yourself with the program in advance. Arrive early to scout the location and find the best angles for your shots. Capture candid moments, interactions between performers and audience, and the overall excitement of the event. Don’t forget to experiment with different angles and compositions to add variety to your shots.
6. Do I need special equipment for circus photography?
While specialized equipment is not necessary, having a versatile lens like a zoom lens can be beneficial. This allows you to capture close-ups of performers as well as wider shots of the entire scene. A tripod or monopod can also help stabilize your shots, especially for long exposure or low light photography.
7. Are there any safety considerations when photographing circus performers?
Always prioritize safety when photographing circus performers. Respect any rules or guidelines set by the circus management and performers. Ensure that you are not obstructing the performance or endangering yourself or others. Be aware of your surroundings and watch for any potential hazards, such as moving equipment or props.
Wrap Up
So there you have it, a comprehensive guide to photographing circus performers. By applying these techniques and tips, you’ll be able to capture stunning images that freeze the action, capture motion blur, work with different light conditions, and create a sense of atmosphere.
Remember to always be prepared and adaptable, as circus photography can be unpredictable. Don’t be afraid to experiment and think outside the box to capture those unique and memorable shots.
We would love to hear about your experiences and see some of your circus photography. Leave a comment below and let us know how these tips have helped you. Happy shooting!
