Welcome to “A Guide To Shooting Star Trails”! If you have ever been captivated by the beauty of star trails in the night sky, then this is the blog for you. Here, you will find all the information you need to delve into the mesmerizing world of astrophotography and night photography. From the essential equipment to the best locations, we will cover it all. So grab your camera and prepare to be amazed by the wonders of long exposure photography.
Table of Contents
- Capturing the Magic: Star Trails Photography
- The Best Camera Options for Shooting Stars
- The Best Time and Locations for Shooting Star Trails
- Frequently Asked Questions
- What equipment do I need for shooting star trails?
- What is the best technique for shooting star trails?
- Where are the best locations for shooting star trails?
- How can I avoid blurry star trail photos?
- Can I shoot star trails without a remote shutter release?
- What settings should I use for post-processing star trail photos?
- Wrap Up
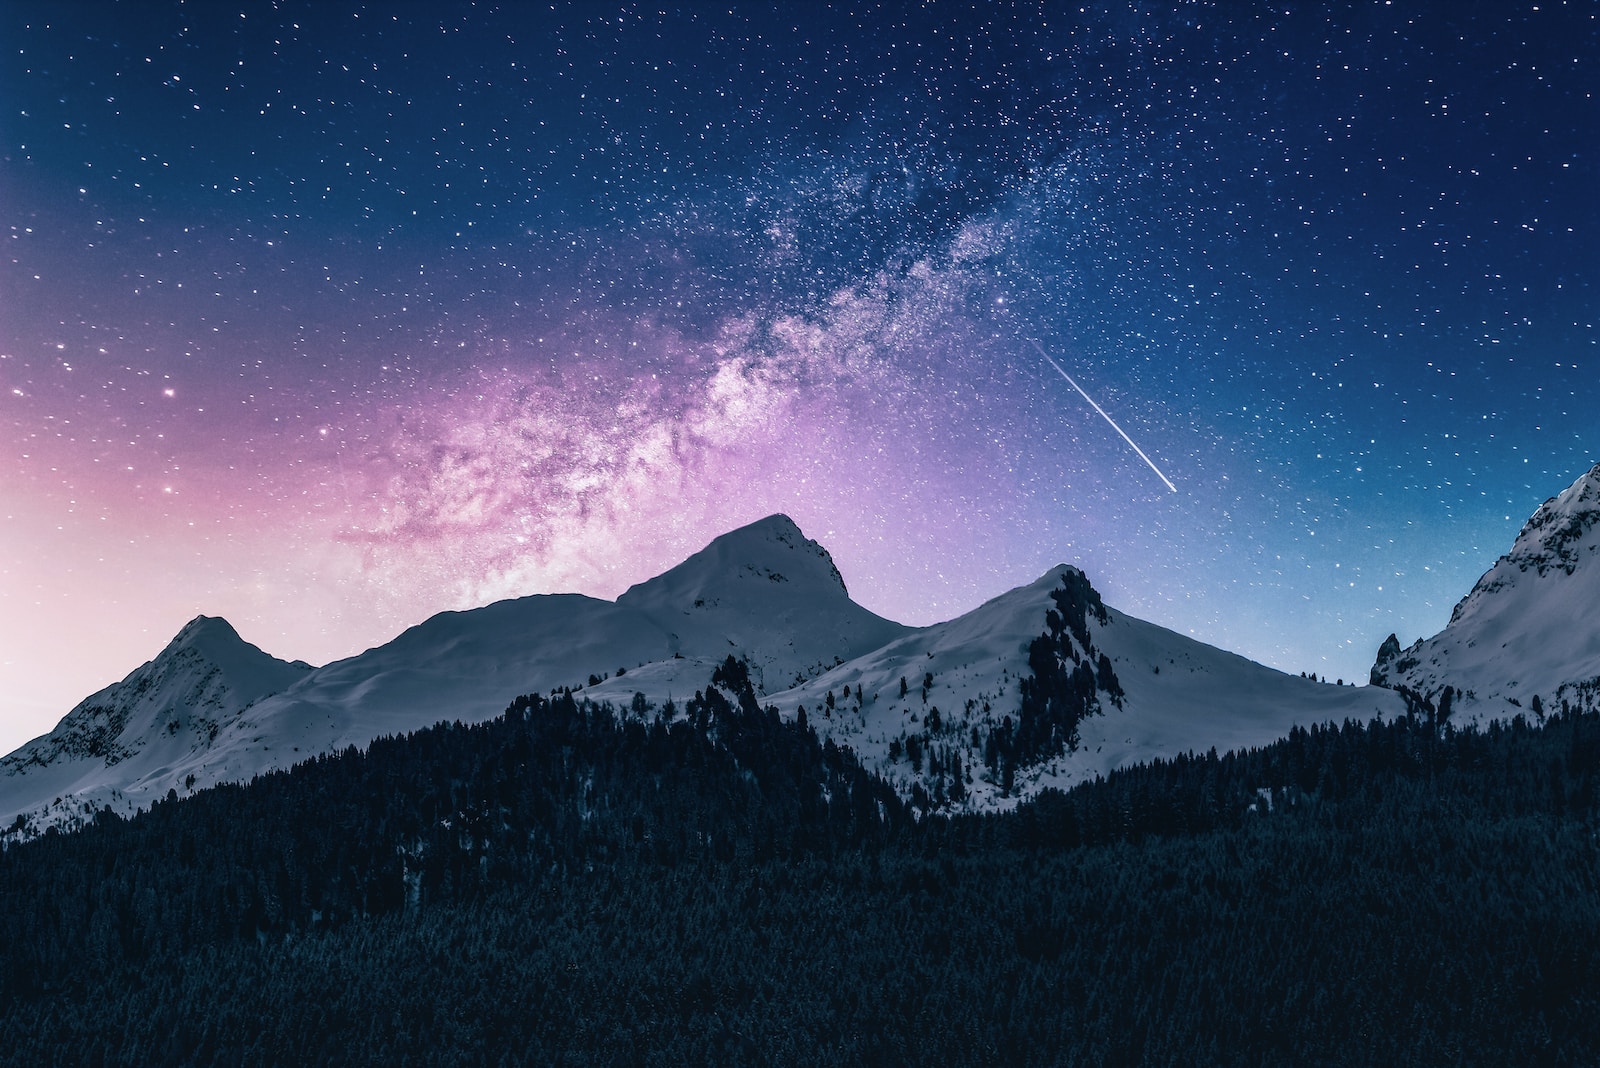
Capturing the Magic: Star Trails Photography
Star trails photography is a mesmerizing technique that allows you to capture the ethereal beauty of the night sky. By using long exposure techniques, you can showcase the movement of the stars as mesmerizing trails of light. Whether you are a beginner or a seasoned photographer, this guide will provide you with all the necessary information and techniques to create stunning star trails photographs.
Equipment for Star Trails Photography
Before embarking on your astrophotography adventure, it is important to have the right equipment at hand. Here are the essential items you’ll need:
- A sturdy tripod: A stable base is crucial as you’ll be using long exposure times.
- A camera with manual mode: This will allow you to control the shutter speed, aperture, and ISO settings.
- A wide-angle lens: Choose a lens with a wide field of view to capture more of the night sky.
- A remote shutter release: This will prevent any camera shake during the exposure.
With this equipment in tow, you’ll be ready to explore the wonders of star trails photography.
Techniques for Shooting Star Trails
Now that you have your gear, it’s time to delve into the techniques that will bring your star trails photographs to life. Here are some tips to get you started:
- Find a dark location: Light pollution can hinder your results, so scout for areas away from city lights.
- Compose your shot: Look for interesting foreground elements such as trees, mountains, or landmarks to add depth to your photograph.
- Set your camera to manual mode: This will give you full control over the exposure settings.
- Select a long exposure time: Start with a shutter speed of 30 seconds or longer to capture the movement of the stars.
- Adjust the aperture: Choose a smaller aperture (higher f-stop) to ensure a greater depth of field.
- Experiment with ISO: Begin with a low ISO setting (e.g., 100 or 200) to minimize noise.
- Use a remote shutter release: This will help prevent any camera shake caused by manually pressing the shutter button.
- Patience is key: Allow your camera to capture multiple frames over an extended period of time to create longer star trails.
- Combine multiple exposures: If you want to create more dramatic trails, stack multiple images using photo editing software.
Remember, practice makes perfect when it comes to star trails photography. Don’t be disheartened if your initial attempts are not as impressive as you had hoped. Keep experimenting with different settings, locations, and compositions. Each photograph you take is a chance to learn and improve your skills.
With these techniques and tips in your arsenal, you are now equipped to embark on your own star trails photography adventure. Head out to a dark location, set up your tripod, and let the magic of the night sky unfold before your lens. Happy shooting!
Did you know that star trails are actually the result of the Earth's rotation? As the Earth spins on its axis, the stars appear to move in circular trails in the night sky, creating breathtaking and mesmerizing patterns.
The Best Camera Options for Shooting Stars
When it comes to capturing stunning star trails, having the right camera is crucial. While there are various camera options available, here are a few that will surely help you achieve remarkable results.
1. Full-Frame DSLR: A full-frame DSLR camera offers superior image quality and low light performance, making it an excellent choice for capturing star trails. Its larger image sensor collects more light, resulting in less noise and sharper images. Additionally, a wide range of lenses are compatible with full-frame DSLRs, allowing for greater creative flexibility.
2. Mirrorless Camera: Mirrorless cameras provide exceptional image quality and convenient portability. Due to their compact size, they are ideal for night photography, making it easier to carry them on long hikes to find the perfect star trails location. With advanced technology and interchangeable lenses, mirrorless cameras are rapidly gaining popularity among astrophotographers.
3. Crop Sensor DSLR: While full-frame DSLRs and mirrorless cameras often deliver superior image quality, crop sensor DSLRs are a more budget-friendly option without compromising on performance. Crop sensor cameras have a smaller image sensor, resulting in a narrower field of view. However, this crop factor can sometimes be advantageous, allowing you to zoom in on the stars and capture more detail.
Lens Choices
Selecting the right lens is equally important as choosing the camera itself. Each lens offers unique perspectives and capabilities, allowing you to create different effects in your star trail photographs. Consider these options to enhance your astrophotography experience.
- Wide-Angle Lens: A wide-angle lens is a popular choice for star trail photography, as it captures a larger portion of the night sky. With a focal length typically between 14mm and 24mm, wide-angle lenses provide a broad perspective, allowing you to incorporate more stars and details in a single frame. This lens is perfect for shooting in wide open spaces or capturing elements of the landscape along with the star trails.
- Prime Lens: Prime lenses have a fixed focal length and generally offer a wider aperture than zoom lenses. This allows for more light to enter the camera, resulting in brighter star trails with less noise. A prime lens with a focal length of around 35mm to 50mm is versatile and suitable for capturing a variety of compositions.
- Telephoto Lens: If you wish to focus on a specific portion of the night sky or enhance the details of the stars, a telephoto lens is an excellent option. With a focal length above 70mm, it allows you to zoom in and capture the intricate patterns of star trails. Additionally, a telephoto lens can compress the foreground and background, creating an aesthetically pleasing composition.
Remember, the equipment you choose ultimately depends on your personal preferences and budget. Whether you opt for a high-end full-frame DSLR or a more affordable crop sensor camera, a wide-angle lens or a versatile prime lens, what matters most is your passion for astrophotography. Grab your camera gear and get ready to embark on an incredible journey capturing mesmerizing star trails in the night sky!
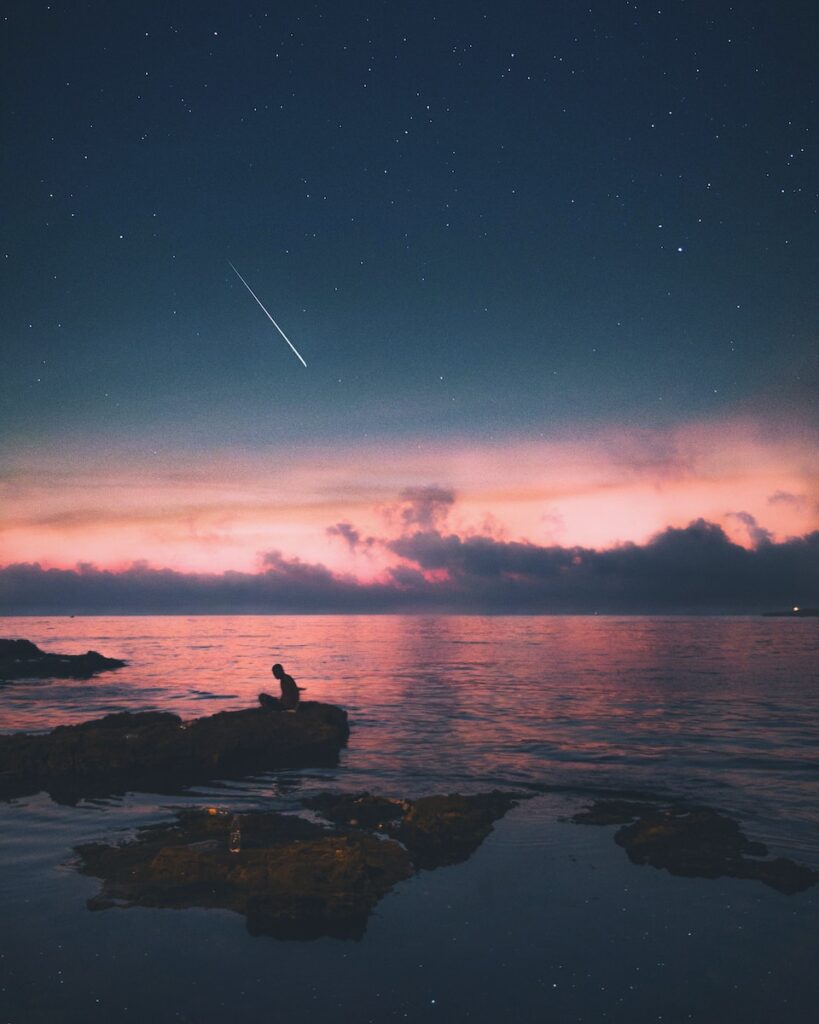
The Best Time and Locations for Shooting Star Trails
When it comes to capturing stunning star trail photographs, timing and location are crucial factors. Understanding the best time of year and finding suitable vantage points can make all the difference in achieving awe-inspiring results. Let’s dive into the details and explore the options available to photographers seeking to capture mesmerizing star trail images.
Optimal Time of Year
The ideal time of year for shooting star trails varies depending on several factors, including the weather conditions, moon phase, and the position of the Milky Way. Generally, the best time is during the winter months, from November to February, when the nights are longer, colder, and drier. However, this can vary depending on your location.
In regions with less light pollution, summer months can also provide excellent opportunities for star trail photography. Longer nights and warmer temperatures make it more comfortable to spend extended periods outdoors capturing the night sky in all its glory.
Suitable Vantage Points and Positions
When scouting for a vantage point, consider locations with minimal light pollution and an unobstructed view of the night sky. Here are a few options to consider:
- Mountain Tops: Ascending to higher altitudes provides an advantage in reducing light pollution and atmospheric interference. Mountains offer a breathtaking panoramic view, adding depth and grandeur to your star trail images.
- Coastlines: Coastal areas boast minimal light pollution, especially if they are away from heavily populated regions. The uninterrupted horizons and the sound of crashing waves can create a serene and ethereal atmosphere for your star trail photography.
- Deserts: Arid regions with clear skies, like deserts, offer excellent opportunities for capturing star trails. The absence of light pollution and minimal atmospheric moisture make deserts ideal for long exposure astrophotography.
- Lakes and Reflections: Bodies of water, such as lakes, ponds, or even calm rivers, can act as natural mirrors, reflecting the starry sky and creating a mesmerizing effect in your photographs. Look for still waters without disturbances to achieve clear and crisp reflections.
- Iconic Landmarks: Combining star trails with famous landmarks can add a unique perspective to your photographs. Research iconic sites in your area or the locations you plan to visit and experiment with different compositions to create visually compelling images.
Remember, each location offers distinct advantages and can add a different element to your star trail photographs. Be sure to experiment, explore, and scout various locations to find the one that aligns with your creative vision.
When shooting star trails, use a sturdy tripod to ensure your camera remains steady for long exposures. This will help capture sharp and clear images of the starry night sky.
Frequently Asked Questions
What equipment do I need for shooting star trails?
To capture stunning star trail photographs, you will need a DSLR or mirrorless camera with manual settings, a sturdy tripod, a wide-angle lens, and a remote shutter release. Additionally, having extra batteries and memory cards is always a good idea.
What is the best technique for shooting star trails?
The best technique for shooting star trails is using long exposure photography. Set your camera to manual mode, select a lower ISO (typically around 100 or 200), choose the widest aperture available on your lens, and set a long shutter speed (starting at 30 seconds). Experiment with different exposure times to achieve the desired effect.
Where are the best locations for shooting star trails?
The best locations for shooting star trails are areas with minimal light pollution, such as remote countryside locations, national parks, or deserts. Look for places away from cities and towns where the night sky is clearly visible.
How can I avoid blurry star trail photos?
To avoid blurry star trail photos, make sure to use a sturdy tripod and a remote shutter release to eliminate camera shake. Check that your lens is focused on infinity and use the mirror lock-up feature if available on your camera to further reduce vibrations.
Can I shoot star trails without a remote shutter release?
While it is possible to shoot star trails without a remote shutter release, using one greatly reduces the risk of camera shake caused by manually pressing the shutter button. If you don’t have a remote shutter release, you can use the camera’s built-in self-timer function to delay the shot after pressing the shutter button.
What settings should I use for post-processing star trail photos?
When post-processing star trail photos, it is recommended to shoot in RAW format to retain maximum image information. Use photo editing software to adjust white balance, exposure, and contrast. You can also stack multiple images of star trails to enhance the overall effect.
Wrap Up
Now that you have all the tools, knowledge, and resources to capture stunning star trails, it’s time to unleash your creativity and venture into the night. Don’t be afraid to experiment with different settings and techniques to achieve unique and breathtaking results. Remember, practice makes perfect, so keep shooting and refining your skills.
If you have any questions or want to share your own star trail photography experiences, feel free to leave a comment below. We love hearing from our readers and supporting each other’s journey. Happy shooting and may your star trails always shine bright!