Welcome to our comprehensive guide to astrophotography – the art of capturing the beauty of the night sky with your camera. If you have ever been mesmerized by the vast expanse of stars and planets above you, then this blog is for you. Whether you are a beginner or an experienced photographer, we have tips, techniques, and equipment recommendations to help you create stunning images of the night sky. Uncover the secrets behind astrophotography and unleash your creative potential in this captivating realm of photography.
Table of Contents
The Beauty of the Night Sky: A Photographer’s Guide to Astrophotography
Have you ever gazed up at the night sky and marveled at its cosmic beauty? Imagine being able to capture those breathtaking moments with your camera – the twinkling stars, distant galaxies, and mesmerizing auroras. Astrophotography allows you to bring the wonders of the universe to life through stunning photographs. In this guide, we will explore the secrets to capturing the night sky and help you unleash your inner astrophotographer.
Unveiling the Splendors of the Night Sky
The night sky offers a plethora of fascinating subjects to photograph. Let’s take a closer look at some of the most awe-inspiring features that will add a touch of magic to your astrophotography:
- Starry Constellations: The night sky is dotted with numerous constellations, each telling a unique story. Capture these celestial patterns by using a wide-angle lens to encompass a larger portion of the sky. Experiment with different exposure settings to bring out the intricate details of the stars.
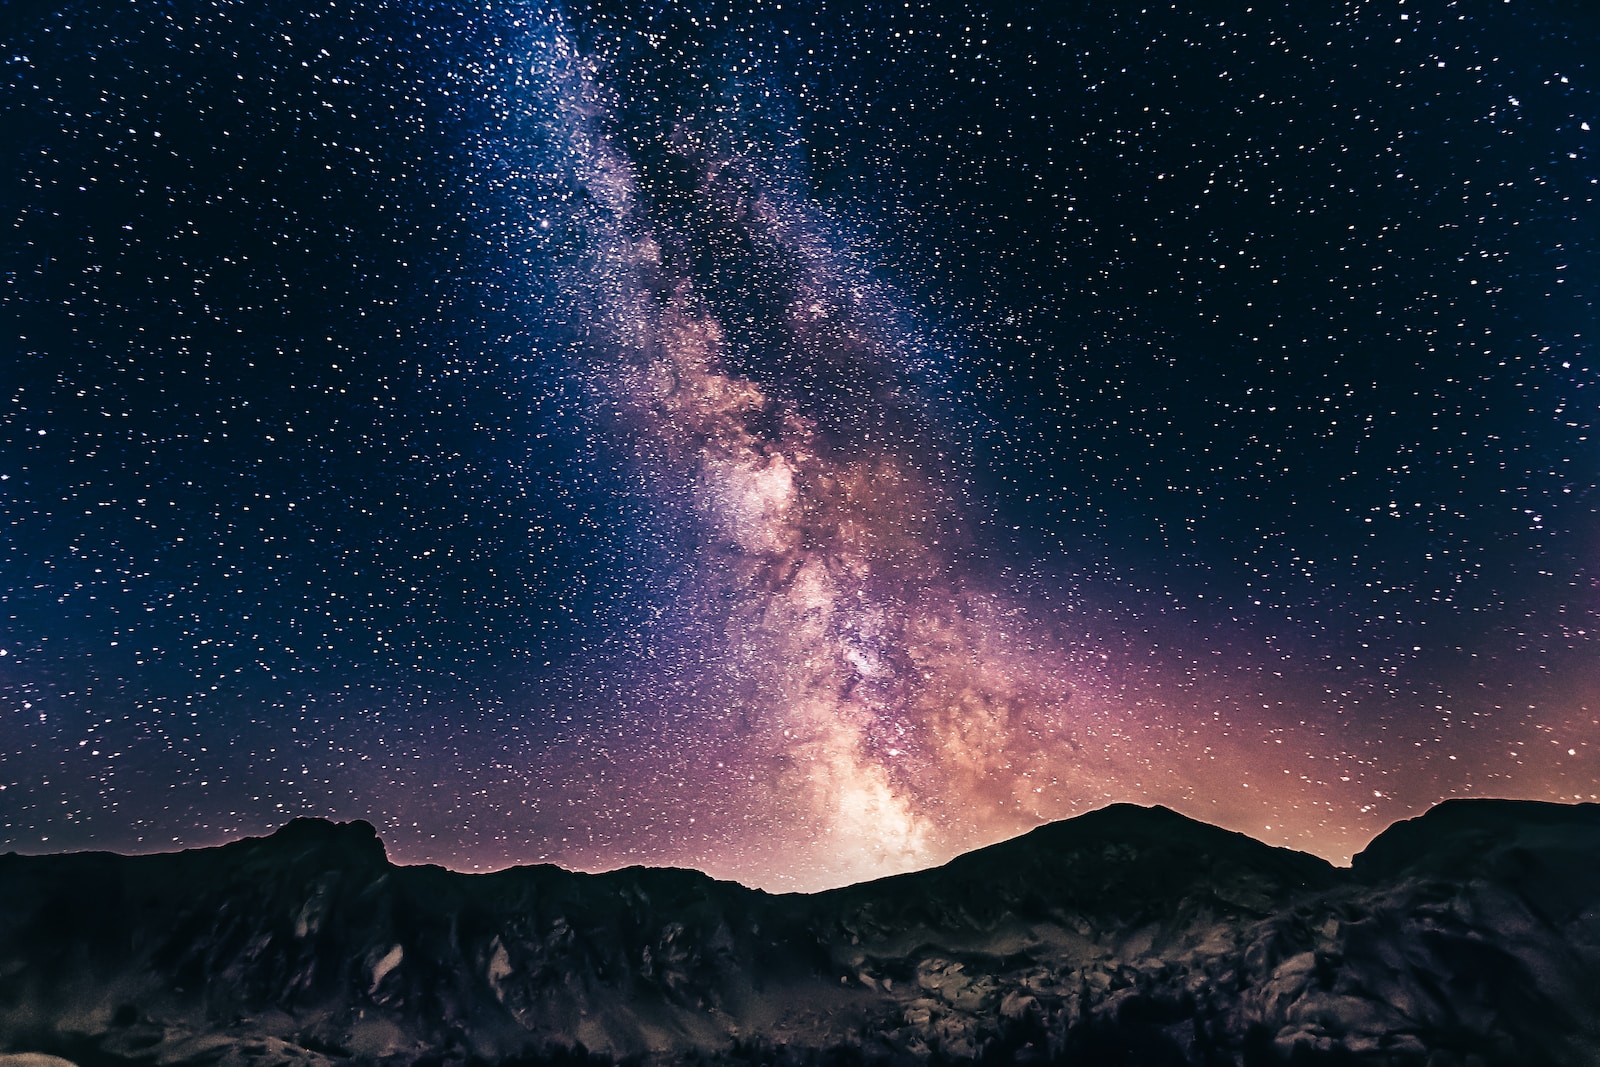
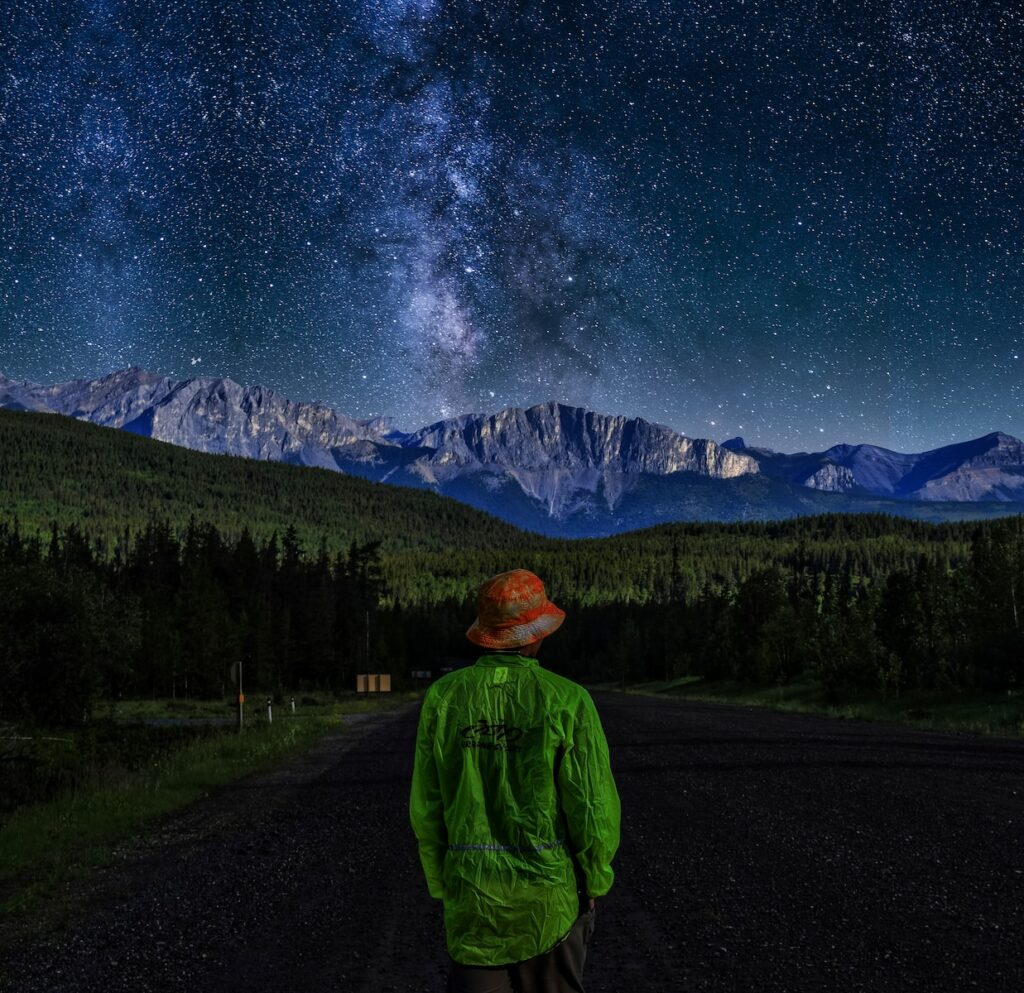
- Milky Way Galaxy: Our home galaxy, the Milky Way, is a stunning sight to capture. Head to a location away from light pollution, choose a moonless night, and use a fast wide-angle lens to photograph the Milky Way in all its glory. Be sure to incorporate foreground elements like trees or mountains to add depth and scale to your composition.
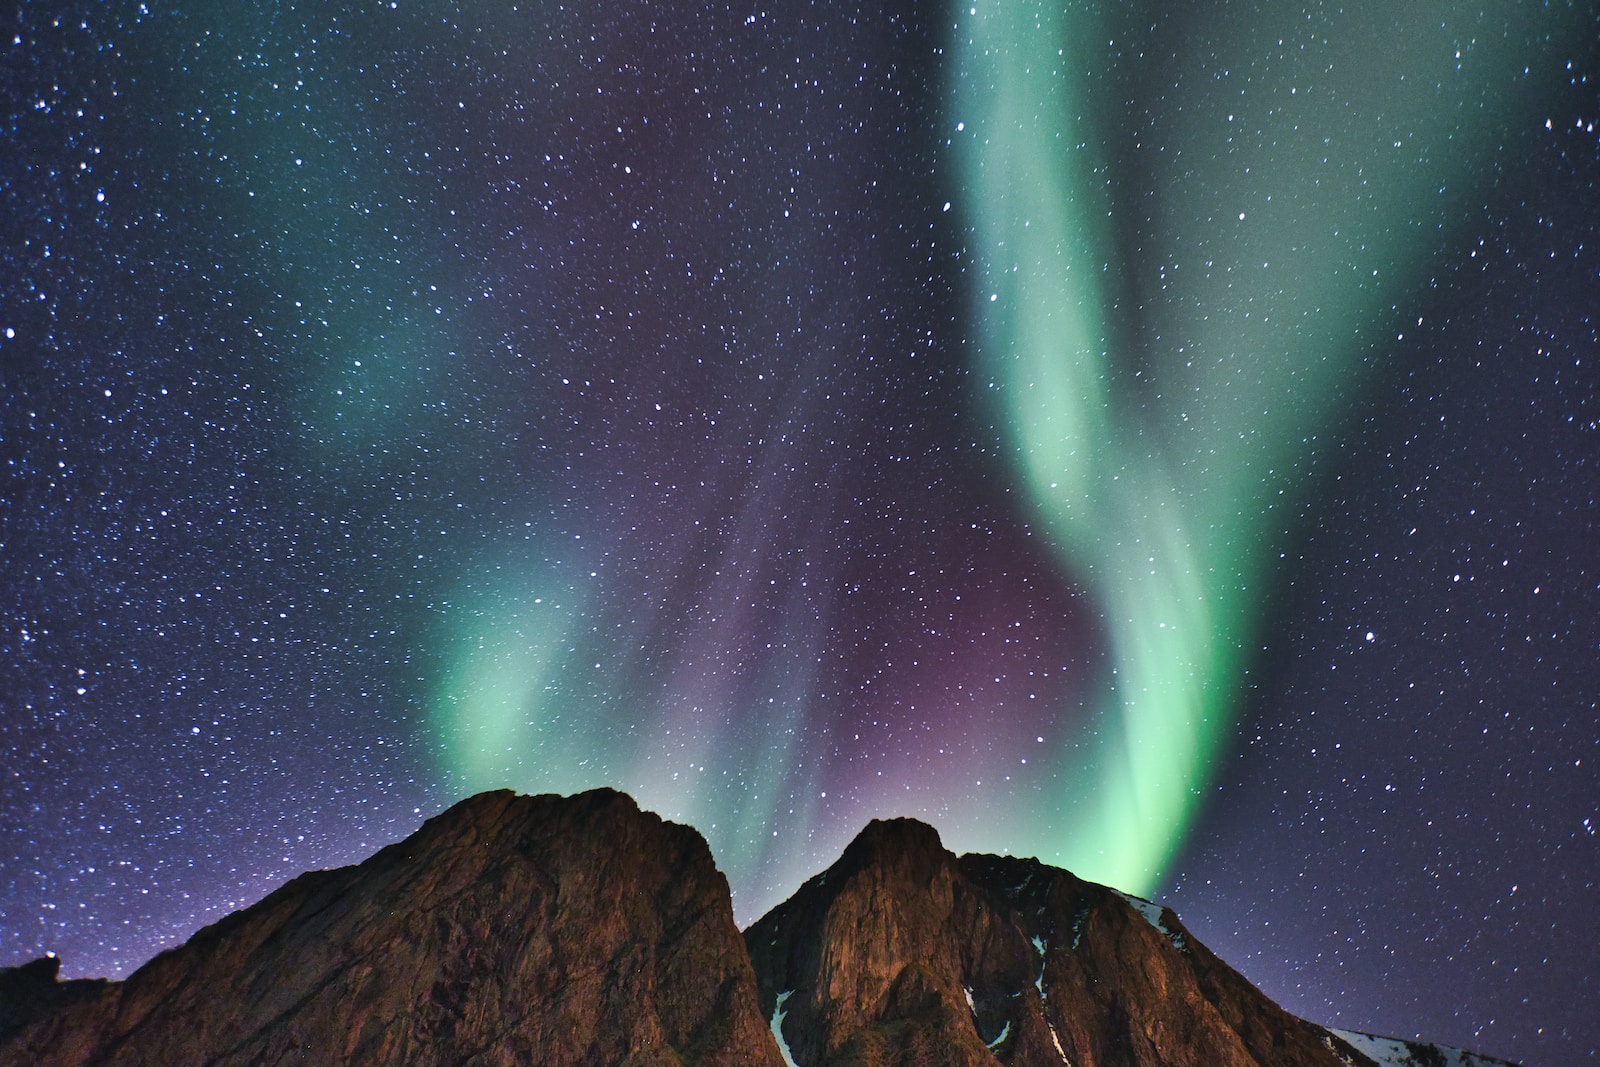
- Auroras: If you’re lucky enough to witness the dance of northern or southern lights, seize the opportunity to capture this mesmerizing phenomenon. A wide-angle lens with a wide aperture will allow you to capture the vibrant colors and patterns of the auroras. Experiment with longer exposures to create ethereal, flowing shapes.
Techniques to Make Your Astrophotography Stand Out
To elevate your astrophotography skills and create captivating images, consider incorporating these valuable techniques:
- Long Exposures: Embrace long exposure photography to capture the movement of celestial objects. Set your camera on a tripod, choose a low ISO, and experiment with exposure times ranging from a few seconds to several minutes. Whether you’re photographing star trails or the motion of the auroras, long exposures can yield breathtaking results.
- Stacking: Stacking multiple images is a powerful technique that helps reduce noise and enhance details. Take a series of shorter exposures of the same scene and blend them together using dedicated software. Not only does stacking enhance the quality of your images, but it also allows you to capture faint details that would otherwise be difficult to discern.
- Tracking Mounts: Invest in a tracking mount to counteract the Earth’s rotation. By attaching your camera to a tracking mount, you can capture sharper and more detailed images of distant celestial objects such as planets, stars, and galaxies. Tracking mounts enable you to use longer exposure times without introducing motion blur.
- Foreground Interest: Incorporating foreground elements in your astrophotography adds depth and visual interest to your images. Whether it’s a silhouette of a tree, a lone rock, or a beautiful landscape, finding a compelling foreground subject can elevate your composition and create a more immersive experience for the viewer.
Embarking on the journey of astrophotography is both challenging and rewarding. With the right equipment, techniques, and a bit of patience, you can capture stunning images of the night sky that will leave viewers in awe. So grab your camera, head out on a clear night, and let the cosmos become your muse.
Did you know that astrophotography allows us to capture stunning images of distant galaxies, nebulae, and even the colorful auroras of Earth? With just a camera and a passion for the night sky, you can unlock the mysteries of the universe and create breathtaking photographs.
Exploring the Night Sky: A Guide to Astrophotography
Have you ever looked up at the night sky and wondered how to capture its breathtaking beauty with your camera? Astrophotography allows you to unlock the secrets of the cosmos and document celestial wonders with stunning detail. In this guide, we will dive into the world of astrophotography and discover the best camera and equipment options to help you get started.
Choosing the Right Camera
The key to successful astrophotography lies in selecting a camera capable of capturing the night sky’s intricate details. While there are various camera options available, several features are crucial to consider.
First and foremost, a camera with manual settings is essential, allowing you to adjust the exposure time, aperture, and ISO sensitivity. These settings provide full control over the variables necessary for capturing sharp and properly exposed night sky images.
Additionally, a camera that performs well at high ISO settings is advantageous. The ability to push the ISO without excessive noise ensures you can capture dimmer stars and galaxies without sacrificing image quality.
Lastly, a camera with a large sensor size can significantly enhance the quality of your astrophotography. Larger sensors capture more light, resulting in cleaner images with improved dynamic range.
Optimal Lenses and Equipment
Once you’ve chosen the right camera, it’s time to consider the lenses and equipment that will elevate your astrophotography to the next level.
Wide-angle lenses, typically ranging from 14mm to 24mm, are ideal for capturing the expansive night sky. These lenses provide a broader field of view, allowing you to include more stars and Milky Way details in a single frame.
Alternatively, if you wish to focus on capturing specific celestial objects such as the moon or planets, a telephoto lens with a focal length of 200mm or greater will allow you to zoom in and highlight their intricate features.
Using a sturdy tripod is crucial for astrophotography since long exposure times are often required. It helps eliminate camera shake and ensures sharp and well-defined stars in your images.
In addition, utilizing a remote shutter release or intervalometer will prevent any unwanted vibrations that might occur while manually triggering the camera’s shutter button. This further enhances image sharpness.
Finally, consider having a flashlight or headlamp with a red filter to maintain your night vision while adjusting camera settings in the dark. Red light does not affect your eyes’ adaptation to darkness, allowing you to navigate your equipment effectively.
Remember, photography is a personal art form, and experimenting with different equipment choices will ultimately lead you to discover your unique style and preferences.
The Best Time of Year for Astrophotography: Capturing the Night Sky
As a passionate photographer, you yearn to capture the beauty and magnificence of the night sky through your camera lens. But when is the best time to indulge in astrophotography, and where can you find the best vantage points?
The Optimal Seasons for Astrophotography
Each season brings unique opportunities for astrophotography. Let’s explore what you can expect during each season and how to maximize your chances of capturing stunning images.
- Spring: Spring evenings offer crisp, clear skies, allowing for excellent visibility of celestial objects. As the weather begins to warm up, you can enjoy comfortable nights outdoors, basking in the glory of constellations, nebulae, and even distant galaxies.
- Summer: Summer nights bring longer hours of darkness, giving you ample time to set up your equipment and experiment with various compositions. The Milky Way core is highly visible during this season, providing a breathtaking backdrop for your photographs.
- Fall: Fall boasts cooler temperatures, which reduce atmospheric distortion, resulting in sharper images. The autumn constellations, such as Orion and Taurus, offer incredible subjects to capture against the night sky.
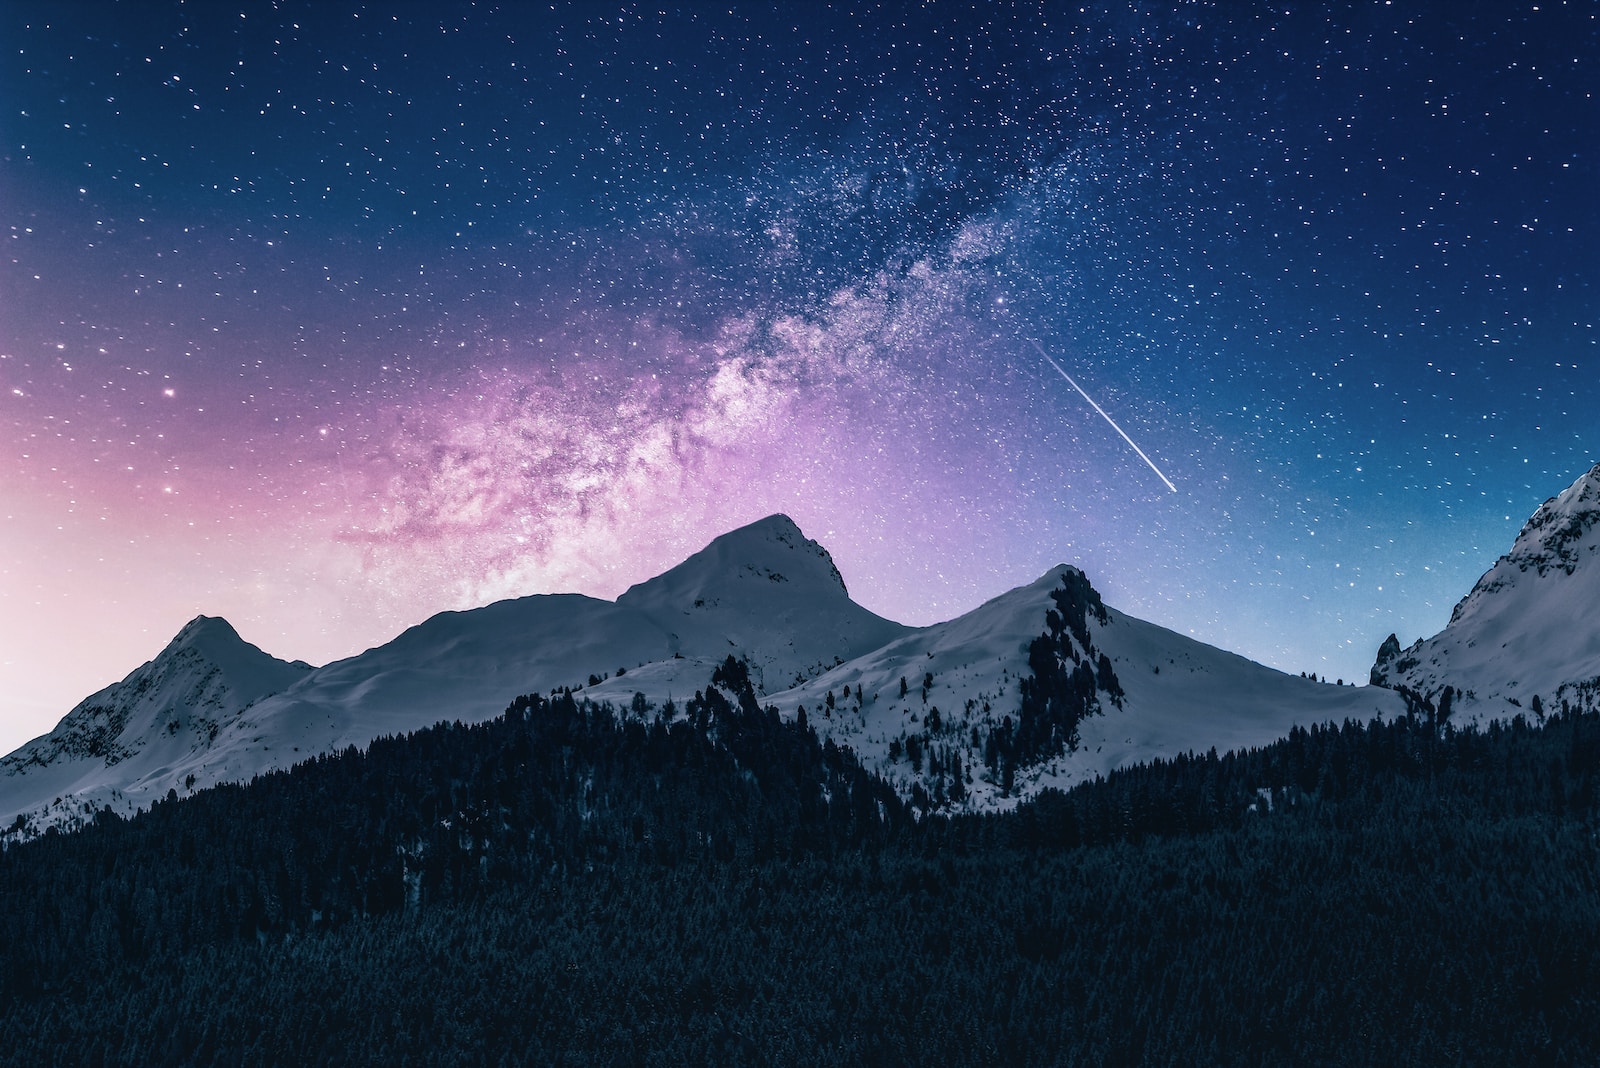
- Winter: While winter nights might be chilly, they present some of the most breathtaking astrophotography opportunities. The clear, crisp air combined with the longer nights offers excellent visibility of stars, planets, and even meteor showers.
Finding the Best Vantage Points
Location plays a vital role in astrophotography. To capture stunning images, you need to find places with minimal light pollution and unobstructed views of the night sky. Here are a few options to consider:
- Remote Wilderness: Heading to remote areas, away from the city lights, is ideal for astrophotography. National parks, forests, or deserts provide an opportunity to capture the night sky in its full glory.
- Higher Altitudes: Climbing to higher altitudes can help you escape atmospheric turbulence caused by lower elevations. Mountain peaks or even rooftop locations away from city centers can offer exceptional views.
- Secluded Beaches: Beaches away from coastal cities offer unobstructed views of the horizon, a perfect spot for capturing stunning images of stars reflecting on calm waters.
Remember, the farther you venture from light pollution, the better your chances of capturing clear and detailed astrophotography shots.
Whether you choose to capture the night sky in spring, summer, fall, or winter, and whether you opt for a remote wilderness, higher altitude, or secluded beach, it’s essential to plan ahead and be prepared. Ensure you have the right equipment, including a sturdy tripod, a wide-angle lens, and a reliable camera with manual settings. Pack warm clothing, snacks, and extra batteries, as astrophotography sessions can last for several hours.
By understanding the optimal times and ideal vantage points for astrophotography, you’re well on your way to capturing breathtaking images of the night sky. So go ahead, embrace the darkness, and let your camera immortalize the beauty that lies beyond our world.
One helpful tip for astrophotography is to use a tripod to keep your camera steady during long exposure shots. This will prevent any blurring or shake in your images, allowing you to capture the night sky with clarity and sharpness.
Frequently Asked Questions
What is astrophotography?
Astrophotography is the art of capturing images of celestial objects, such as stars, planets, and galaxies, using a camera and often a telescope. It allows photographers to document and observe the beauty of the night sky.
What equipment do I need for astrophotography?
To get started with astrophotography, you will need a camera with manual settings, a sturdy tripod, and a wide-angle lens with a wide aperture. Additionally, some photographers choose to use a telescope, a shutter release cable, and various filters to enhance their images.
How can I photograph the night sky?
To photograph the night sky, find a location away from light pollution, set up your camera on a tripod, and use manual settings. Adjust your focus to infinity, select a wide aperture, and use a long exposure time to capture the stars and other celestial objects.
What camera settings should I use for astrophotography?
For astrophotography, use manual mode on your camera to have full control over the settings. Set your ISO to a high value, such as 1600 or 3200, choose a wide aperture, around f/2.8 or wider, and use a long exposure time, typically between 10 and 30 seconds.
How can I edit my astrophotography images?
Editing is an essential part of astrophotography. Use photo editing software such as Adobe Photoshop or Lightroom to adjust the brightness, contrast, and color balance of your images. You can also enhance details, remove noise, and apply other creative effects to make your astrophotographs stand out.
Where can I find dark sky locations for astrophotography?
To find dark sky locations, you can use online resources and apps that provide light pollution maps. Look for areas with minimal light pollution and distant from major cities or urban areas. National parks, rural areas, and remote mountainsides are often great choices for capturing the night sky.
Wrap Up
Now that you’ve learned the essentials of astrophotography, it’s time to grab your camera and start capturing the wonders of the night sky. Remember to choose the right equipment, find a captivating location, and experiment with different settings to achieve stunning results.
If you have any questions or need further assistance, feel free to leave a comment below. Share your own astrophotography experiences, tips, or any breathtaking shots you’ve managed to capture. Let’s continue this conversation and inspire each other to reach new heights in astrophotography!
Don’t forget to subscribe to our newsletter to stay updated on the latest astrophotography news, tutorials, and tips. Happy shooting!