Welcome to “Documenting the Milky Way – For Photographers,” an ultimate guide for photographers looking to capture the beauty of the night sky. From astrophotography to long exposure techniques, this blog will provide you with the essential knowledge and tips to create stunning images of the Milky Way. Learn about camera settings, equipment, post-processing techniques, and shot composition to take your night sky photography to the next level. Get ready to embark on an awe-inspiring journey through the cosmos!
Table of Contents
- Choosing the Right Equipment for Astrophotography
- Case Study: Overcoming Challenges to Capture the Milky Way
- Frequently Asked Questions
- What is astrophotography?
- What is the Milky Way?
- What is night sky photography?
- What is long exposure photography?
- What camera settings are best for Milky Way photography?
- What equipment do I need for Milky Way photography?
- What post-processing techniques can enhance Milky Way photos?
- How can I compose my shots for Milky Way photography?
- Where are the best locations to photograph the Milky Way?
- Are there any safety precautions I should take when photographing in the dark?
- Wrap Up
Choosing the Right Equipment for Astrophotography
Before venturing into the captivating world of astrophotography, it’s crucial to have the right gear. Start by investing in a sturdy tripod and a wide-angle lens with a low aperture, preferably f/2.8 or lower, to capture as much light as possible. Additionally, consider using a remote shutter release to minimize camera shake.
Camera Settings for Shooting the Milky Way
When photographing the Milky Way, selecting the appropriate camera settings is vital to achieve stunning results. Begin by shooting in manual mode to have full control over your camera’s settings. Set your ISO to a higher value, around 3200-6400, to capture enough light in the dark sky. Additionally, use a wide aperture to let more light enter your lens. Experiment with different shutter speeds to find the perfect balance between capturing details and preventing star trails.
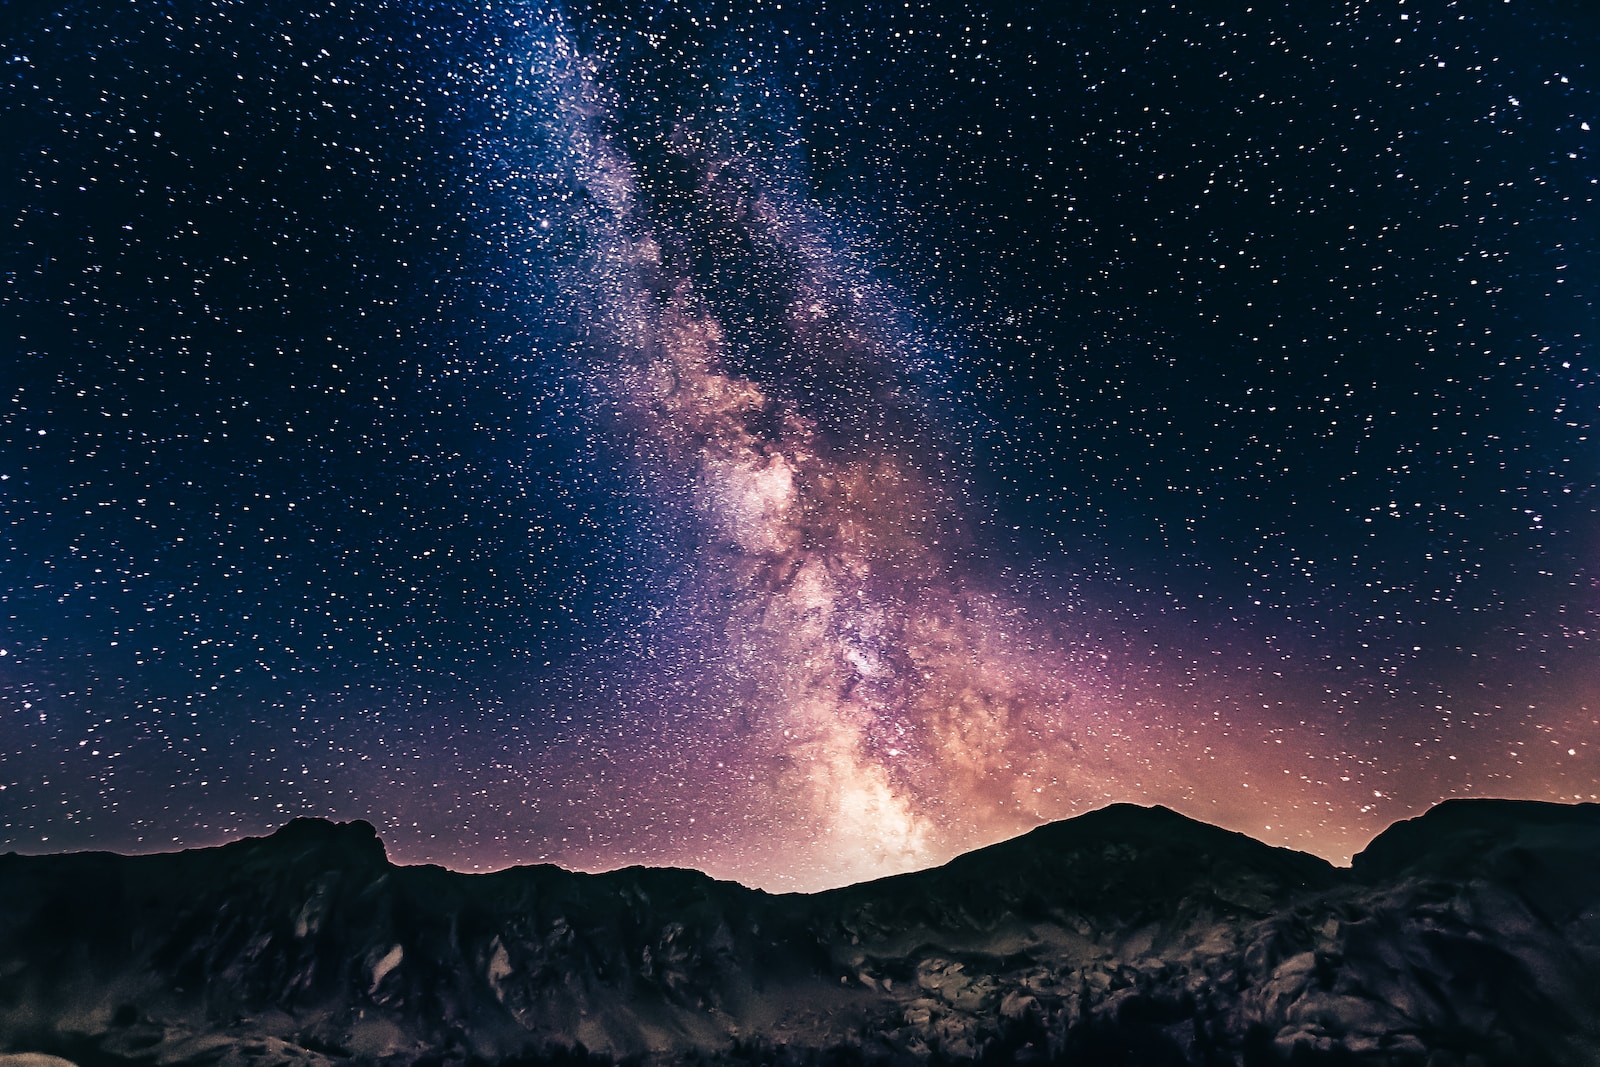
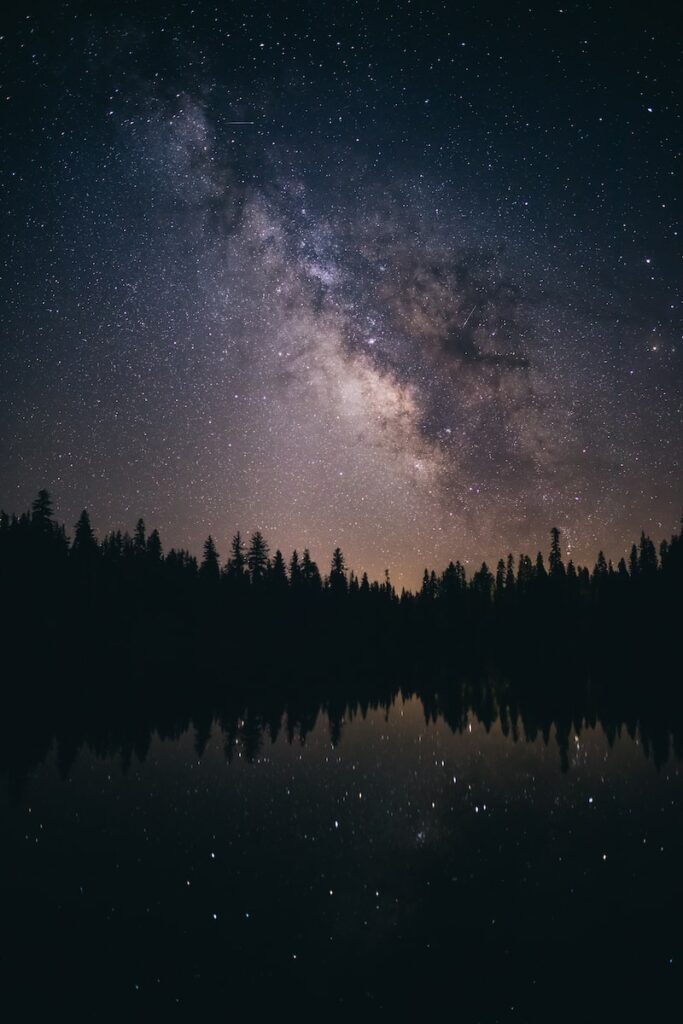
The Milky Way is approximately 100,000 light-years in diameter and contains billions of stars.
Planning and Composition for Milky Way Photography
Planning plays a crucial role in capturing the Milky Way. Use tools like Stellarium or apps such as PhotoPills to determine the Milky Way’s position and timing in your desired location. Incorporate interesting foreground elements to add depth and context to your composition. Experiment with different framing techniques, such as the rule of thirds or leading lines, to create visually appealing images.
Long Exposure Techniques and Stack Imaging
Long exposure photography is a popular technique for capturing the Milky Way’s stunning details. Using Bulb mode or a remote shutter release, take several long-exposure shots with exposure times ranging from 15-30 seconds. Later, stack these images together using software like Adobe Photoshop or specialized astrophotography stacking programs to reduce noise and bring out sharper details in your photograph.
Post-Processing Tips for Milky Way Photography
After capturing your Milky Way images, post-processing is where the magic truly happens. Use software like Adobe Lightroom or Capture One to adjust the exposure, white balance, and contrast to enhance the image’s overall appearance. Additionally, pay attention to reducing noise and fine-tuning the colors to bring out the Milky Way’s natural beauty. Remember to apply adjustments selectively and avoid over-processing your images.
Case Study: Overcoming Challenges to Capture the Milky Way
For photographers seeking to capture the beauty of the night sky, astrophotography presents unique challenges and rewards. One such challenge is documenting the Milky Way, which requires precise planning, specialized equipment, and technical knowledge. In this case study, we will explore the journey of a passionate photographer, John, as he overcame various obstacles to capture breathtaking images of our galaxy.
Finding the Perfect Location
John spent countless hours researching and scouting for the ideal location to photograph the Milky Way. He knew that light pollution could ruin the image, so he sought out remote areas away from city lights. After visiting several potential spots, he finally discovered a secluded mountain range with clear skies, far from any major cities.
Mastering the Art of Long Exposure
Capturing the Milky Way requires long exposure shots, allowing enough time for the camera to gather sufficient light. John experimented with different exposure times and settings to find the perfect balance between capturing the intricate details of the Milky Way and avoiding excessive noise in the image. Through trial and error, he mastered the art of long exposures, resulting in stunning shots of the night sky.
The Right Equipment Makes a Difference
John understood that having the right equipment was crucial for astrophotography. He invested in a sturdy tripod to keep his camera steady during long exposures. Additionally, he chose a lens with a wide aperture to capture as much light as possible. The combination of a full-frame camera and a fast lens allowed him to create sharp, detailed images of the Milky Way.
Post-Processing Techniques for Stunning Results
After capturing raw images of the Milky Way, John utilized post-processing techniques to enhance the final results. He used Adobe Lightroom to adjust the exposure, contrast, and colors, giving the images a more vibrant and captivating look. Through careful editing, he was able to retain the awe-inspiring beauty of the night sky.
Shot Composition: Creating a Stellar Frame
John understood that the Milky Way alone wasn’t enough to create a captivating photograph. He carefully composed his shots, incorporating foreground elements such as trees, mountains, or lakes to add depth and context to the image. This thoughtful composition created visually stunning photographs that showcased the grandeur of the Milky Way.
Frequently Asked Questions
What is astrophotography?
Astrophotography is the practice of capturing images of celestial objects, such as the Milky Way, stars, and planets, using specialized techniques and camera equipment.
What is the Milky Way?
The Milky Way is a galaxy that contains our solar system. It appears as a band of light in the night sky and is made up of billions of stars.
What is night sky photography?
Night sky photography involves capturing stunning images of the night sky, including stars, galaxies, and other celestial objects.
What is long exposure photography?
Long exposure photography is a technique where the camera’s shutter is open for an extended period, allowing more light to reach the sensor. It is commonly used in astrophotography to capture the faint light of stars and the Milky Way.
What camera settings are best for Milky Way photography?
When photographing the Milky Way, it is recommended to use a wide-angle lens with a low f-stop (e.g., f/2.8 or lower), high ISO (e.g., 1600-3200), and a long exposure time (e.g., around 20-30 seconds).
What equipment do I need for Milky Way photography?
For capturing the Milky Way, you’ll need a sturdy tripod to keep your camera steady during long exposures, a wide-angle lens with a low f-stop, and a camera with manual mode and long exposure capability.
What post-processing techniques can enhance Milky Way photos?
Post-processing techniques commonly used for enhancing Milky Way photos include adjusting brightness, contrast, and clarity, reducing noise, and applying selective adjustments to enhance the details of the Milky Way.
How can I compose my shots for Milky Way photography?
When composing your Milky Way shots, consider including interesting foreground elements such as landscapes, trees, or buildings to add depth and visual interest to your images.
Where are the best locations to photograph the Milky Way?
The best locations for Milky Way photography are areas with minimal light pollution, such as remote countryside or national parks. Consulting light pollution maps can help you find dark sky locations near you.
Are there any safety precautions I should take when photographing in the dark?
Yes, when photographing in the dark, it’s essential to be aware of your surroundings, carry a flashlight, and let someone know about your location and photography plans. Always prioritize your safety.
Wrap Up
Documenting the Milky Way is a thrilling and awe-inspiring endeavor for photographers. Armed with the right equipment and a solid understanding of camera settings, post-processing techniques, and shot composition, you’ll be well on your way to capturing stunning images of our galaxy.
Remember, astrophotography requires patience and practice. Don’t be discouraged if your first attempts don’t turn out as expected. Keep experimenting with different settings and compositions, venture to dark sky locations, and never stop learning.
Now, it’s your turn! We’d love to see the breathtaking Milky Way images you capture using the techniques and tips shared in this guide. Feel free to share your photos and experiences in the comments below. Let’s inspire and support each other as we explore the wonders of the night sky!