Welcome to “Chasing The Lights: A guide to photographing the Aurora,” where we embark on a celestial journey to capture the awe-inspiring beauty of the Northern Lights. In this blog, we will explore the technical aspects of photographing the aurora, providing you with a comprehensive understanding of how to capture this extraordinary phenomenon in all its glory. Join us as we uncover the secrets of Aurora photography and unlock the secrets of the night sky!
Table of Contents
- Understanding the Aurora
- A How-To Guide: Tips and Techniques for Aurora Photography
- Frequently Asked Questions
- 1. What is aurora photography?
- 2. Where is the best location to photograph the aurora?
- 3. What equipment do I need for aurora photography?
- 4. What camera settings should I use for aurora photography?
- 5. Are there any specific techniques for capturing the aurora?
- 6. How can I enhance my aurora photographs during post-processing?
- 7. Are there any safety considerations when photographing the aurora?
- Wrap Up
Understanding the Aurora
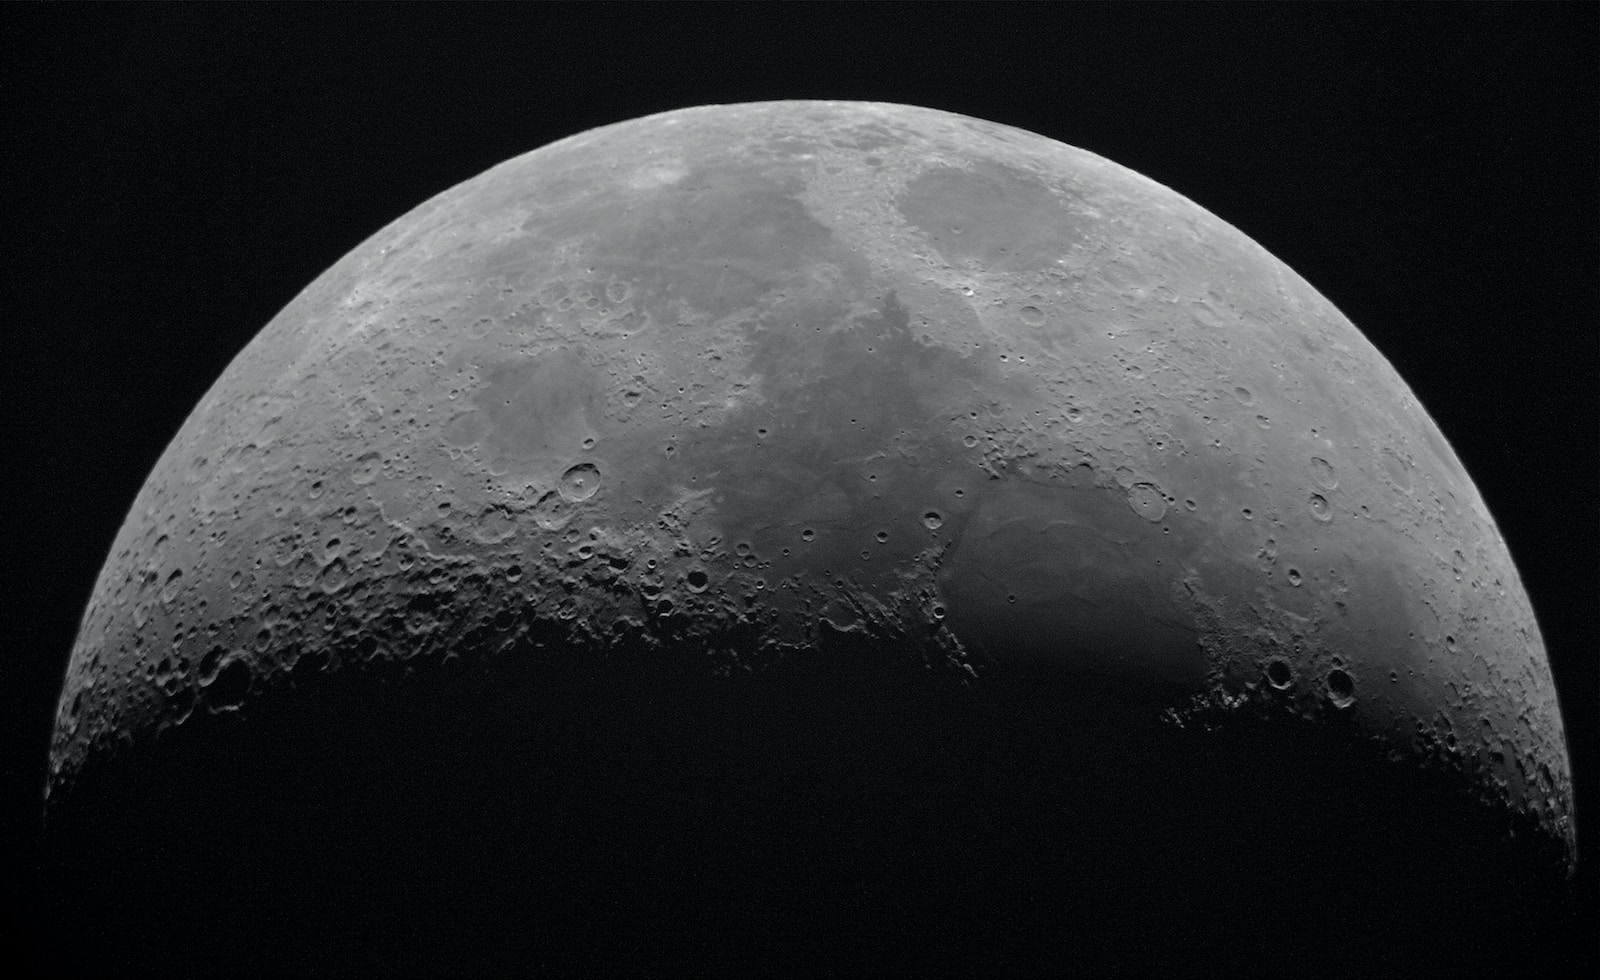
Before diving into the technicalities of capturing the Northern Lights, it’s crucial to have a basic understanding of what causes this enchanting phenomenon. The Northern Lights, scientifically known as Aurora Borealis, are a natural occurrence caused by the interaction between solar particles and the Earth’s atmosphere. These particles, charged by the sun, collide with the Earth’s magnetic field, resulting in a mesmerizing display of vibrant colors dancing across the night sky.
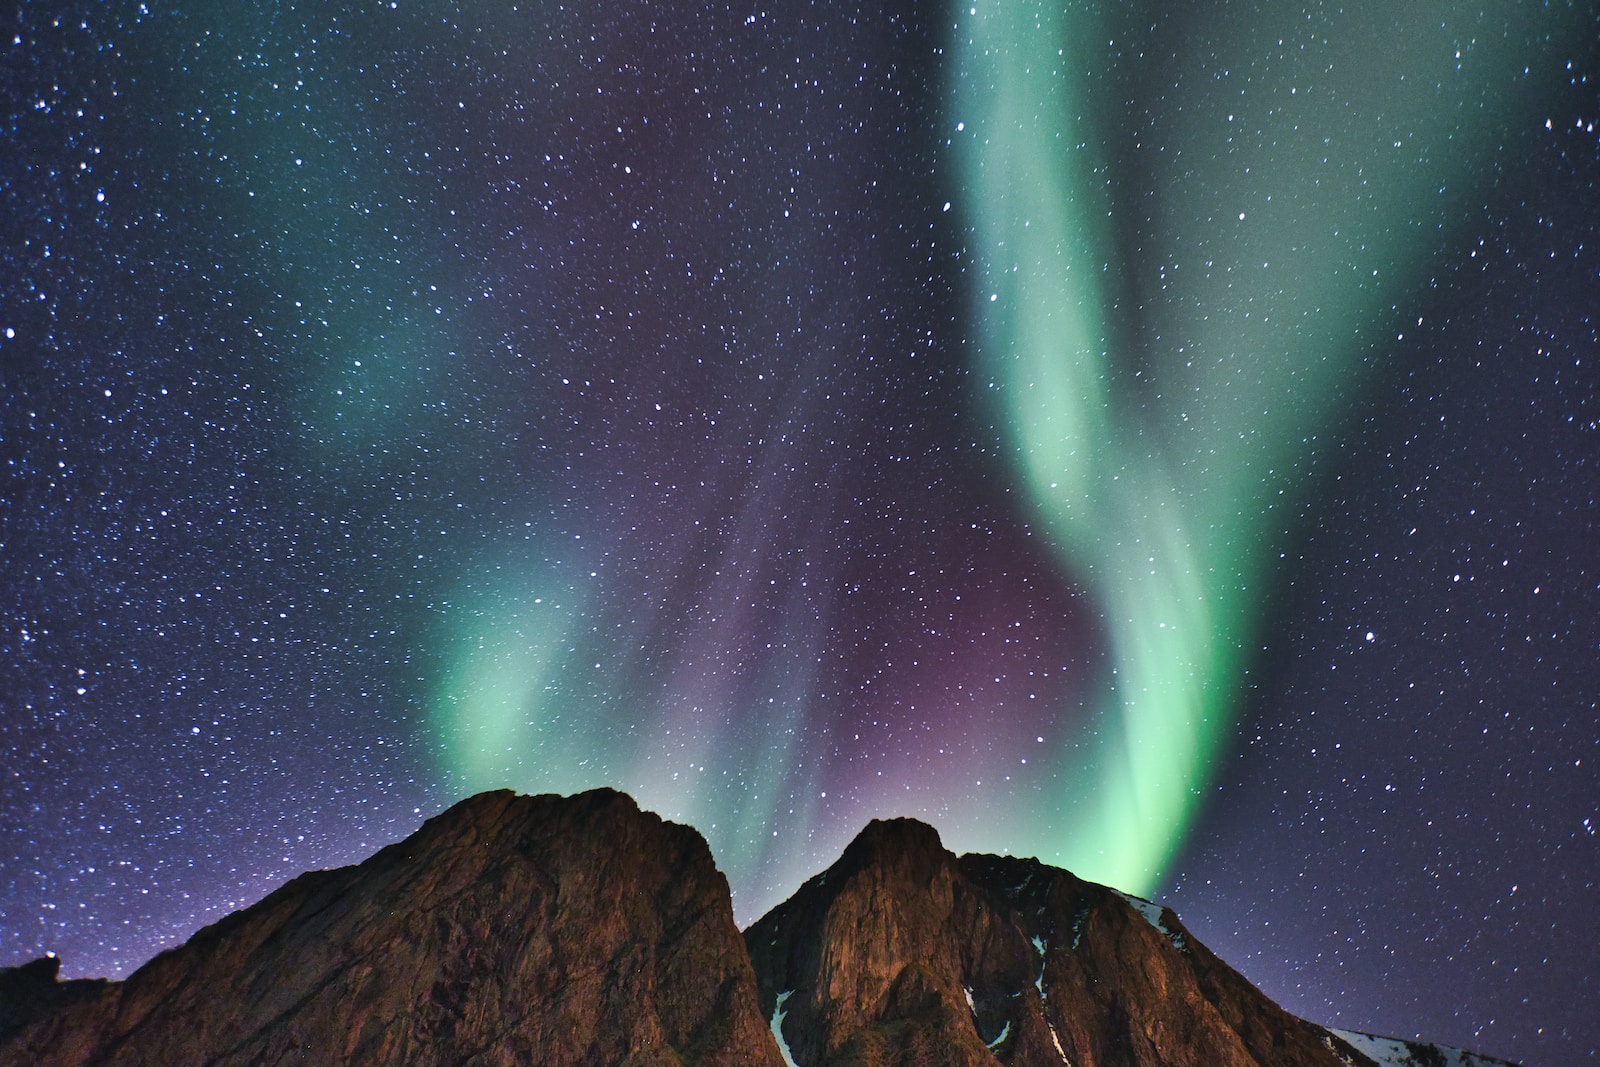
The Magic of Aurora Photography
Aurora photography is a unique form of astrophotography that allows us to freeze these breathtaking moments in time. With the right techniques and equipment, you can capture the magnificence of the Northern Lights and share it with the world. However, capturing the aurora is not as simple as pointing your camera towards the sky. It requires a careful balance of technical know-how, patience, and a touch of artistic flair.
Choosing the Perfect Location
Location plays a crucial role in capturing remarkable aurora photography. To increase your chances of witnessing the Northern Lights, you need to position yourself in areas with high solar activity and minimal light pollution. Scandinavia, Canada, and Alaska are renowned for their favorable conditions, offering stunning backdrops for your aurora photography adventures.
Essential Gear for Aurora Photography
Equip yourself with the right gear to capture the Northern Lights in all their glory. Here’s a checklist of essential items:
- A DSLR or mirrorless camera with full manual controls
- A wide-angle lens with a fast aperture (f/2.8 or wider)
- A sturdy tripod to keep your camera steady during long exposures
- Extra batteries and memory cards
- A remote shutter release for minimizing camera shake
Camera Settings and Techniques
Understanding the proper camera settings and techniques is vital to capturing stunning aurora shots. Here are a few key tips to keep in mind:
- Shoot in manual mode to have full control over your camera settings.
- Set your ISO to a high value (typically between 800 and 3200) to capture the faint light of the aurora.
- Use a wide aperture (low f-number) to gather as much light as possible.
- Experiment with different shutter speeds, typically between 5 and 30 seconds, to capture the movement of the Northern Lights.
- Consider shooting in RAW format to have more flexibility during post-processing.
Tips for Post-Processing
Once you’ve captured your aurora images, the post-processing stage allows you to enhance the beauty of the Northern Lights further. Here are a few tips to make your photos truly shine:
- Adjust the white balance to bring out the natural colors of the aurora.
- Use selective editing to emphasize the vibrant hues and contrast.
- Apply noise reduction techniques to minimize grain in low-light conditions.
- Experiment with different artistic styles to create unique and stunning images.
Now that you’ve mastered the art of aurora photography, don’t forget to share your incredible shots with the world! Engage with the photography community, submit your work to contests, and inspire others with the mesmerizing beauty of the Northern Lights. Let your photographs be a window to the celestial wonders of our universe!
The Northern Lights can sometimes produce sounds, ranging from crackling and hissing noises to clapping and popping sounds. This phenomenon is known as "auroral chorus."
A How-To Guide: Tips and Techniques for Aurora Photography
Are you ready to embark on an extraordinary journey and capture the mystical beauty of the Aurora Borealis? Look no further than this comprehensive guide, where we will equip you with the knowledge and skills to photograph the mesmerizing Northern Lights like a professional. From understanding camera settings to planning your chase, we’ve got you covered every step of the way.
1. Gear Up: Essential Equipment
Before heading out to chase the lights, make sure you have the right gear in your arsenal. Here are some must-have items:
- A DSLR or mirrorless camera with manual settings
- A wide-angle lens to capture as much of the sky as possible
- A sturdy tripod to keep your camera stable during long exposures
- Extra batteries and memory cards to avoid missing out on the perfect shot
- A remote shutter release to minimize camera shake
2. Master the Settings: Camera Configuration
Understanding and configuring your camera settings correctly is crucial in capturing the elusive beauty of the Aurora. Here’s what you need to know:
- Set your camera to Manual mode (M) to have complete control over the exposure.
- Choose a low ISO (around 400-800) to minimize noise in your images.
- Select a wide aperture (f/2.8 or lower) to allow more light into the camera.
- Setting a long shutter speed (15-30 seconds) will help to capture the dim lights.
- Disable image stabilization on your lens when using a tripod.
3. Finding the Lights: Planning Your Chase
Tracking down the Northern Lights can be an adventurous experience. Here are some tips to help you plan your Aurora chase:
- Consult Aurora forecast websites or mobile apps to determine the best times and locations for viewing.
- Research and choose a place with minimal light pollution for optimal viewing conditions.
- Consider weather conditions and aim for clear, dark skies without excessive cloud cover.
- Be patient and stay prepared, as the lights can be unpredictable and may require multiple attempts.
Now armed with these tips and techniques, you’re well-equipped to embark on your photography expedition and capture the ethereal beauty of the Northern Lights. Remember, practice makes perfect, so keep experimenting, adapting, and fine-tuning your skills to create stunning aurora photography that will leave others in awe.
Frequently Asked Questions
1. What is aurora photography?
Aurora photography is the art of capturing the celestial phenomenon known as the Northern Lights or aurora borealis in photographs. It involves capturing the vibrant colors and mesmerizing patterns created by charged particles colliding with Earth’s atmosphere.
2. Where is the best location to photograph the aurora?
The best locations for photographing the aurora are regions near the Earth’s polar areas, such as Alaska, Iceland, Norway, and Canada. These areas offer clear skies, low light pollution, and higher chances of witnessing the stunning displays of the Northern Lights.
3. What equipment do I need for aurora photography?
To capture stunning aurora photographs, you will need the following equipment:
- A DSLR or mirrorless camera with manual settings
- A wide-angle lens (preferably with a low aperture value for better light gathering)
- A sturdy tripod to keep your camera stable during long exposures
- Extra batteries and memory cards
- A remote shutter release to prevent camera shake
4. What camera settings should I use for aurora photography?
For aurora photography, it is recommended to use the following camera settings:
- Set your camera to Manual mode
- Choose a low ISO setting (between 100-800) for minimal noise
- Select a wide aperture (f/2.8 or lower) to capture more light
- Set a long shutter speed (starting from 10-20 seconds) to capture the faint lights
- Manually focus your lens to infinity
5. Are there any specific techniques for capturing the aurora?
Apart from the camera settings, here are a few techniques to keep in mind for capturing the aurora:
- Use a remote shutter release or timer to eliminate camera shake
- Shoot in RAW format for maximum flexibility in post-processing
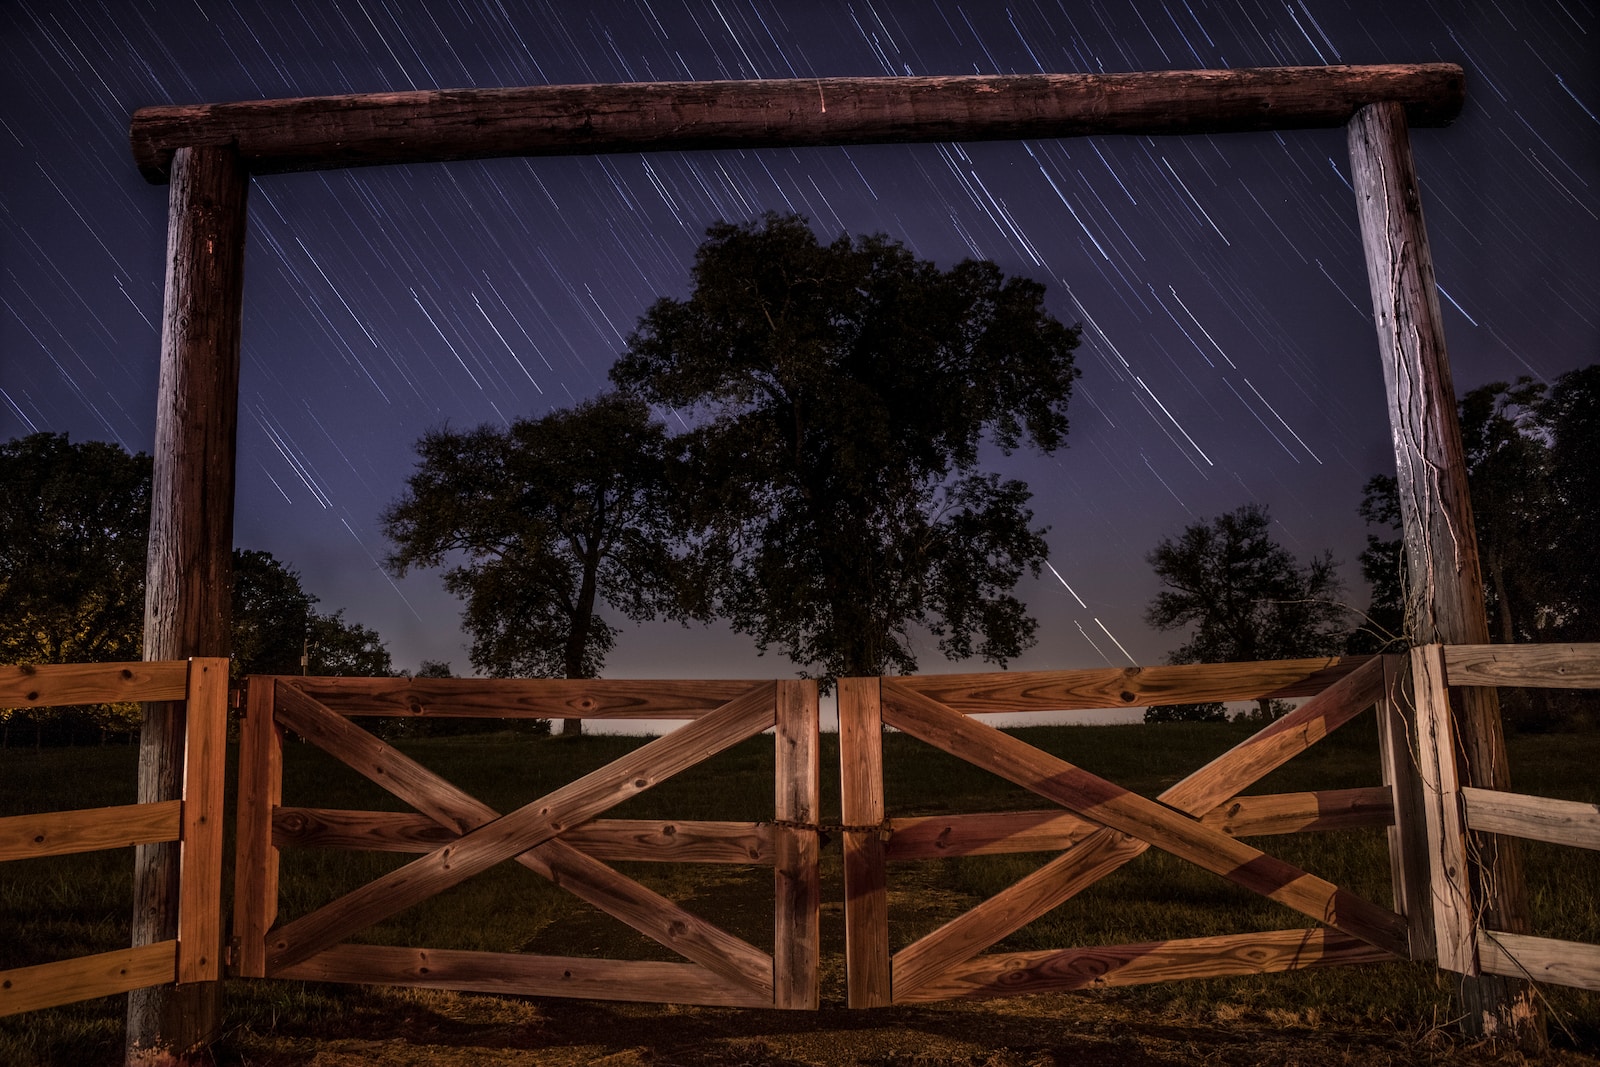
- Experiment with different compositions and angles to add interest to your photos
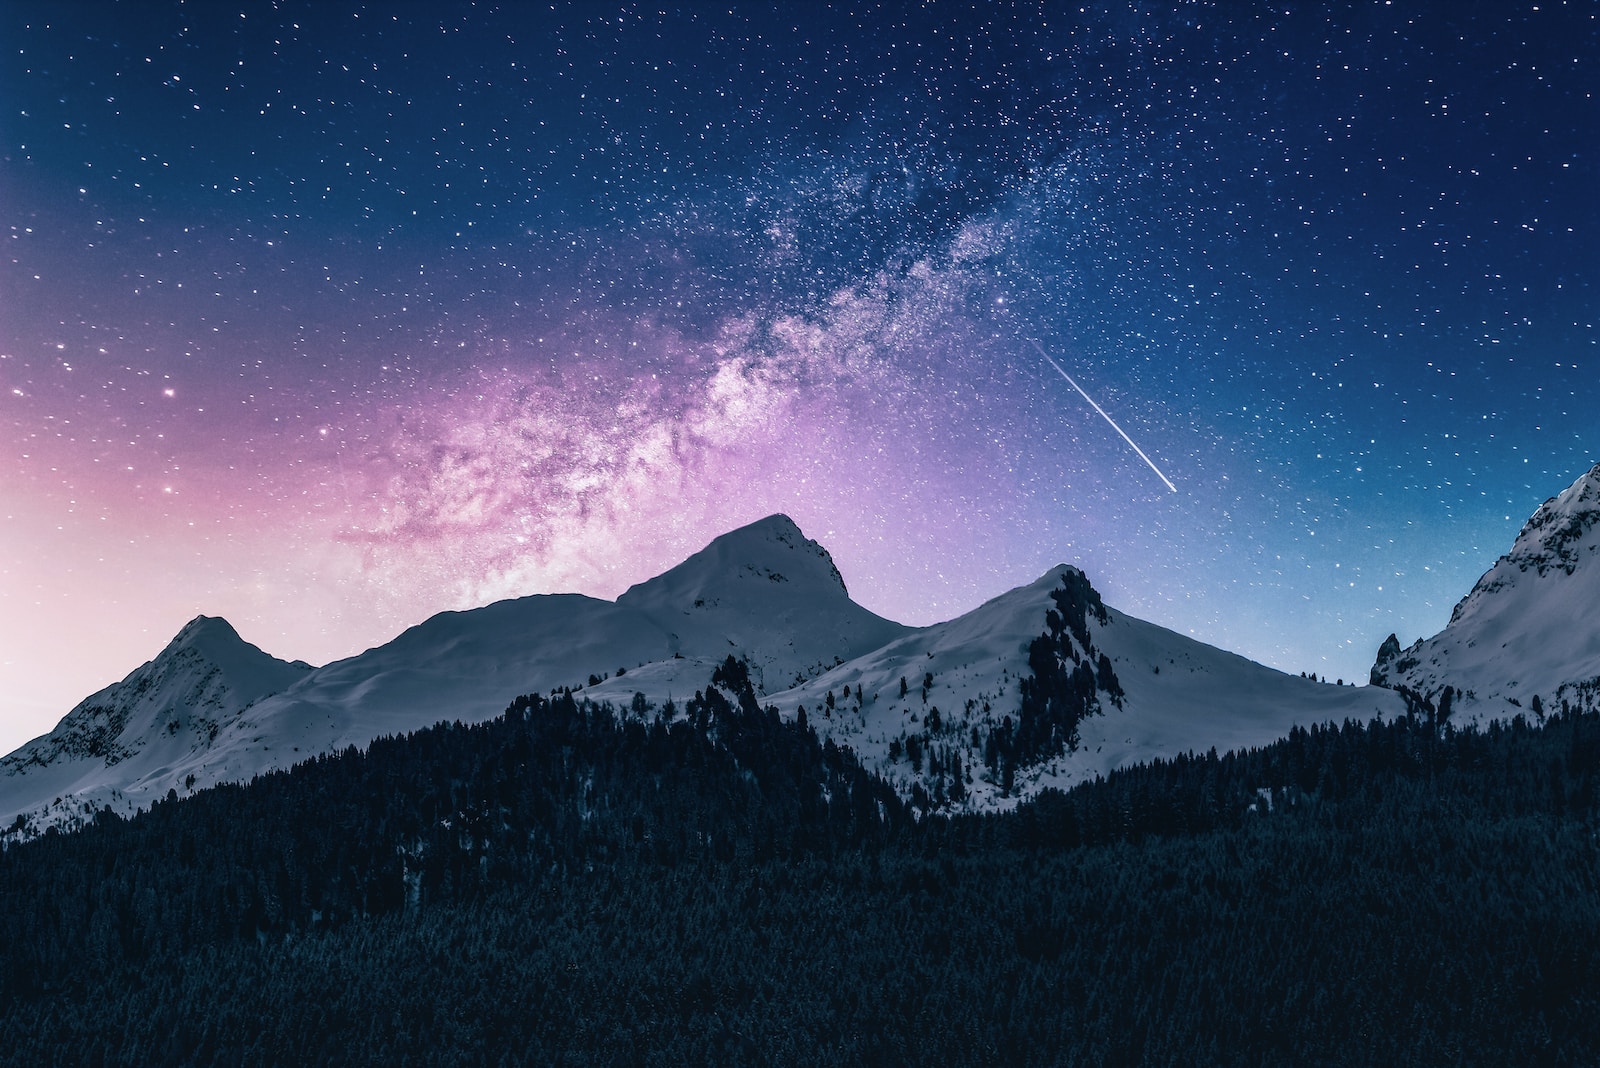
- Consider including foreground elements such as trees or mountains for context
- Be patient and allow for longer exposure times to capture the vibrant colors and movements of the aurora
6. How can I enhance my aurora photographs during post-processing?
In post-processing, you can enhance your aurora photographs using software like Adobe Lightroom or Photoshop. Some tips for post-processing include:
- Adjusting white balance to bring out the natural colors of the aurora
- Increasing contrast and clarity to make the lights pop
- Removing any noise or artifacts using noise reduction techniques
- Cropping or straightening the image to improve composition
- Experimenting with saturation and vibrance to create the desired mood
7. Are there any safety considerations when photographing the aurora?
When photographing the aurora, it’s important to prioritize your safety. Remember these key points:
- Dress warmly and wear appropriate clothing for the weather conditions
- Inform someone about your plans and the location you’ll be photographing from
- Be cautious of your surroundings, especially in remote areas or on frozen lakes
- Carry essential items like a flashlight, extra batteries, and a first aid kit
- Respect the environment and leave no trace behind
Wrap Up
In conclusion, capturing the enchanting beauty of the Aurora through photography is a thrilling endeavor. By understanding the technical aspects and following the tips mentioned in this guide, you can embark on your own journey of chasing the lights.
Remember, patience is key when photographing the Northern Lights. Be prepared, experiment with different settings, and don’t forget to enjoy the mesmerizing dance of colors in the night sky.
If you have any questions or would like to share your own experiences with Aurora photography, feel free to leave a comment below. Let’s start a conversation and inspire each other in our pursuit of capturing the celestial splendor of the Aurora Borealis.