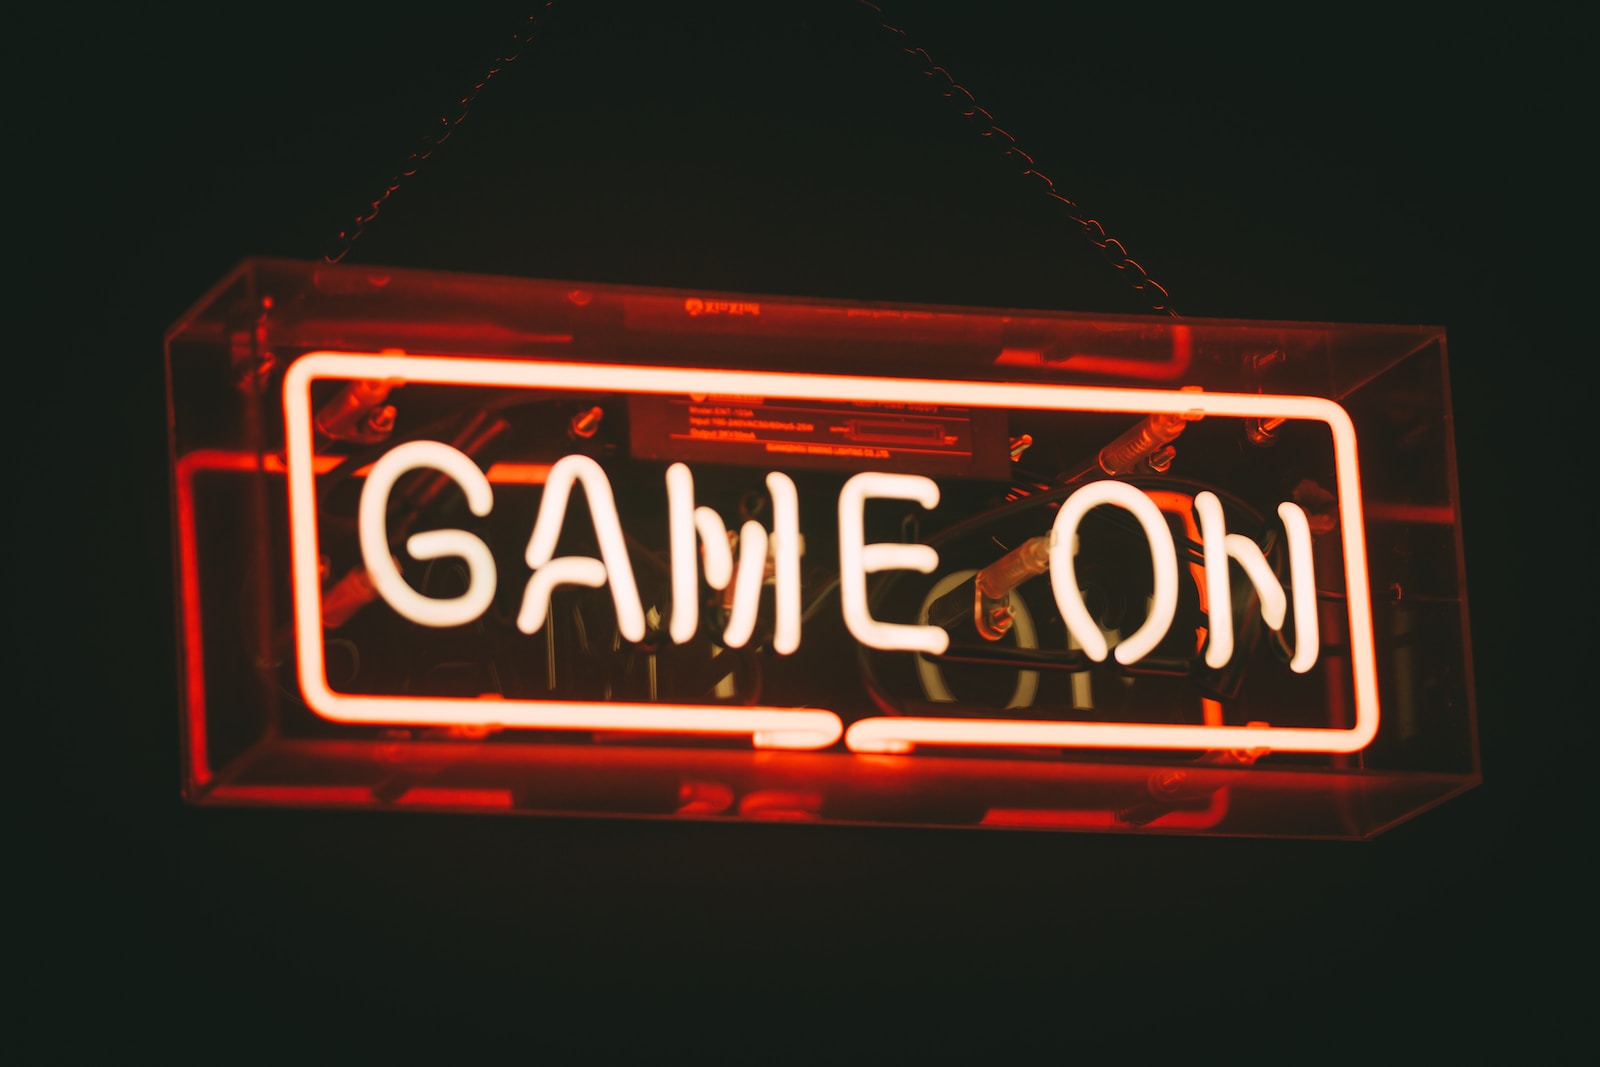
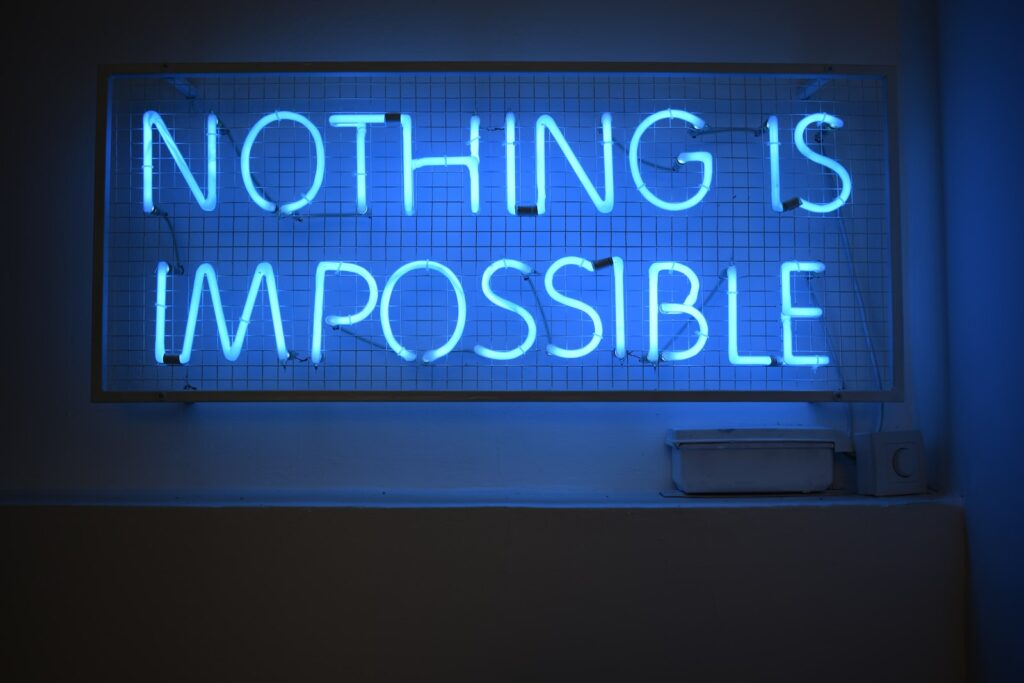
Welcome to “Illuminating the Dark: Neon Sign Photography”! Are you fascinated by the vibrant and mesmerizing glow of neon signs against the night sky? In this blog post, we will delve into the art of capturing the colorful complexity of neon signs through photography. Whether you are an amateur or seasoned photographer, this guide will provide you with valuable tips on selecting the right equipment, mastering exposure settings, and composing stunning shots. Get ready to explore the captivating world of neon sign photography!
Table of Contents
The Fascinating World of Neon Signs
Neon signs have the power to captivate with their vibrant colors and mesmerizing glow. As a photographer, capturing the essence of these illuminated wonders can result in stunning and unique images that stand out from the crowd. In this blog post, we will explore the enchanting world of neon sign photography, offering valuable tips and techniques to help you master the art of this visually striking genre.
Understanding the Allure of Night Photography
Night photography offers a whole new realm of creative possibilities, especially when it comes to neon signs. The darkness provides the perfect backdrop for the luminous signs to shine and create an otherworldly atmosphere. By embracing the challenges and nuances of shooting at night, you can elevate your neon sign photography to a whole new level.
To begin, it’s important to equip yourself with the right gear. A sturdy tripod is essential for keeping your camera steady during long exposures. Additionally, having a fast lens with a wide aperture will allow you to capture as much light as possible, resulting in vivid and well-exposed images.
When it comes to exposure settings, experimenting with long shutter speeds is key. This technique not only captures the beautiful glow of the neon signs but also adds a sense of movement and dynamism to the final image. Start with a shutter speed of around 10-20 seconds and adjust as needed to achieve the desired effect.
Composition plays a crucial role in neon sign photography. Look for interesting angles, reflections, and contrasting elements to add depth and visual interest to your shots. Leading lines can guide the viewer’s eye towards the focal point, while incorporating elements of the surrounding environment can provide context and tell a more compelling story.
Capturing the Essence of Urban Nightscapes
Neon signs are often found in bustling urban areas, where the energy and vibrancy of the city come alive after dark. To fully capture the essence of these urban nightscapes, there are a few key considerations to keep in mind.
Firstly, timing is crucial. The golden hour, just after sunset, often provides a beautiful balance between natural and artificial light, resulting in a magical combination of colors. However, don’t be afraid to venture out even later into the night when the streets are quieter and the neon signs become the main focus of your composition.
Secondly, pay attention to the interplay between the neon signs and the surrounding environment. Experiment with different angles, perspectives, and focal lengths to find the perfect balance between the neon’s captivating allure and the context of the urban landscape.
Lastly, don’t forget to embrace post-processing as an essential part of your creative workflow. Fine-tuning the colors, contrast, and sharpness can elevate your images to the next level and truly make them pop.
So grab your camera, venture into the enchanting urban nightscape, and explore the world of neon sign photography. With the right equipment, exposure settings, and composition techniques, you’ll be able to illuminate the dark and capture the colorful complexity of neon signs like never before.
Did you know that neon signs were first introduced in the late 19th century and became popular in the 1920s? They were initially used for advertising purposes and quickly became a vibrant and iconic aspect of urban landscapes.
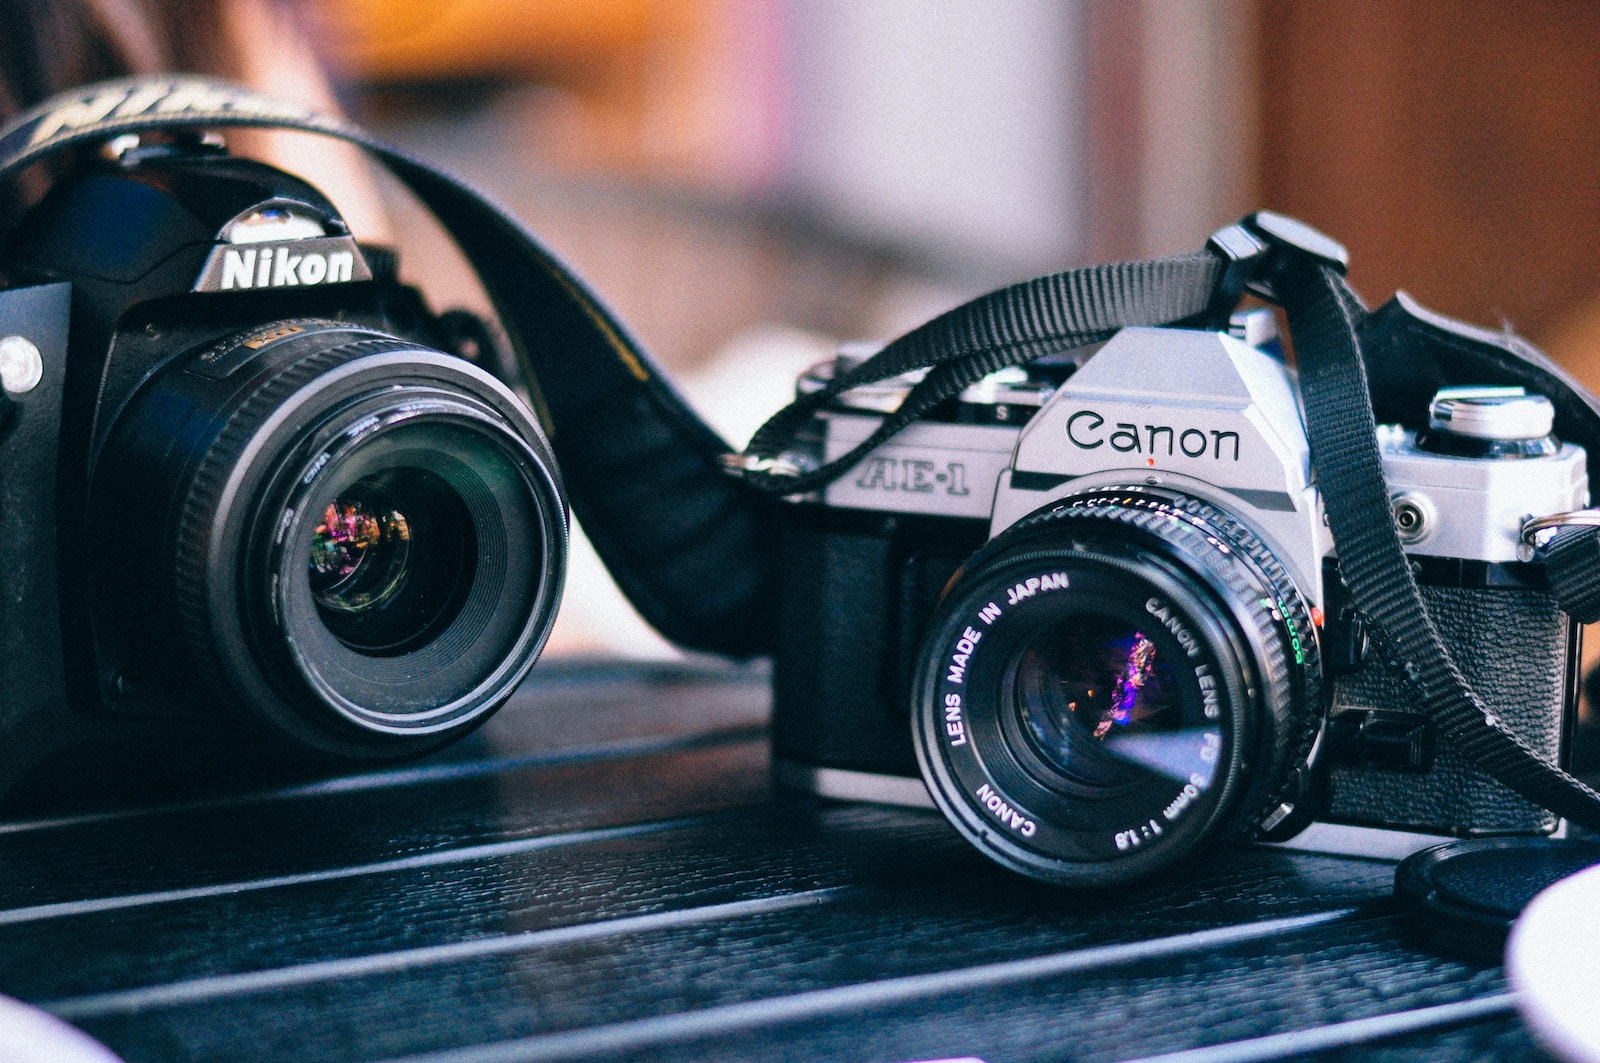
The Art of Capturing Neon Signs: Equipment Essentials
The Right Camera for the Job
When it comes to neon sign photography, having the right equipment can make all the difference in capturing those vibrant, glowing colors. To start, you’ll need a camera that excels in low-light conditions and offers manual settings for complete creative control.
Options range from full-frame DSLRs to mirrorless cameras. Full-frame models, with their larger sensors, generally provide superior low-light performance and dynamic range, allowing you to capture the intricate details and rich colors of neon signs. However, mirrorless cameras have become increasingly popular due to their portability and cutting-edge technology.
If budget is a consideration, there are also crop-sensor DSLRs and mirrorless cameras that offer impressive image quality at a more affordable price point. Whichever type of camera you choose, look for one with a high ISO range and the ability to shoot in RAW format, which allows for more flexibility during post-processing.
Choosing the Perfect Lens
Once you have your camera, it’s time to select the right lens for neon sign photography. A wide-angle lens is an excellent choice, allowing you to capture both the neon sign and its surrounding environment. This type of lens provides a dramatic perspective and helps to emphasize the neon’s glow against the backdrop of the city.
Prime lenses with wider apertures, such as f/1.4 or f/1.8, are ideal for shooting neon signs at night. These lenses let in more light and allow for faster shutter speeds, reducing the risk of motion blur. They also create a shallow depth of field, isolating the neon sign and making it the focal point of the image.
Alternatively, if you prefer a zoom lens, consider one with a wide aperture range, such as f/2.8. This allows you to adjust the focal length and capture different perspectives without compromising image quality.
Furthermore, investing in a sturdy tripod is essential for night photography and long exposure shots. It not only keeps your camera steady during longer exposure times but also allows for precise composition and framing. Make sure to choose a tripod that can support the weight of your camera and lens combination.
Remember, the right camera and lens combination ultimately depends on your personal preferences and shooting style. Experiment with different options to find the equipment that best suits your artistic vision and technical needs.
The Art of Neon Sign Photography: Capturing the Colors of the Night
Neon signs have a distinct allure – their vibrant glow against the backdrop of darkness captures attention and creates a mesmerizing scene. For photographers looking to delve into the world of night photography, neon signs offer an excellent subject to explore. In this blog post, we will guide you through the process of capturing the intricate and colorful beauty of neon signs, from the best time of year to shoot to finding the perfect vantage point.
Choosing the Best Time for Neon Sign Photography
The seasons and time of year can greatly influence the outcome of your neon sign photographs. While neon signs are accessible all year round, certain times may provide better opportunities to capture the desired mood.
During the summer, longer days and the potential for clear skies can present ideal conditions for shooting neon signs. The extended daylight hours give you more time to explore different locations and experiment with various compositions. Additionally, the warm weather can create a more energetic atmosphere in urban areas, with bustling streets and vibrant crowds, providing unique elements to incorporate into your photographs.
On the other hand, the winter season can offer a different aesthetic. The longer nights create more opportunities for engaging long-exposure shots, where the trails of passing cars or moving people can add a dynamic element to your images. Furthermore, the colder temperatures often result in steam rising from street vents or fog settling in, creating a dramatic atmosphere that complements the radiant neon lights.
Finding the Perfect Vantage Point and Composition
When it comes to neon sign photography, choosing the right vantage point and composition can make all the difference in creating captivating images. Here are a few options to consider:
- Street-Level Shots: Position yourself at eye-level with the neon signs, capturing the surrounding urban environment. This perspective allows you to showcase the signs within the context of their surroundings, emphasizing their presence and impact.
- Worm’s Eye View: Get down low and shoot upwards, exaggerating the height and grandeur of the neon signs. This unique angle can yield a striking and slightly surreal result.
- Reflections: Look for windows, puddles, or other reflective surfaces that can showcase the neon signs in a different light. Experiment with capturing both the reflection and the actual sign itself, creating an interesting juxtaposition.
- Silhouettes: Utilize the neon signs as a backdrop to create silhouettes of people or objects passing by. This technique adds a sense of mystery and intrigue to your compositions.
Remember, experimentation is key. Try different angles, perspectives, and compositions to find the most visually appealing approach for each neon sign you encounter. Don’t be afraid to get creative and think outside the box.
By paying attention to the best time of year for neon sign photography and exploring various vantage points and compositions, you will be well on your way to capturing stunning images that showcase the colorful complexity of neon signs. Stay tuned for the second part of our blog post, where we will dive into tips on equipment, exposure settings, and post-processing techniques to enhance your neon sign photography further.
To capture sharp and vibrant neon sign photography at night, use a tripod to keep your camera steady during long exposures. This will prevent any blurring caused by camera shake and ensure crisp details in your images. Experiment with different exposure settings and compositions to create striking and captivating shots that showcase the beauty of urban neon signs.
Frequently Asked Questions
1. What equipment do I need for neon sign photography?
For neon sign photography, you will need a camera with manual settings, a tripod to keep your camera steady, and a lens that allows you to capture a wide angle view.
2. What exposure settings should I use for neon sign photography?
To capture the vibrant colors and details of neon signs, it’s recommended to use a long exposure. Set your camera to a low ISO (around 100-400), a small aperture (high f-stop number), and a slower shutter speed (several seconds or more).
3. How can I create interesting compositions with neon signs?
Experiment with different angles, perspectives, and framing techniques to create visually appealing compositions. Look for contrasting elements in the scene, use leading lines, and consider the surrounding environment to add context and depth to your photographs.
4. What are some tips for shooting neon signs at night?
When shooting neon signs at night, it’s important to find the right balance between the ambient light and the neon lights. Pay attention to the overall exposure, adjust your white balance accordingly, and consider using a remote shutter release or self-timer to minimize camera shake.
5. Can I enhance the colors of neon signs in post-processing?
Absolutely! In post-processing, you can fine-tune the colors and contrast of your neon sign photographs using software like Adobe Lightroom or Photoshop. Experiment with different adjustments to make the neon lights pop and bring out the details in your images.
Wrap Up
In conclusion, illuminating the dark with neon sign photography is not only visually captivating but also a creative way to capture the essence of urban landscapes at night. By following the tips and techniques discussed in this blog post, photographers can master the art of night photography, long exposures, and urban photography.
Remember, practice makes perfect! So grab your camera, explore the city streets, and let the neon signs guide your creative vision. Whether you’re a professional photographer or a hobbyist, experimenting with neon sign photography can open up a world of colorful possibilities.
If you have any questions or would like to share your own experiences with neon sign photography, I encourage you to leave a comment below. Let’s ignite a discussion and inspire each other to create stunning neon sign photographs.