Are you a toy enthusiast who loves capturing their stories through photography? If so, then this blog is for you! Join us on a journey into the world of innovative toy photography, where we explore the pivotal role of creative lighting techniques in bringing life to your miniature subjects. Discover the secrets, techniques, and tips to elevate your toy photography to new heights. Prepare to be inspired as we delve into the fascinating world of lighting and how it can transform your toy shots into captivating masterpieces!
Table of Contents
- The Art of Toy Photography
- The Importance of Lighting Techniques
- Key Lighting Techniques
- Creative Illumination Ideas
- Tips for Perfecting Your Toy Photography Lighting
- Capturing the Magic of Toy Photography
- Join the Toy Photography Community
- Section: A How-To Guide on Toy Photography Lighting Techniques
- Frequently Asked Questions
- 1. What is toy photography?
- 2. How do I start with toy photography?
- 3. Why is lighting important in toy photography?
- 4. What are some creative illumination techniques for toy photography?
- 5. How can I improve my toy photography skills?
- 6. Are there any specific tips for miniature photography?
- 7. Can I use toy photography for commercial purposes?
- 8. Where can I find inspiration for toy photography?
- 9. Do I need expensive equipment for toy photography?
- 10. How can I make my toy photography stand out?
- Wrap Up
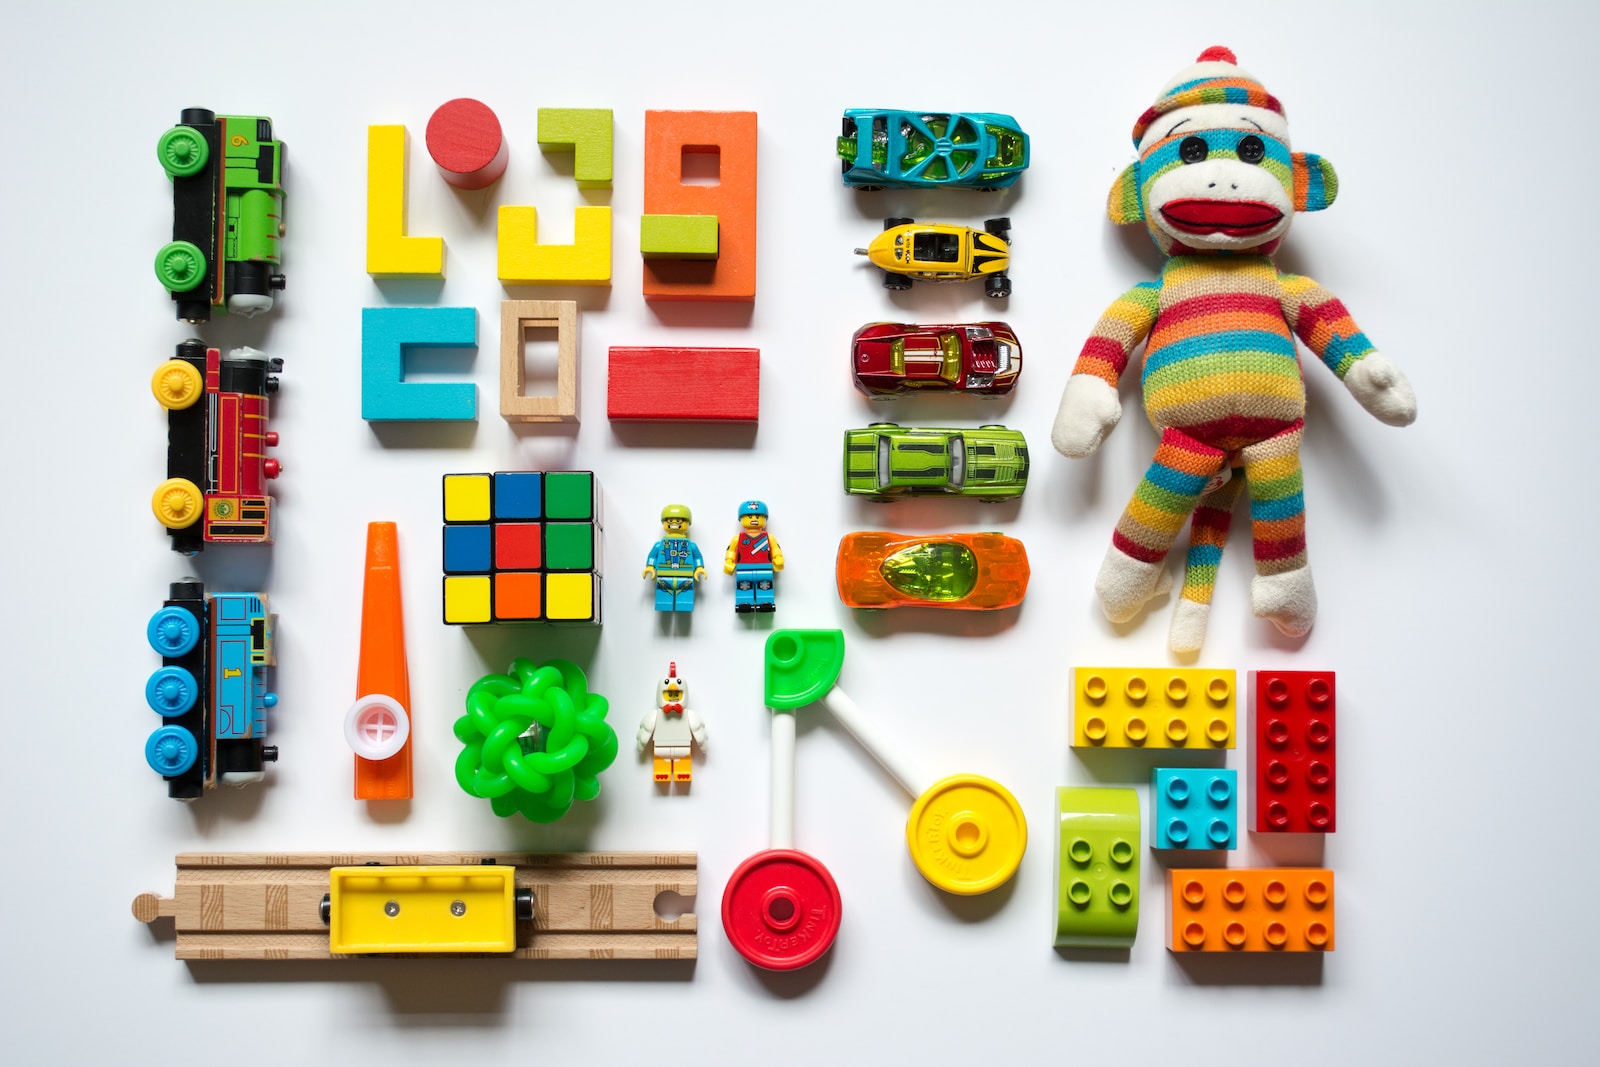
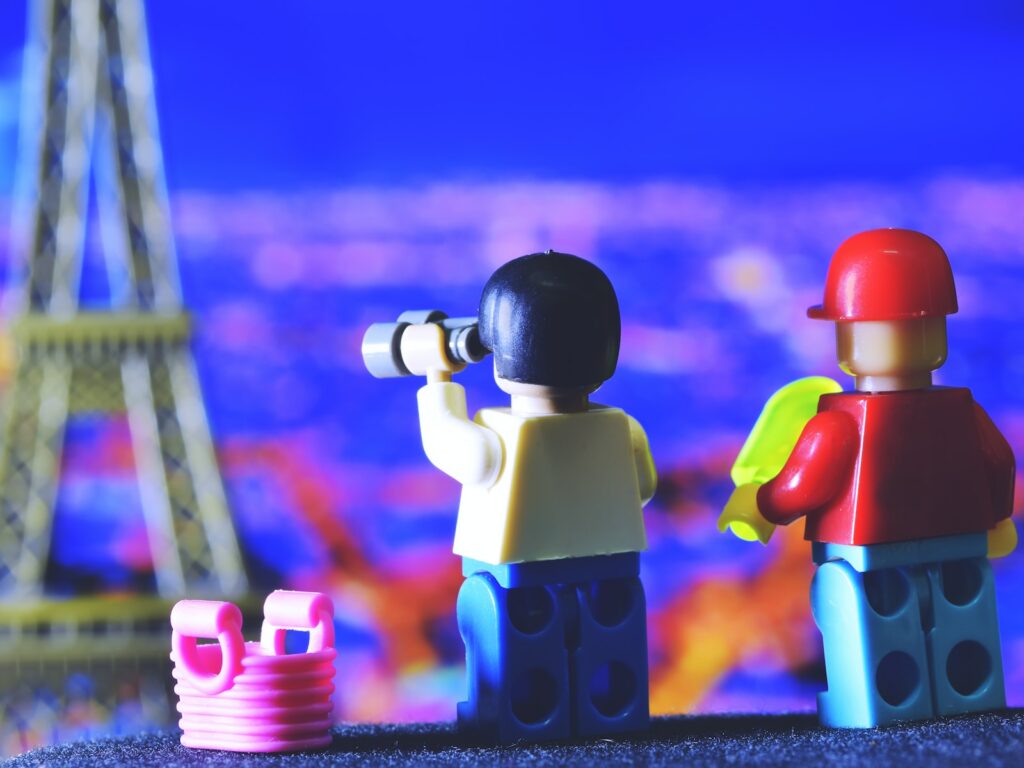
The Art of Toy Photography
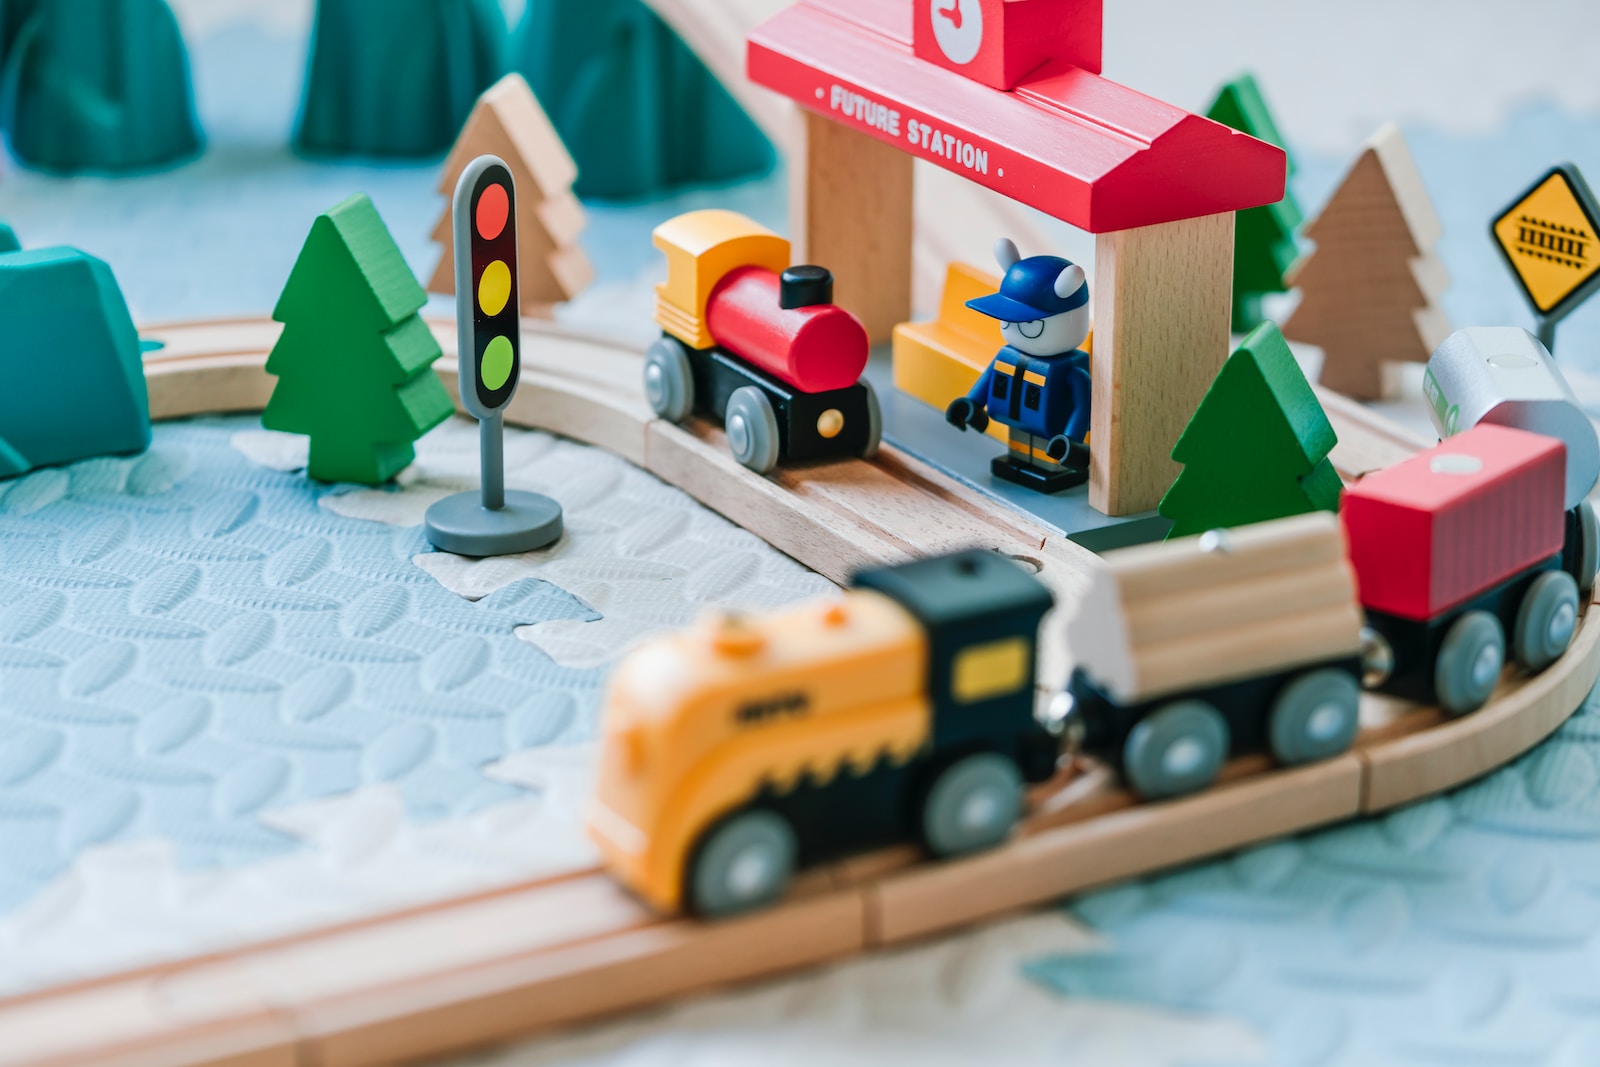
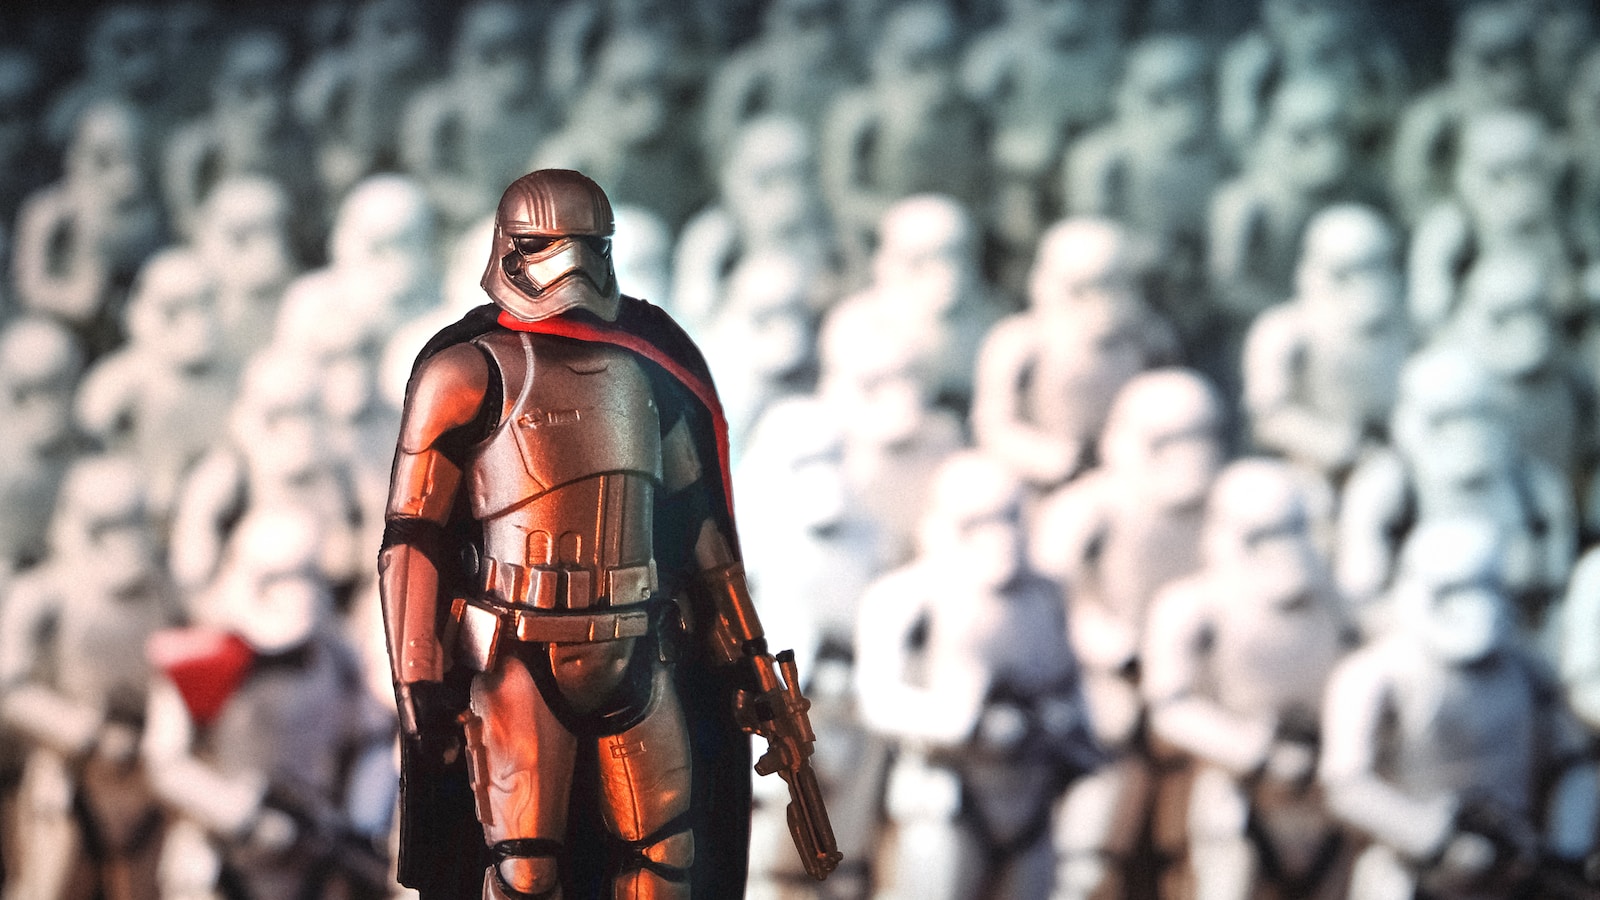
Toy photography is a unique form of artistic expression that allows you to immortalize your favorite action figures, dolls, and miniatures. It brings together the realms of storytelling, creativity, and photography in a mesmerizing way. Every shot tells a story, and lighting plays a crucial role in conveying the emotions, moods, and dynamics of that narrative.
The Importance of Lighting Techniques
Great toy photography goes beyond capturing a simple snapshot. It requires careful thought and consideration of lighting techniques to create engaging and visually stunning images. Understanding the fundamentals of light and its interaction with different surfaces is key to mastering the art of toy photography.
Key Lighting Techniques
1. Natural Lighting: Natural light can work wonders in toy photography. Experiment with different times of the day, change the angle of the sunlight, and observe how shadows and highlights can enhance your composition. Embrace the beauty of golden hour or play with diffused light during cloudy skies to add a soft and dreamy feel to your shots.
2. Artificial Lighting: When natural light is limited, artificial lighting comes to the rescue. Explore the world of studio lighting, using softboxes, reflectors, and diffusers to control the direction, intensity, and color temperature of the light. This will allow you to create dramatic and controlled lighting setups that suit your creative vision.
3. Macro Lighting: Toy photography often involves capturing intricate details in close-up shots. Macro lighting techniques, such as using ring lights or macro flash units, can illuminate the small-scale world of toys, highlighting their textures, colors, and features with precision and clarity.
Creative Illumination Ideas
1. Silhouettes: Transform your toy into a striking silhouette against a vibrant or dramatic background. Play with lighting from behind the subject to create captivating outlines, leaving the viewers’ imagination to fill in the details.
2. Spotlights: Draw attention to specific areas or objects by using spotlights. Direct a narrow beam of light to highlight specific details, create focal points, or add a sense of drama and mystery to your toy photography.
3. Reflections: Utilize reflective surfaces, like mirrors or water, to add depth and complexity to your toy shots. Experiment with different angles and placements to capture mesmerizing reflections that bring a unique perspective to your compositions.
Tips for Perfecting Your Toy Photography Lighting
1. Experiment and Learn: Don’t be afraid to try different lighting techniques and explore various lighting setups. Embrace the learning process, as experimentation is key to finding your unique style and understanding how light interacts with your subjects.
2. Understand Color Temperature: Different light sources have varying color temperatures, which can affect the mood and ambiance of your photographs. Learn to play with and balance warm and cool lighting to create the desired atmosphere in your toy shots.
3. Use Props and Accessories: Props and accessories can play an integral part in enhancing your lighting setups. Experiment with diffusing light through translucent objects, casting shadows with miniature objects, or using reflective surfaces strategically to add interest and dimension to your compositions.
Did you know that toy photography first gained popularity in Japan during the 1960s? It quickly became an integral part of Japanese popular culture, depicting action figures and characters in dynamic poses and settings.
Capturing the Magic of Toy Photography
By understanding the importance of lighting techniques and exploring creative illumination ideas, you have the power to bring your toy photography to life. Unleash your creativity, experiment with different lighting setups, and let the magic unfold as you capture captivating moments and stories through your lens.
Join the Toy Photography Community
Toy photography is an art form that connects enthusiasts from all over the world. Engage with fellow toy photographers, share your experiences, and learn from their techniques. Embrace the collaborative and supportive nature of this community, and together, let’s continue pushing the boundaries of toy photography!
Section: A How-To Guide on Toy Photography Lighting Techniques
When it comes to taking stunning photos of your favorite toys, understanding and utilizing creative lighting techniques can make a world of difference. In this guide, we will explore some innovative ways to enhance your toy photography using different lighting setups, ensuring that your images truly come to life.
1. Natural Light: Harnessing the Power of the Sun
One of the most accessible and versatile lighting sources available to photographers is natural light. By taking advantage of the sun’s rays, you can create various moods and effects to enhance your toy photography. Experiment with different times of the day, such as the golden hour or twilight, to capture soft, warm lighting that adds a magical touch to your images.
Transitioning to photography indoors? Use large windows or doors to allow as much natural light as possible. Place your toys strategically, taking advantage of the natural light’s direction and intensity. Don’t be afraid to move around to find the perfect angles that highlight the intricate details of your miniature subjects.
2. Artificial Light: Unleash Your Creative Illumination
When shooting indoors or in low-light situations, artificial lighting techniques can be a game-changer for your toy photography. Here are a few techniques to get you started:
- Off-Camera Flash: By using a flash unit positioned off to the side, above, or behind your toys, you can experiment with different shadows and highlights. This technique adds depth and drama to your images, creating an eye-catching effect.
- Light Pens or Light Painting: Enhance the magical world of your toys by adding light trails or colorful accents using a light pen or other light sources. This technique allows you to draw or “paint” your scene with light, resulting in captivating and dreamy images.
- LED Lights or Light Panels: These versatile lighting tools offer a broad range of possibilities. Play with different colored gels or diffusers to create unique and striking effects. Experimenting with the positioning of the lights can help you highlight specific areas or create a particular mood for your toy photography.
3. DIY Lighting Hacks: Think Outside the Box
Don’t have professional photography equipment at your disposal? No problem! Get resourceful and try these DIY lighting hacks:
- Use Household Objects: Experiment with household items like aluminum foil, white bedsheets, or even a desk lamp to manipulate light and create interesting effects.
- Create Custom Backgrounds: Cut out shapes or designs from colored cardstock or use textured fabrics to create unique backgrounds. Combine these with your lighting techniques for added visual impact.
- Utilize Reflectors: Aluminum foil wrapped around a piece of cardboard can act as a reflector, bouncing light back onto your toys to reduce shadows or add highlights.
Remember, practice makes perfect. Invest time in understanding the different lighting techniques and how they interact with your toys. Always experiment, and don’t be afraid to break the rules to achieve that truly remarkable shot. By harnessing the power of creative illumination, your toy photography will undoubtedly stand out from the crowd.
Frequently Asked Questions
1. What is toy photography?
Toy photography is the art of taking photographs of toys, often using miniature setups to create imaginative and creative scenes.
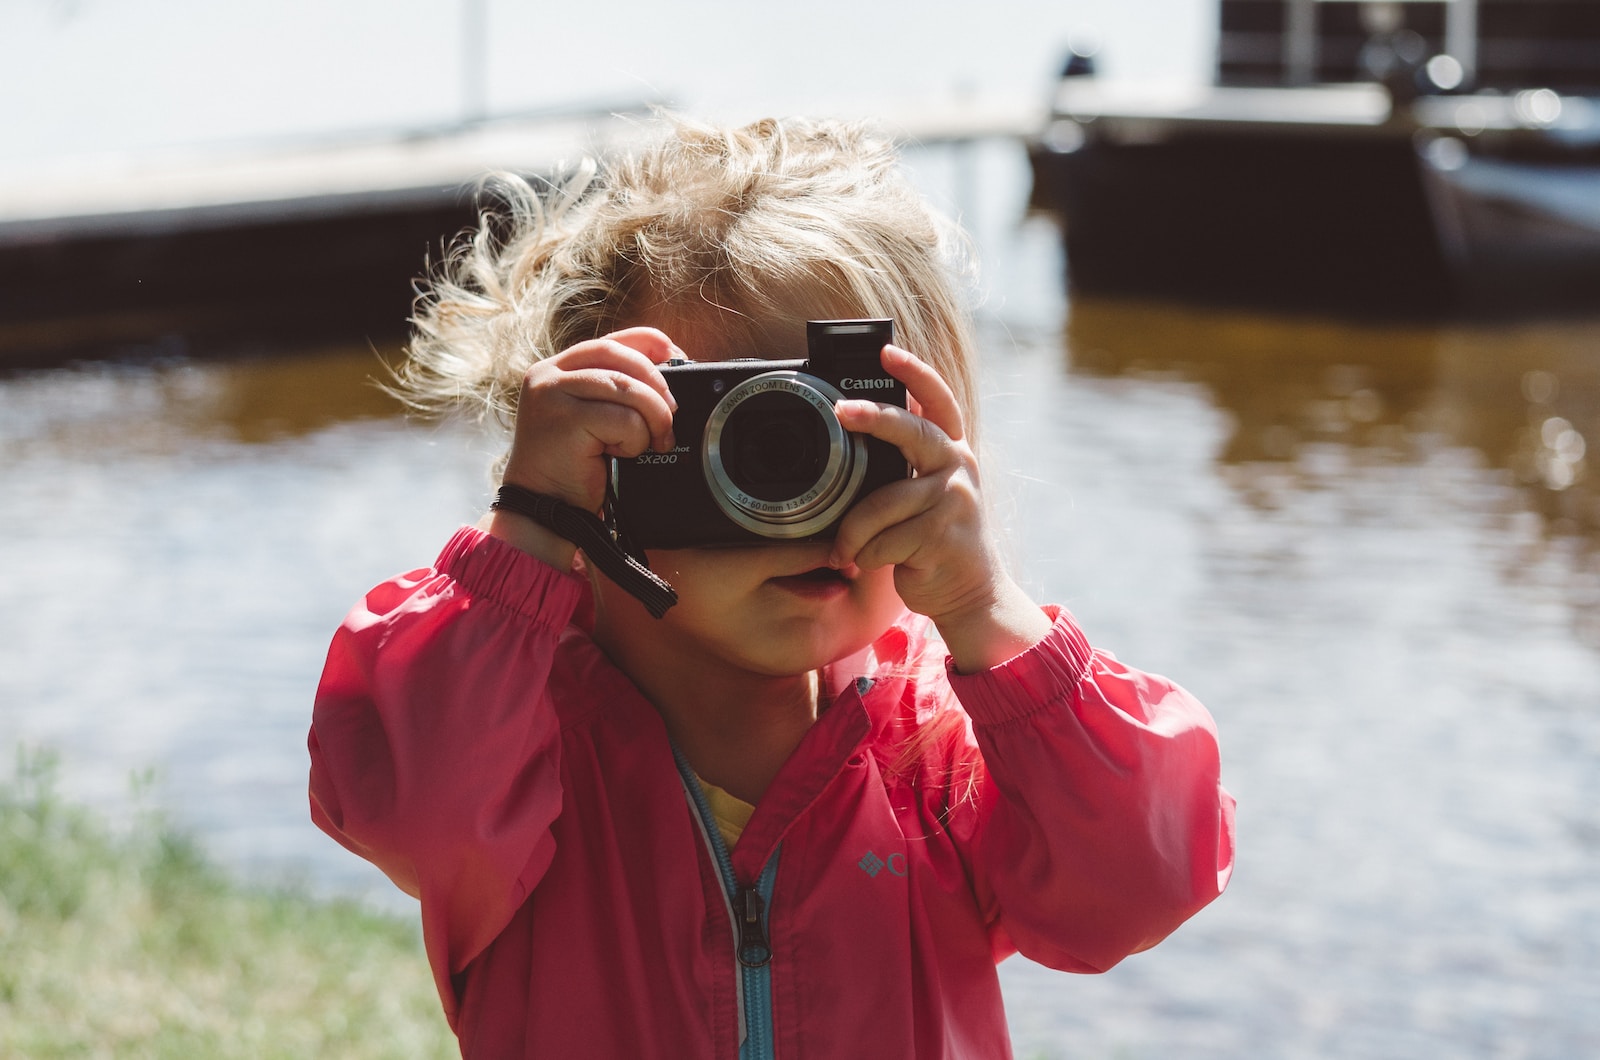
2. How do I start with toy photography?
To start with toy photography, you need a camera (even a smartphone can work), toys or action figures, and a creative imagination. Experiment with different setups and lighting techniques to bring your toys to life.
3. Why is lighting important in toy photography?
Lighting plays a crucial role in toy photography as it helps create the desired atmosphere, highlights details, and adds depth to the images. Proper lighting techniques can bring out the personality of the toys and make them look more realistic.
4. What are some creative illumination techniques for toy photography?
Some creative illumination techniques for toy photography include using natural light, creating a mini-studio setup with lightboxes or softboxes, using colored gels to add a dramatic effect, and experimenting with different angles and shadows.
5. How can I improve my toy photography skills?
To improve your toy photography skills, practice regularly, study other photographers’ work for inspiration, experiment with different lighting techniques, and explore various perspectives and compositions. Don’t be afraid to take risks and think outside the box.
6. Are there any specific tips for miniature photography?
Yes, when it comes to miniature photography, it’s important to pay attention to the scale and details. Use small props, consider the background and foreground elements, and experiment with macro photography to capture intricate details of the miniatures.
7. Can I use toy photography for commercial purposes?
Absolutely! Toy photography has gained popularity in advertising and marketing campaigns. It can be used to promote toys, games, movies, or even as an artistic medium to sell prints or collaborate with brands. Your creativity and unique style can open doors to various opportunities.
8. Where can I find inspiration for toy photography?
Inspiration for toy photography can be found everywhere – movies, comics, video games, and your own childhood memories. Explore social media platforms like Instagram or join online communities and forums dedicated to toy photography. Interacting with fellow enthusiasts can spark your creativity and help you discover new ideas.
9. Do I need expensive equipment for toy photography?
No, you don’t necessarily need expensive equipment to start with toy photography. A basic camera or smartphone, along with some inexpensive lighting tools and toys, can get you started. As you progress and develop your skills, you can invest in more professional gear.
10. How can I make my toy photography stand out?
To make your toy photography stand out, focus on storytelling, interesting compositions, and creative lighting. Experiment with different setups, perspectives, and environments. Inject your own style and personality into your images, and don’t be afraid to think outside the box.
Wrap Up
In conclusion, toy photography is a remarkable art form that allows us to unleash our creativity and explore new worlds. With the right lighting techniques, we can bring these miniatures to life, capturing their essence and telling captivating stories.
Remember, mastering lighting is a process that takes time and practice. By experimenting with various techniques like creative illumination and miniature photography, you can take your toy photography to new heights.
So, what are you waiting for? Grab your camera, toys, and lighting equipment, and start creating innovative and captivating toy photography. And don’t forget to share your creations with us in the comments below! We would love to see your unique perspective on this fascinating art form.