Welcome to “The Art of Photographing Children’s Toys” blog. Are you fascinated by the magic of toy photography? Do you want to learn how to make children’s toys come alive in your photos? Look no further! In this blog, we will explore practical tips on lighting, arrangement, and creating a captivating story with toys. From still life photography to creative product shots, we offer insights to help you unlock your creativity and capture stunning images that will amaze and delight. Let’s dive in!
Table of Contents
The Art of Photographing Children’s Toys: Capturing the Magic
Children’s toys hold a special place in our hearts and capturing their essence through photography can unleash a world of imagination and creativity. Toy photography is not only a fun and entertaining way to showcase beloved toys, but it can also create stunning visuals that stand out. In this blog, we will explore the main subject to be photographed and discuss techniques to make your toy photographs truly captivating.
Exploring the Unique Features of Children’s Toys
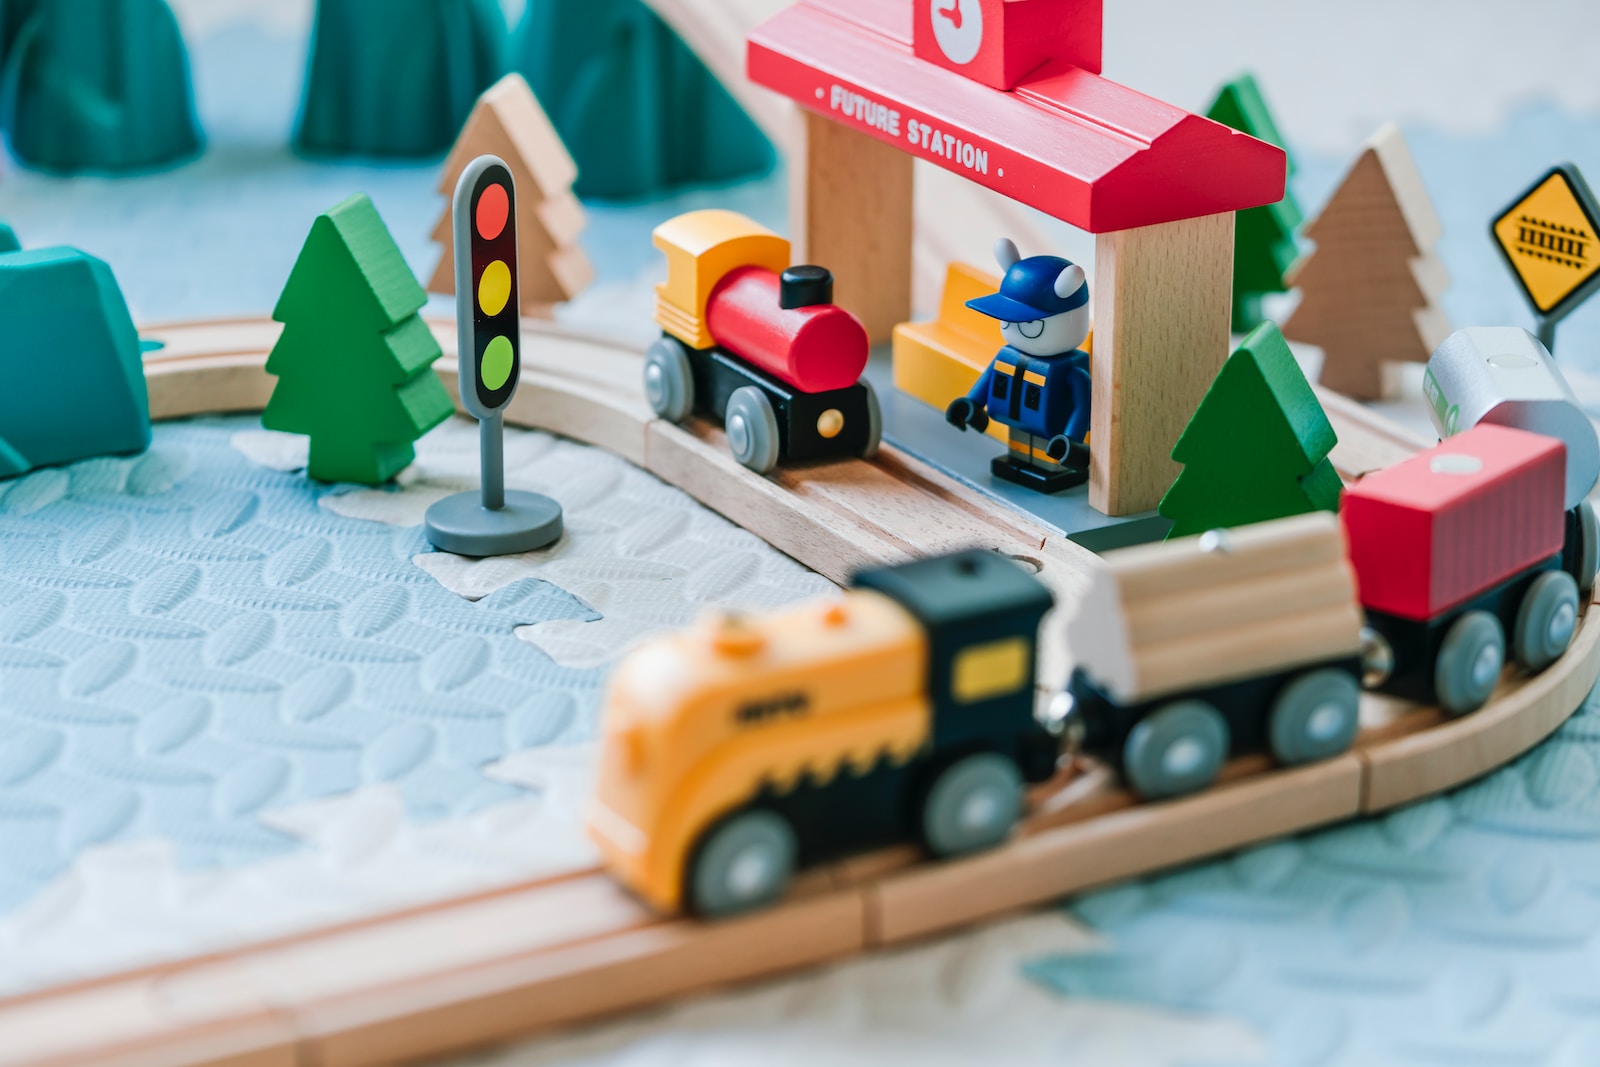
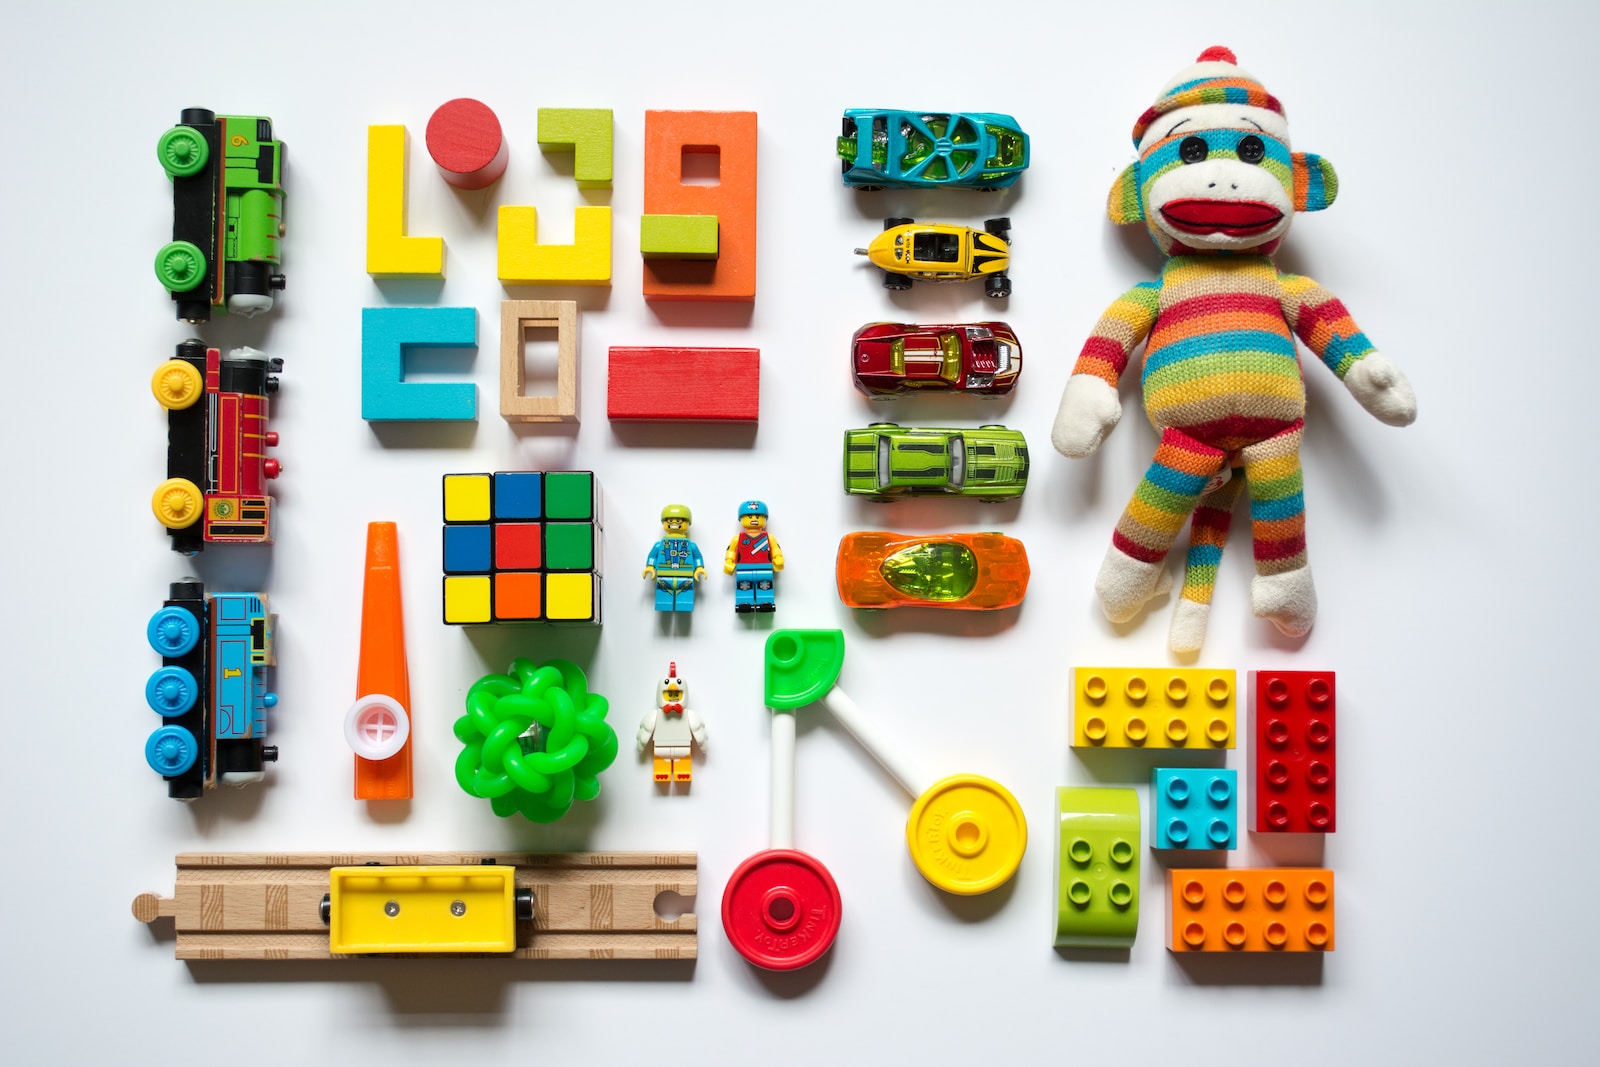
The world of children’s toys offers a wide range of subjects to photograph, each with its own unique qualities and characteristics. From action figures and dolls to vehicles and stuffed animals, every toy has a story to tell. By understanding the distinct features of your toys, you can enhance your photography and create visually appealing images that capture the magic.
One approach to keep in mind is focusing on the details. Macro photography allows you to capture intricate details like the texture of a doll’s hair or the fine features of an action figure’s face. This technique immerses viewers in a miniature world, inviting them to explore every tiny aspect of the toy.
Additionally, experimenting with different angles can add a sense of dynamism to your photographs. Consider shooting from a low angle to make the toy appear larger than life, or try a bird’s-eye view to create a whimsical and playful image. Don’t be afraid to get up close and personal; zooming in on specific features or body parts can create compelling and visually interesting compositions.
Creating Stunning Toy Arrangements and Stories
Arranging your toys in an imaginative and visually appealing manner can elevate your photographs to the next level. Start by considering the overall theme or story you want to convey. Are your toys going on an adventure? Interacting with each other? Once you have an idea in mind, you can begin arranging the toys accordingly.
Lighting also plays a crucial role in toy photography. Experiment with different lighting setups to achieve the desired mood and ambiance. Natural light can create a soft and dreamy atmosphere, while using artificial lighting can add dramatic effects and highlight specific features of the toys. Don’t forget to pay attention to shadows, as they can add depth and dimension to your composition.
A great way to add a sense of narrative and storytelling to your toy photographs is by creating mini-scenes or dioramas. Build a small set using props, backdrops, and accessories that complement your toys. This allows you to create a story and inject life into your images, making the toys come alive in the eyes of the viewers.
Remember, the key to capturing unforgettable toy photographs lies in your creativity and imagination. Experiment with different techniques, explore various angles, and let your toys tell their stories. With practice and a little bit of magic, you can create photographs that are not only visually stunning but also evoke a sense of nostalgia and wonder. Did you know that toy
Tips for Proper Lighting in Toy Photography
Good lighting is crucial in creating stunning toy photographs. Here are a few tips to help you achieve the perfect lighting:
- Use Natural Light: Shooting near a window or outdoors during the golden hour (the hour after sunrise or before sunset) can create a soft and warm light for your toy photography.
- Experiment with Artificial Light: Try using different types of artificial light sources like desk lamps, fairy lights, or even LED panels to create different moods and effects.
- Diffuse Harsh Light: If the light is too harsh, soften it by placing a thin white cloth or a diffuser in front of the light source. This will create a gentler and more flattering light on your subjects.
- Add Backlighting: Backlighting can create a beautiful and ethereal effect on your toy photos. Place a light source behind your toy and experiment with the angles to achieve the desired look.
The Role of Lighting in Setting the Mood
Lighting not only helps in properly exposing your photographs but also plays a vital role in setting the mood and atmosphere. By adjusting the lighting, you can evoke various emotions and enhance the story you want to tell with your toy photography. Different lighting techniques, such as chiaroscuro (strong contrast between light and dark) or soft and even lighting, can drastically change the overall feel of your images.
Telling a Story with Your Toys
One of the most exciting aspects of toy photography is the ability to create narratives and tell stories through your images. Here’s how you can bring your toys to life:
- Choose the Right Toys: Select toys that have distinct personalities or relatable characteristics. This will make it easier to create engaging stories around them.
- Create Scenes: Build mini sets or use existing environments to create realistic and immersive scenes for your toys to inhabit.
- Use Props: Props can enhance the storytelling by adding depth and context to your toy photographs. Experiment with different props to make your images more interesting.
- Focus on Details: Pay attention to small details like facial expressions, body language, and poses to convey emotions and add depth to your toy photography.
Composition Techniques for Toy Photography
Composition plays a fundamental role in capturing impactful toy photographs. Here are a few composition techniques to consider:
- Rule of Thirds: Divide your frame into a 3×3 grid and place your toys at the points where the lines intersect. This will create a visually pleasing composition.
- Leading Lines: Utilize lines within your scenes to lead the viewer’s eye towards the main subject or create a sense of depth and movement.
- Frame within a Frame: Use natural elements or objects to frame your toys, adding a layer of depth to your composition.
- Negative Space: Leave empty spaces around your subject to create a sense of balance and draw the viewer’s attention to the main focal point.
Injecting Emotion into Toy Photography
To create a visual story that resonates with viewers, it’s essential to inject emotion into your toy photographs:
- Expressive Poses: Experiment with different poses and body language to evoke various emotions such as joy, curiosity, or even sadness.
- Play with Scale: Make use of perspective to emphasize the size difference between toys and their surroundings, enhancing the visual impact and storytelling potential.
- Utilize Depth of Field: By using a shallow depth of field, you can isolate your subject and create a dreamy or focused effect, drawing attention to specific elements in the frame.
Did you know that toy photography has become a popular form of creative expression and has even led to toy photography competitions and exhibitions around the world?
A How-To Guide: Capturing the Magic of Children’s Toys Through Photography
Do you love playing with children’s toys? How about capturing their essence and bringing them to life through photography? Toy photography, a niche branch of still life photography, allows you to tell stories, ignite imagination, and showcase the magic within these little figures and playsets. In this guide, we will explore practical tips and techniques to help you elevate your toy photography skills and create stunning images that amaze both children and adults alike.
Lighting: Set the Stage for Magic
Effective lighting can bring out the hidden details and textures in children’s toys, turning them into exquisite subjects for your photographs. Natural light is a great starting point, especially near a window or outdoors on a slightly overcast day. The soft and diffused light will prevent harsh shadows and give your toys a more lifelike appearance.
If natural light isn’t available or you want more control, consider using artificial lighting. A simple desk lamp with an adjustable head can be used to create different moods and highlight specific features of the toy. Experiment with the angle and intensity of the light to achieve desired effects.
Arrangement: Crafting a Compelling Narrative
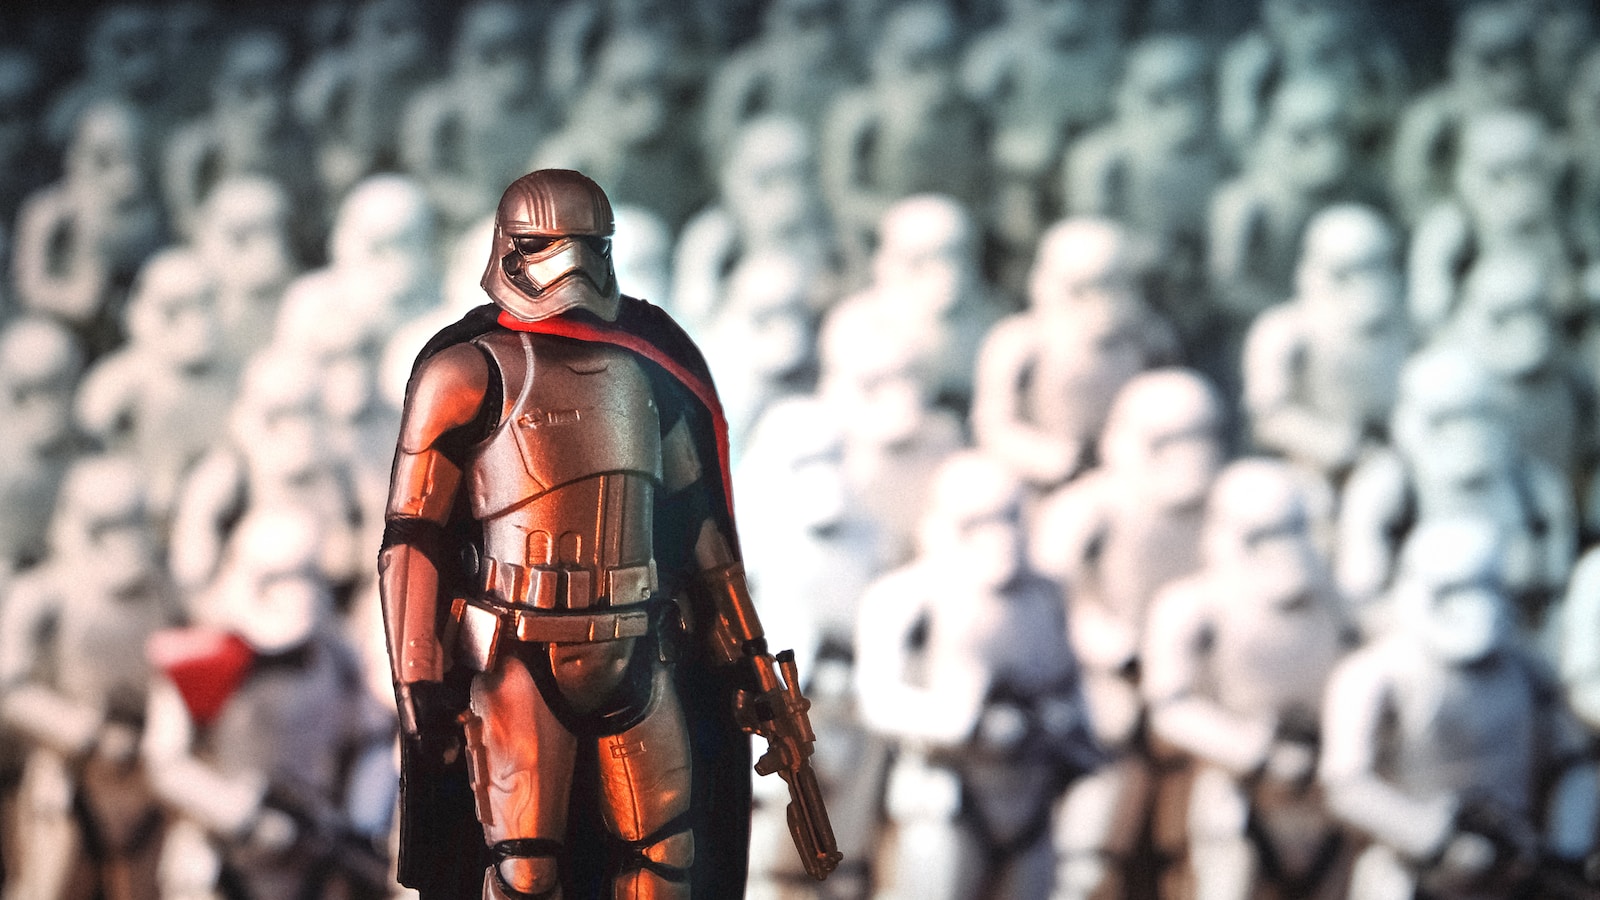
When photographing children’s toys, it’s important to go beyond simply capturing their physical form. You want to create a story or a scene that engages the viewer and sparks their imagination. Start by selecting the toys that best complement each other in terms of theme or narrative. For example, staging a superhero toy alongside their arch-nemesis or assembling a group of animal figures on an adventure.
Consider the composition of your shot. Place your main subject(s) in the foreground and add supporting elements or a background that adds depth and context to your story. Experiment with different angles, perspectives, and distances to find the most visually appealing arrangement.
Creating a Story: Letting the Toys Speak
When photographing toys, think of each image as a frame pulled from an imaginary movie. What story or emotion do you want the viewer to experience? By injecting a sense of movement, action, or interaction into your photos, you can trigger a sense of wonder and make the toys come alive.
One technique is to pose the toys in a dynamic manner that suggests movement or action. You can make them seem as if they are in mid-air, running, or engaged in a conversation. Experiment with different poses and accessories to create a sense of storytelling within a single frame.

Frequently Asked Questions
1. How can I make children’s toys come alive in my photos?
To make children’s toys come alive in your photos, try using different angles, capturing them in action, or placing them in realistic and relatable settings. You can also experiment with lighting and colors to create a vibrant and engaging scene.
2. What are some practical tips for lighting in toy photography?
When it comes to lighting in toy photography, natural light is usually the best option. Try shooting near a window or outdoors during the golden hour for soft, flattering light. If shooting indoors, you can use lamps or diffused artificial light sources to create a warm and inviting atmosphere.
3. How important is the arrangement of toys in a photo?
The arrangement of toys plays a crucial role in creating a visually pleasing and engaging photograph. Experiment with different compositions, consider the Rule of Thirds, and try creating a sense of depth by using foreground and background elements. Don’t be afraid to get creative and think outside the box!
4. How can I create a story with toys in my photos?
To create a story with toys in your photos, think about the narrative you want to convey. Consider the emotions, actions, and interactions you want to capture. You can use props, poses, and facial expressions to tell a story and evoke a sense of imagination and playfulness.
Wrap Up
Now that you have discovered the art of photographing children’s toys, it’s time to put your creative skills into action. Remember to experiment with different lighting techniques to bring out the essence of each toy. Play around with arrangements and create a narrative to captivate your audience. Don’t be afraid to think outside the box and let your imagination run wild. The possibilities are endless!
If you have any questions or want to share your experiences with toy photography, leave a comment below. I would love to hear from you and see the incredible photos you’ve taken. Remember, through toy photography, you can create magical moments that will enchant both children and adults alike. Happy photographing!