Welcome to “Small World, Big Impact: Toy Photography Tips”! If you have a passion for both toys and photography, then this blog is for you. Join us on an adventure into the world of toy photography, where we’ll explore how to create stunning miniature worlds that are full of fun and creativity. Whether you’re a seasoned photographer or just starting out, we’ve got plenty of tips and tricks to help you take your toy photography to the next level. So grab your camera and let’s get started!
Table of Contents
The Power of Toy Photography
1. Choosing the Right Toys
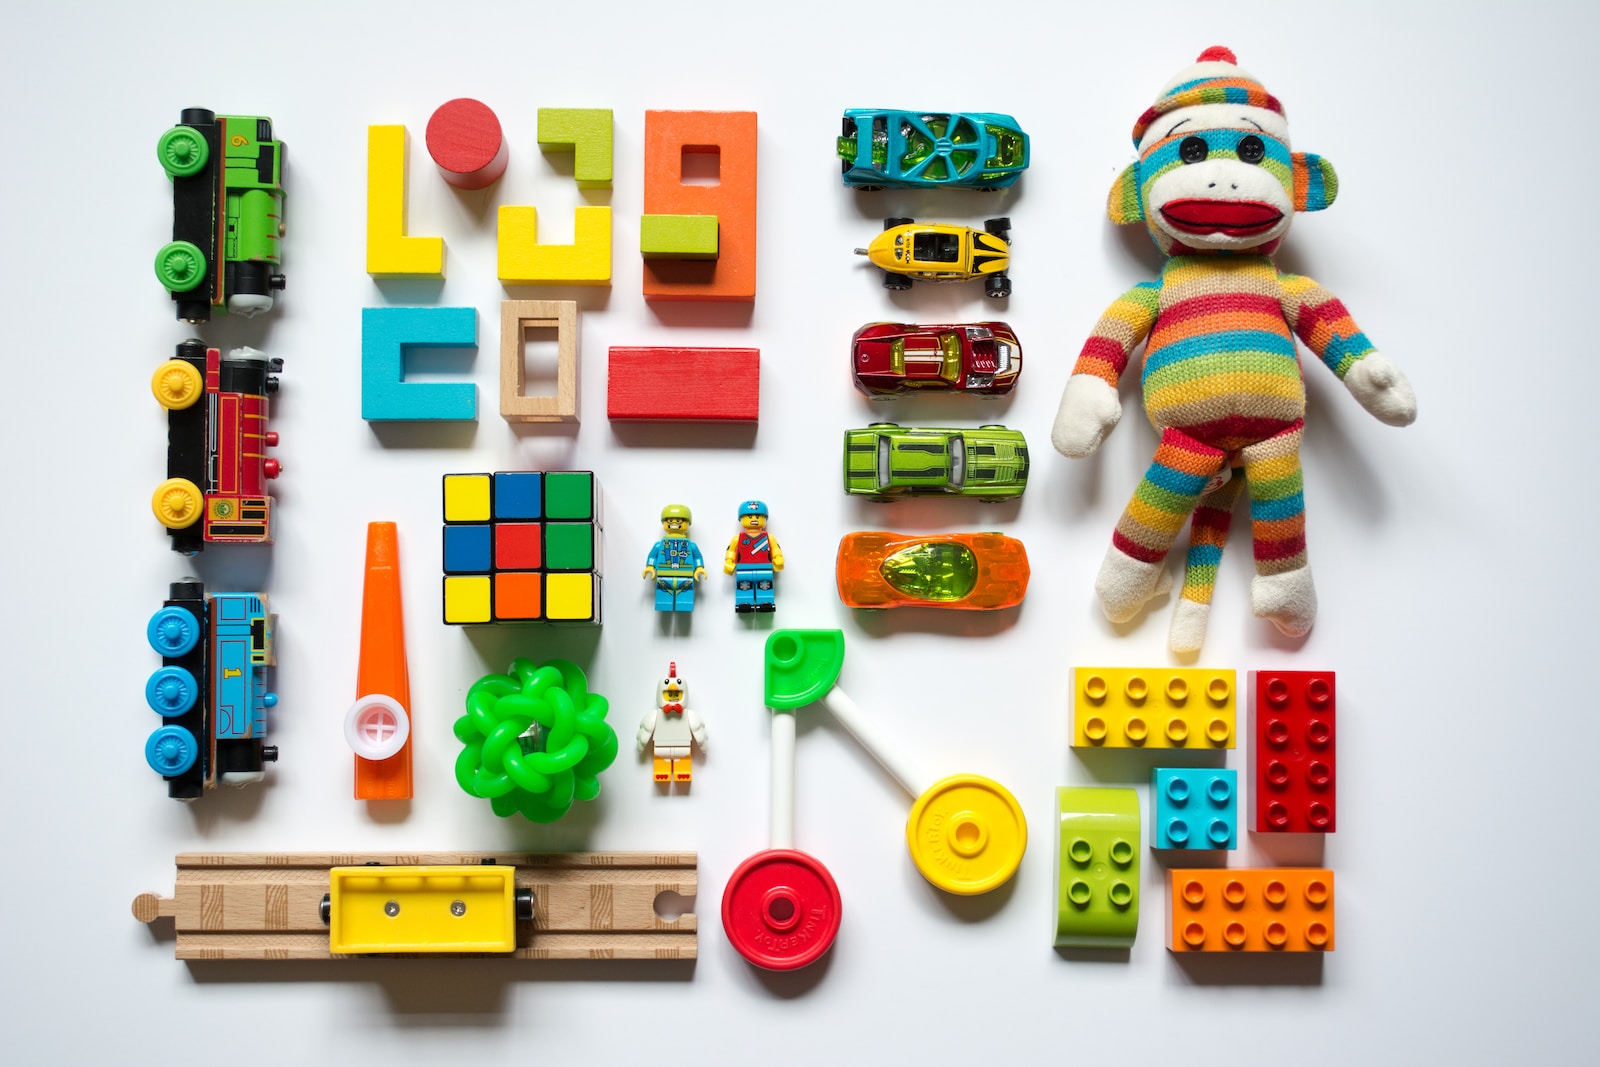
When it comes to toy photography, the first and most important step is choosing the right toys. Look for toys with interesting details, vibrant colors, and diverse shapes. Characters from your favorite movies and comics can add an extra element of nostalgia and appeal. Remember, the toys you choose will be the stars of your miniature world, so choose wisely!
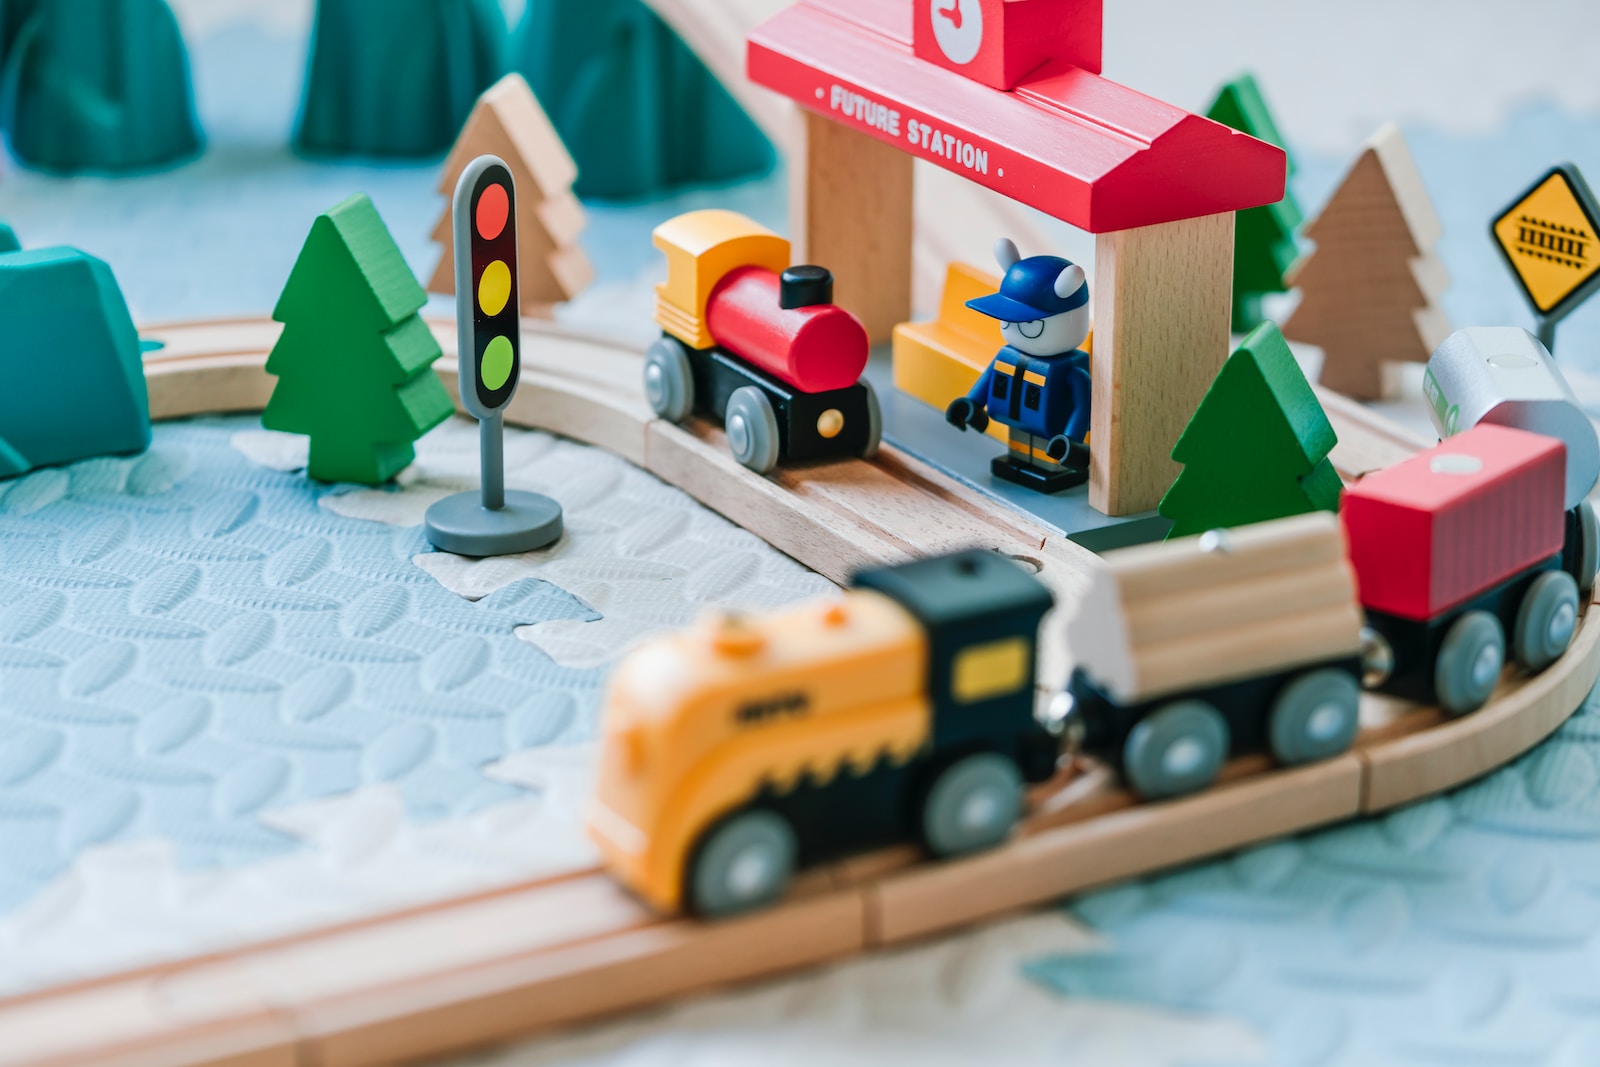
2. Set the Stage
Creating a captivating miniature world requires careful consideration of the set design. Start by selecting or creating a backdrop that complements the theme of your shoot. Experiment with different materials, such as fabrics, paper, or even natural elements like rocks and twigs. Don’t forget to add small props and accessories to enhance the storytelling aspect of your images.
3. Lighting Techniques
Lighting plays a crucial role in toy photography. Experiment with natural light, diffused lighting, and artificial lighting to achieve different moods and effects. Soft, indirect light works well for creating dreamy and whimsical scenes, while harsh light can add drama and intensity. Don’t be afraid to play with shadows and highlight certain areas of your composition to create depth and dimension.
4. Get Low and Experiment with Angles
When shooting toy photography, get down to the toy’s eye level to create a sense of immersion and make the scene more relatable. Experiment with different camera angles to add variety to your compositions. Shoot from above to capture an overview, or get close to emphasize details and create a sense of intimacy with the subject. Don’t be afraid to get creative and try unusual perspectives!
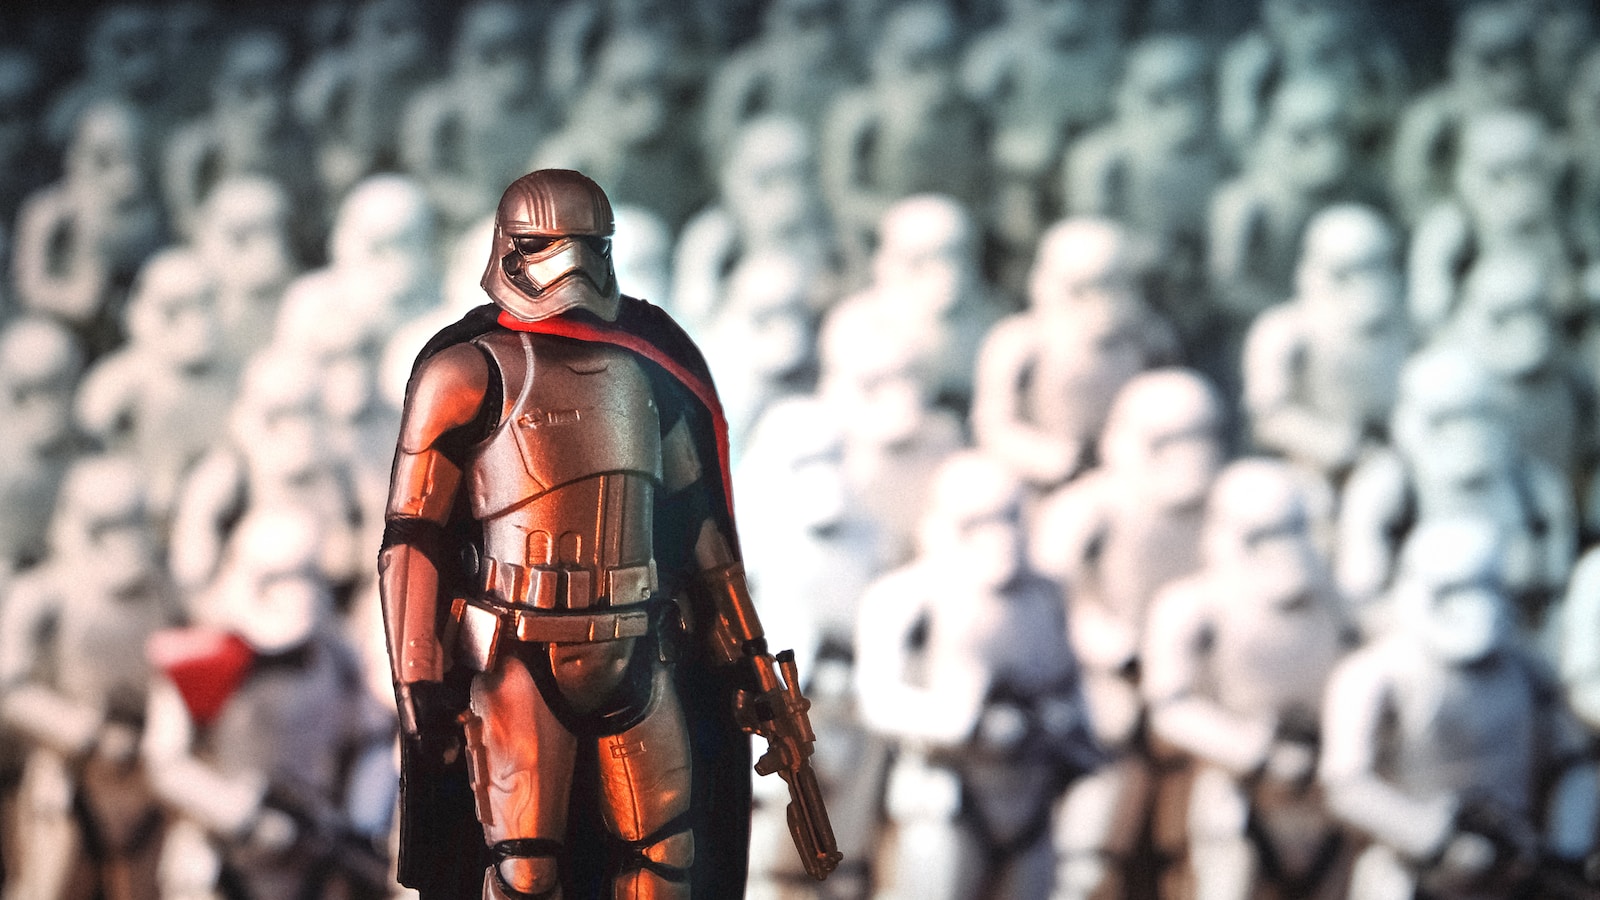
5. Utilize Depth of Field
One way to make your toy photography stand out is by playing with depth of field. By using a wide aperture (small f-stop number), you can achieve a shallow depth of field that blurs the background, resulting in a more focused and impactful subject. This technique helps create a sense of scale and draws attention to specific details or characters within your miniature world.
6. Editing and Enhancements
After capturing your toy photography masterpiece, don’t forget to give it the final polish during the editing process. Adjust the exposure, contrast, and color balance to enhance the overall look and feel of your image. Experiment with different filters and effects to add a touch of magic or nostalgia. Remember, editing should enhance your photo, not overpower it.
Once you’ve perfected your toy photography, it’s time to share your creations with the world. Join online communities and social media platforms dedicated to toy photography. Engage with fellow toy photographers, exchange tips, and get inspired by their work. Sharing your photos and connecting with others who share your passion will not only boost your skills but also provide a supportive and encouraging community.
Interesting Fact: Toy photography has gained significant popularity over the years, with several exhibitions and contests dedicated to this unique art form.
Start Capturing Miniature Marvels
Now that you’re armed with these toy photography tips, it’s time to embark on your own miniature adventures. Dive into the captivating world of toy photography and let your creativity soar. Remember, the key is to have fun and let your imagination run wild. Happy snapping!
A How-To Guide: Toy Photography Tips
Toy photography is a fascinating hobby that allows you to create miniature worlds filled with fun, creativity, and endless possibilities. Whether you’re a photography enthusiast or simply enjoy collecting toys, this guide will provide you with valuable tips and techniques to master the art of toy photography and make a big impact with your small subjects.
1. Choose the Right Toys
The first step in creating captivating toy photographs is choosing the right toys for your scenes. Look for toys that have intricate details, vibrant colors, and can easily fit into various settings. Action figures, miniatures, and dolls are popular choices. Remember, the toys you choose will be the main characters in your miniature world, so make sure they complement your vision.
2. Set the Stage
Creating a compelling background for your toy photographs is crucial. Experiment with different props, backdrops, and lighting setups to enhance the story you want to tell. Consider using everyday objects like fabrics, small plants, or even miniature furniture to add depth and realism. Don’t be afraid to think outside of the box and get creative with your arrangements.
3. Pay Attention to Scale
One of the key elements in toy photography is capturing the sense of scale and proportion. Use techniques such as forced perspective to make your toys appear larger or smaller than they actually are. Experiment with different angles and compositions to achieve the desired effect and create visually striking images.
4. Play with Lighting
Lighting can make or break a photograph, and toy photography is no exception. Experiment with natural light, artificial lighting, or a combination of both to set the mood and create dramatic effects. Remember to pay attention to shadows and highlights to add depth and dimension to your images.
5. Get Close and Experiment with Angles
Don’t be afraid to get up close and personal with your toys. Macro photography can reveal intricate details and textures that may go unnoticed from a distance. Additionally, try shooting from different angles and perspectives to add variety to your shots. Get low, shoot from above, or experiment with unconventional angles to bring your miniature world to life.
6. Edit and Enhance
Once you’ve captured your toy photographs, unleash your creativity in post-processing. Use photo editing software to enhance colors, adjust brightness and contrast, and add special effects if desired. But remember, don’t go overboard with the edits as you want to maintain the authenticity of your miniature world.
By following these toy photography tips and techniques, you can create engaging and visually captivating images that leave a big impact. Whether you’re documenting your toy collection, creating elaborate scenes, or simply indulging in your creative side, the world of toy photography offers endless opportunities for exploration and expression. So grab your camera, gather your toys, and start capturing the magic of the small world!
Frequently Asked Questions
What is toy photography?
Toy photography is a niche hobby that involves capturing photos of toys in creative and imaginative ways. It allows you to create miniature worlds and tell stories through your photographs.
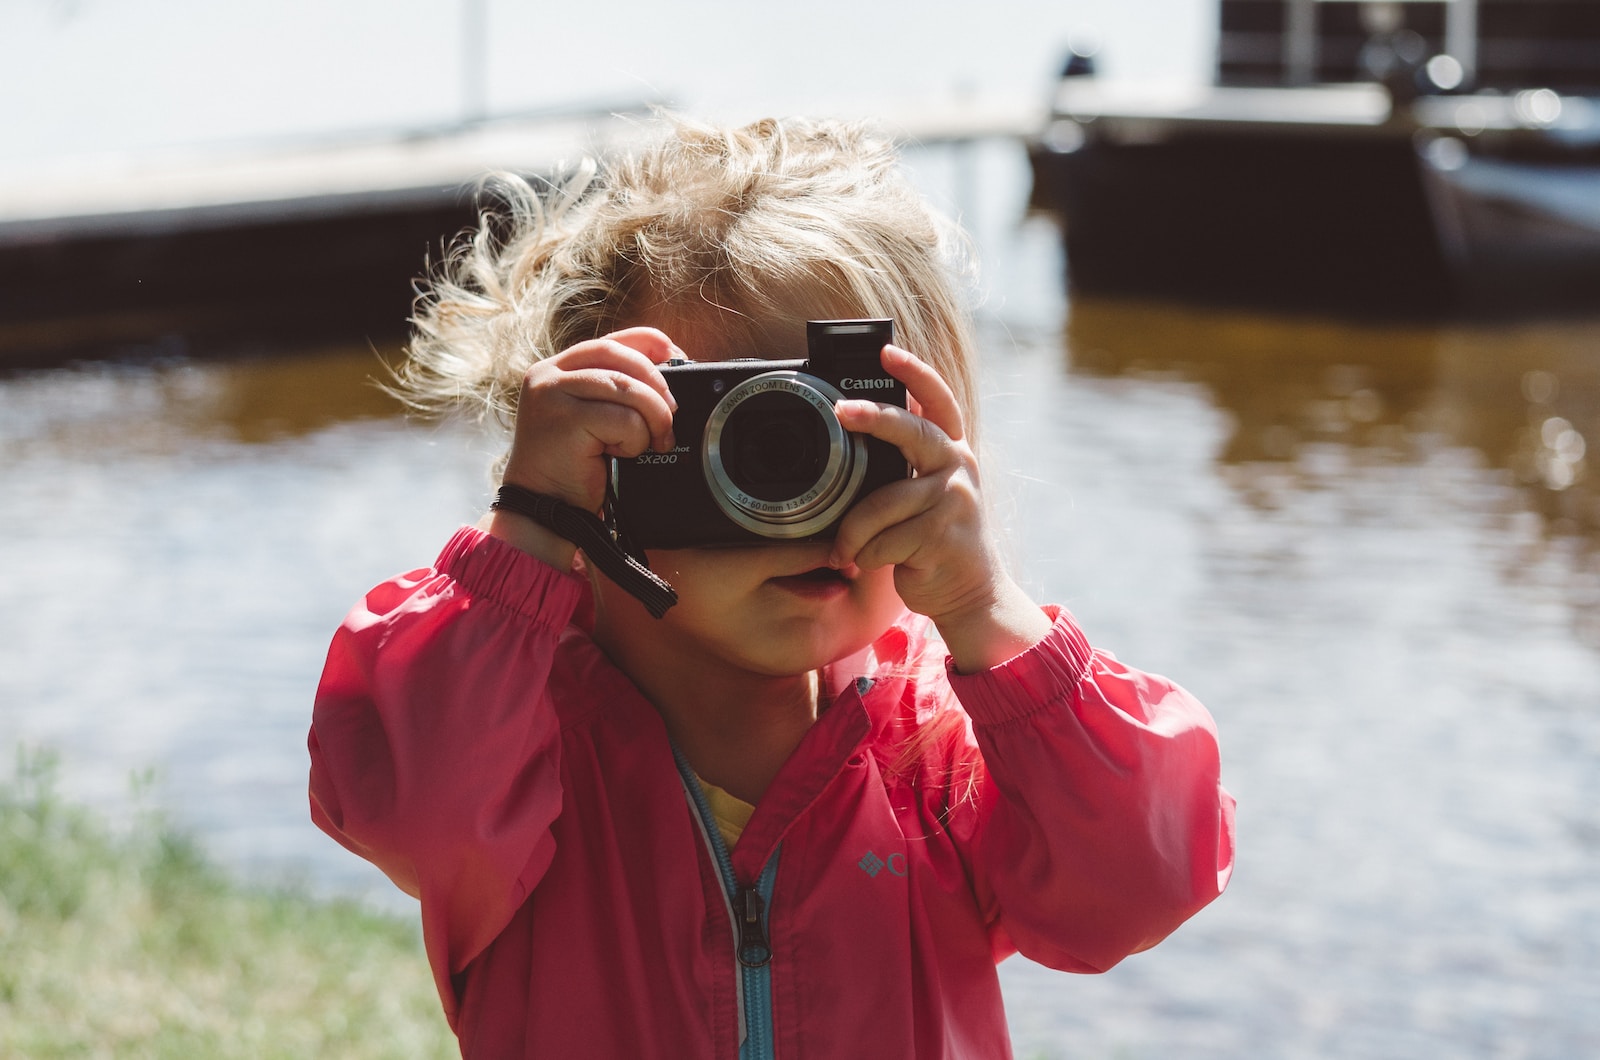
What cameras are best for toy photography?
While any camera can be used, many toy photographers prefer using compact or mirrorless cameras due to their smaller size and flexibility. However, even smartphones can produce great results with the right techniques.
What are some tips for getting started in toy photography?
– Start with a theme or concept to guide your creative process.
– Experiment with different perspectives and angles to add depth to your photos.
– Use natural light or experiment with artificial lighting techniques to set the mood.
– Pay attention to details and use props to enhance the storytelling element.
– Practice patience and take your time to get the perfect shot.
How can I make my toy photography stand out?
– Find unique and interesting toys to photograph.
– Experiment with different backgrounds and settings to create depth and atmosphere.
– Incorporate storytelling elements to engage viewers and evoke emotions.
– Use creative editing techniques to enhance colors, lighting, and overall impact.
– Share your work on social media and join toy photography communities to gain inspiration and feedback.
Are there any safety tips for toy photography?
– Avoid placing toys in dangerous or precarious positions that could cause them to fall or get damaged.
– Be mindful of small parts that could be a choking hazard and keep them out of reach of children or pets.
– If using props or accessories, ensure they are safe and non-toxic.
– Take care when shooting outdoors to protect toys from dirt, water, or extreme weather conditions.
Can toy photography be a profitable venture?
Toy photography can evolve into a profitable venture through various avenues such as selling prints, participating in exhibitions, or collaborating with brands. However, it’s important to build a strong portfolio, market your work effectively, and continuously improve your skills.
Wrap Up
In conclusion, toy photography is an exciting hobby that allows you to unleash your creativity and bring miniature worlds to life. By following these toy photography tips, you can take your skills to the next level and make a big impact with your small subjects. Remember to experiment with different perspectives, lighting techniques, and props to add depth and interest to your photos. Don’t be afraid to think outside the box and let your imagination run wild. The possibilities are endless! Now, it’s your turn. Have you tried toy photography? We’d love to hear about your experiences and see your amazing captures. Leave a comment below and let’s engage in this incredible journey together.