Welcome to The Art of Selling: A Deep Dive into Product Photography, where we will unravel the secrets behind creating captivating product images that not only grab attention but also drive sales. Whether you are a commercial photographer looking to master the art or an aspiring entrepreneur seeking guidance on how to showcase your products effectively, this blog is your ultimate guide. Get ready to dive into the world of product photography and discover the successful strategies that will help your photos shine and your sales soar.
Table of Contents
- The Main Subject: Unpack the Beauty of Your Product
- Choosing the Right Equipment for Product Photography
- Capturing Stunning Product Photos: Timing is Everything
- Frequently Asked Questions
- What is product photography and why is it important?
- How can I improve my product photography skills?
- What equipment do I need for product photography?
- How can I make my product images stand out?
- Should I hire a professional photographer or do it myself?
- What are the key elements of a successful product photography shoot?
- Where can I find inspiration for product photography?
- Wrap Up
The Main Subject: Unpack the Beauty of Your Product
When it comes to product photography, the subject itself plays a crucial role in creating stunning images that sell. The way you capture and showcase the features and details of your product can make all the difference in grabbing a customer’s attention and influencing their purchasing decision. Let’s explore some interesting features of the subject that will help your photographs stand out and ultimately drive sales.
Capturing the Essence
The first step in creating captivating product images is to understand what makes your subject unique. Whether you’re photographing a piece of jewelry, a gadget, or a beauty product, take the time to truly get to know the product. Identify its defining features, its functionality, and what sets it apart from similar offerings in the market.
Once you have a deep understanding of the subject, you can focus on capturing its essence through your lens. Use active words to describe the features you want to highlight, such as “showcasing the intricate details,” “capturing the vibrant colors,” or “highlighting the product’s versatility.”
Making the Details Pop
Product photography is all about showcasing the details that make your subject desirable. To make those details pop, experiment with different techniques and angles. Here are a few ideas to get you started:
- Macro Shots: Get up close and personal with your subject to capture the tiniest details. This technique works wonders for highlighting textures, patterns, and fine craftsmanship.
- Focus Stacking: Utilize this technique to achieve sharp focus throughout the entire product, even when capturing intricate details. Combine multiple images with different focal points to create a stunning composite.
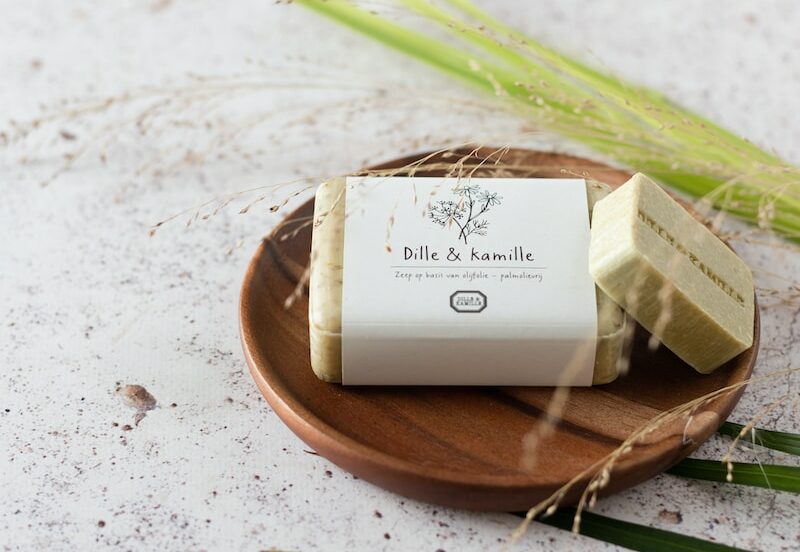
- Reflections and Textures: Incorporating reflective surfaces or interesting textures can add depth and visual interest to your photographs. Experiment with mirrors, glass, or textured backgrounds to enhance the overall composition.
- Lighting Techniques: Play with different lighting setups to create dramatic effects or highlight specific areas of your subject. Use softboxes, diffusers, or natural light to achieve the desired mood.
Remember, the goal is to make your product stand out and entice potential customers. By employing these techniques, you can create visually striking images that will capture attention and drive sales.
With a deep understanding of your subject and the tools to highlight its features, you’ll be well on your way to mastering the art of product photography. In the next section, we’ll delve into a step-by-step guide on how to set up your own product photography studio to achieve professional results. Stay tuned!
Did you know that 61% of online shoppers feel that the quality of product images is more important than product information or reviews? Investing in high-quality product photography can significantly increase your chances of selling your products successfully.
Choosing the Right Equipment for Product Photography
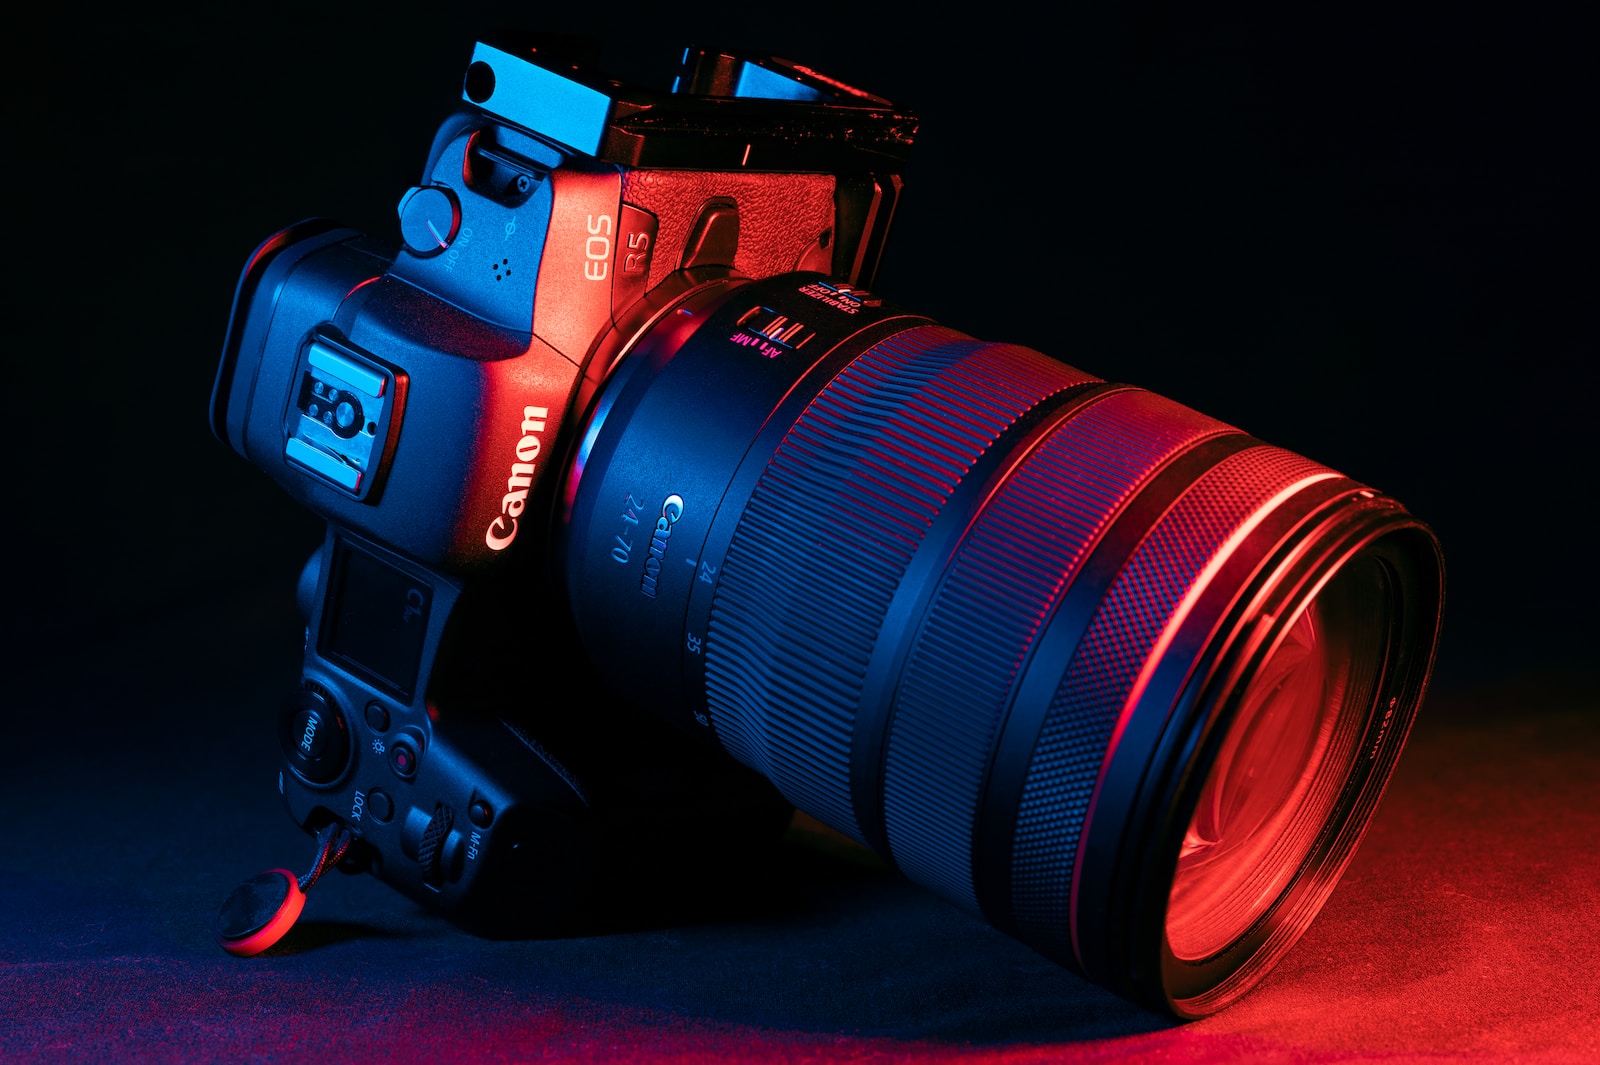
When it comes to product photography, having the right equipment can make a significant difference in the quality and effectiveness of your images. In this section, we’ll explore the essential camera, lenses, and other equipment options that photographers can consider to capture stunning product images that sell.
Camera Options
When selecting a camera for product photography, there are a few key features to consider. First and foremost, prioritize a camera with a high-resolution sensor. This will allow you to capture every detail of the product, ensuring crisp and clear images that showcase the item’s features effectively.
Another crucial aspect to consider is the camera’s ability to shoot in manual mode. This will provide you with greater control over settings such as aperture, shutter speed, and ISO, allowing you to experiment with different lighting scenarios and achieve the desired effect.
Furthermore, look for a camera with a reliable autofocus system. This feature is essential in product photography to ensure sharp focus on the subject and to save time during the shooting process.
Lens Options
The lens you choose for product photography greatly impacts the overall look and feel of your images. One common choice is a macro lens, known for its ability to capture small details and intricate textures. Macro lenses are perfect for products that require a close-up, such as jewelry or cosmetics.
An alternative option is a prime lens with a moderate focal length, such as a 50mm or 85mm lens. These lenses typically offer a wider aperture, allowing for a shallow depth of field and beautifully blurred backgrounds, which can make the product stand out.
If you’re on a budget or prefer versatility, consider a zoom lens with a focal range between 24-70mm or 70-200mm. These lenses provide the flexibility to shoot a wide variety of products, from close-ups to wider shots, without needing to change lenses frequently.
Remember, the selected lens should match the product you intend to photograph and the desired outcome. Assess the requirements of your project and choose accordingly.
While the camera and lens are the primary equipment considerations, there are a few other tools and accessories that can greatly enhance your product photography.
For lighting, photographers often rely on a combination of natural light, studio lights, and modifiers. Softboxes, reflectors, and diffusers help control the lighting conditions and eliminate harsh shadows or reflections that can compromise the product’s appearance.
Additionally, having a sturdy tripod is essential for product photography, as it allows for precise positioning and eliminates the risk of blurring caused by camera shake.
By selecting the right camera, lens, and equipment, photographers can greatly improve their product photography outcomes, capturing stunning images that sell and leave a lasting impression on potential customers.
Capturing Stunning Product Photos: Timing is Everything
When it comes to product photography, the timing of your shoot can greatly impact the outcome. Natural lighting is essential for capturing high-quality images that highlight the beauty and details of your products. Therefore, the best time to capture these images is during the golden hours – the first hour after sunrise and the last hour before sunset.
During these times, the sun is low in the sky, creating a soft, warm glow that enhances the colors and textures of your products. This natural lighting also helps to minimize harsh shadows and gives your photos a more natural and appealing look. So, make sure to plan your shoots accordingly and take advantage of these optimal times of the day.
Choosing the Perfect Vantage Point
The vantage point from which you take your product photos can significantly impact how your products are perceived by potential buyers. Here are two different options to consider:
Option 1: Top-Down Perspective
When shooting from a top-down perspective, you position your camera directly above the product, pointing downward. This angle provides a unique and captivating view that allows customers to see the entire product and all its intricate details. It works particularly well for flat or symmetrical objects, such as books, cosmetics, or electronic devices. This perspective also creates a sense of order and organization, making it ideal for e-commerce websites or product catalogs.
Example: Imagine photographing a beautifully arranged bouquet of flowers from above, showcasing its vibrant colors and intricate arrangement. This perspective allows customers to envision the flowers sitting on their tables, adding a touch of elegance to their homes.
Option 2: Eye-Level Perspective
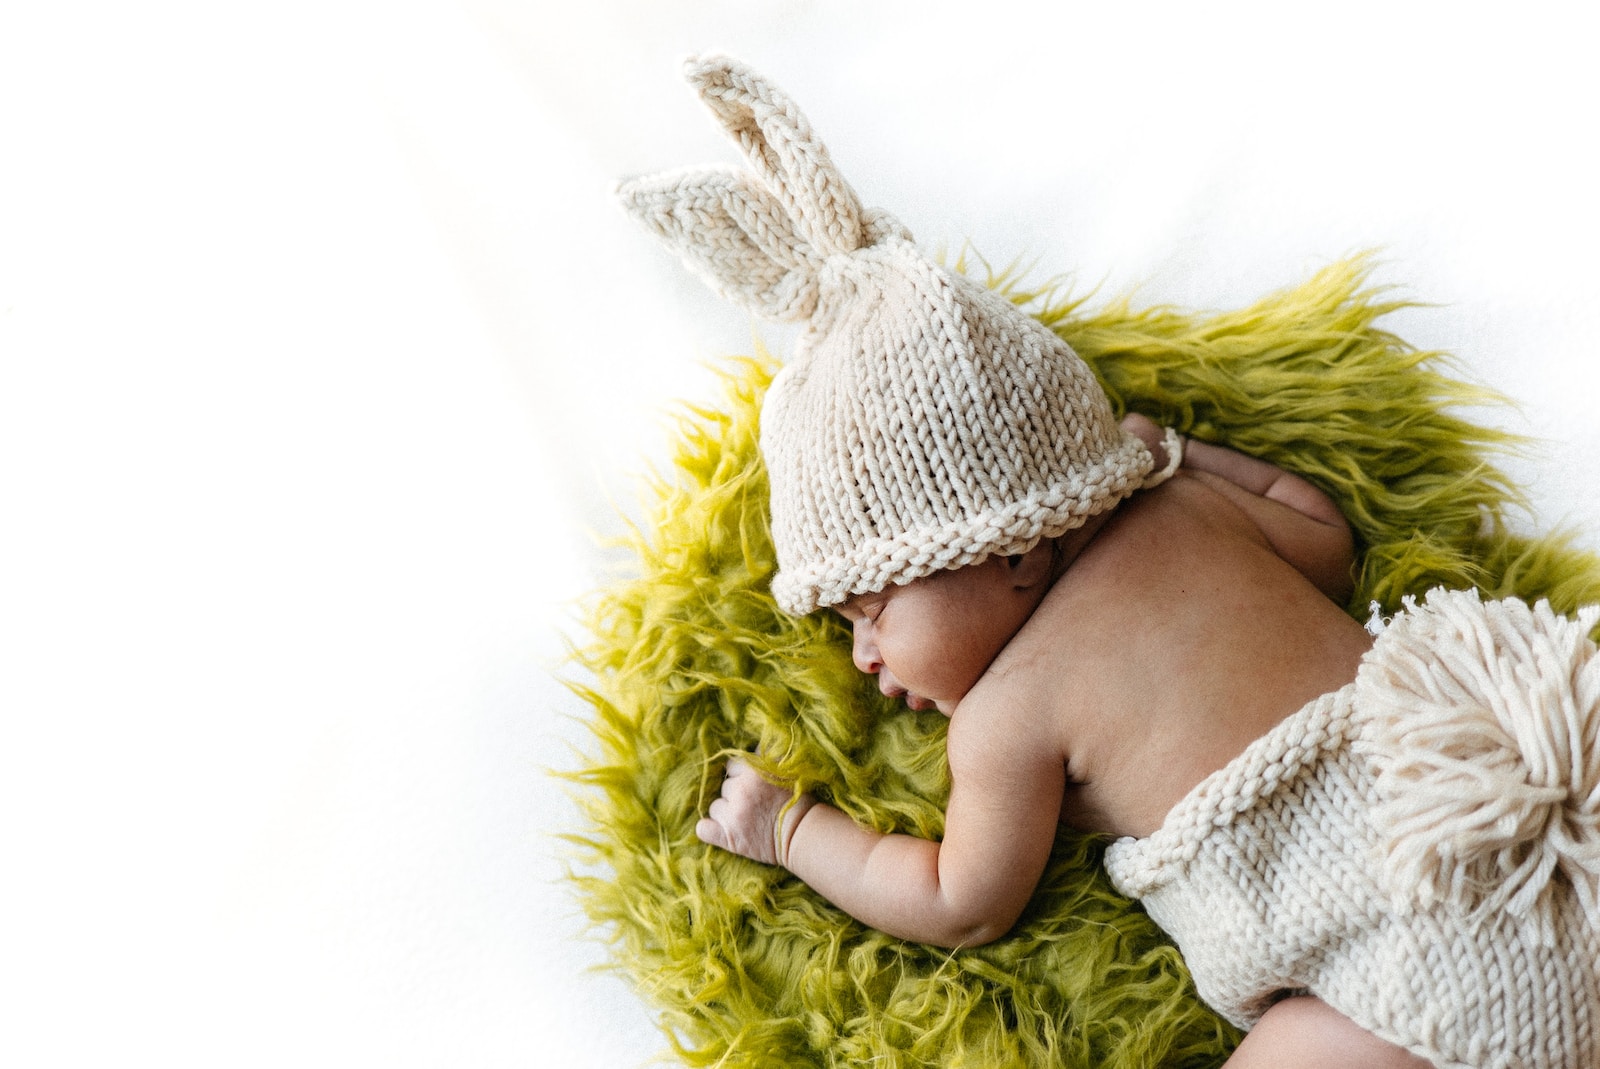
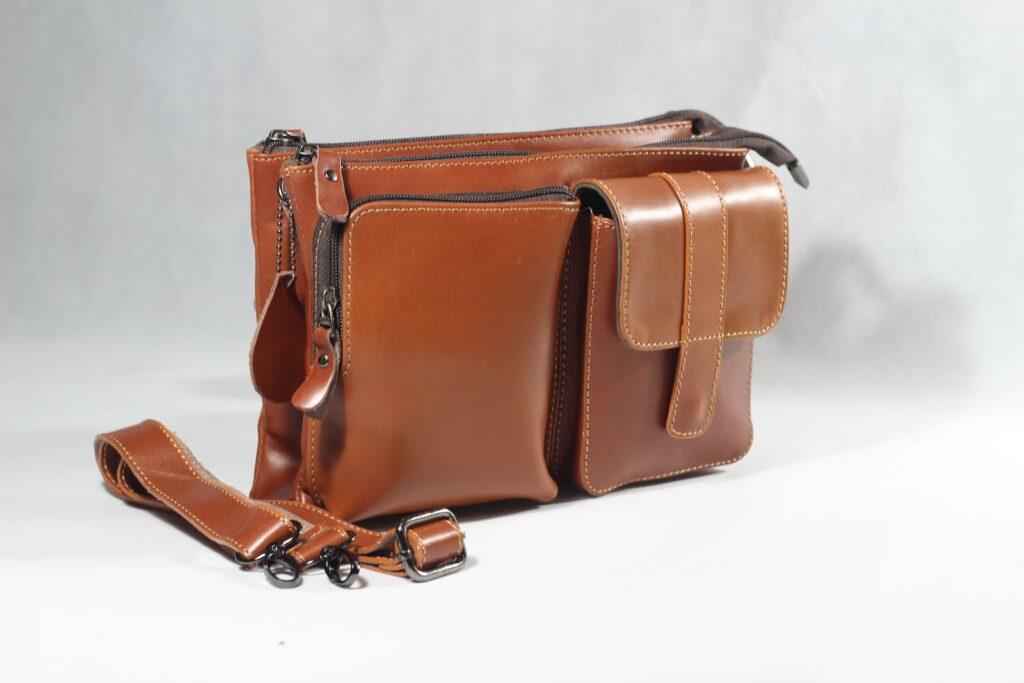
Shooting at eye level with the product creates a more intimate and engaging experience for potential customers. This perspective allows them to connect with the product on a personal level, as if they were holding it in their hands. It’s particularly effective for products that customers interact with directly, such as jewelry, accessories, or electronics. The eye-level perspective also works well for lifestyle or action shots, where the focus is on how the product is used or worn.
Example: Imagine photographing a sleek and stylish smartwatch from eye-level, showing it on someone’s wrist. This perspective not only allows customers to see its design and features but also helps them imagine how it would look and feel on their own wrists, adding a desirable touch of elegance to their outfits.
Remember, the best vantage point depends on the nature of the product and the desired effect you want to achieve. Don’t be afraid to experiment with different angles and positions to find the one that best showcases your products.
One helpful photography tip is to use a tripod when shooting product images. This will help ensure your shots are sharp and clear, avoiding any unwanted blurriness. A steady camera will also allow you to experiment with different settings and compositions, ultimately resulting in better product photographs.
Frequently Asked Questions
What is product photography and why is it important?
Product photography refers to the art of capturing images of products in a way that highlights their features and enhances their appeal to potential buyers. It plays a crucial role in attracting customers and encouraging them to make a purchase.
How can I improve my product photography skills?
To improve your product photography skills, you can follow these tips:
- Invest in a good camera and lens
- Understand lighting techniques and use them effectively
- Choose the right backdrop and props
- Experiment with different angles and compositions
- Learn how to edit and enhance your images
What equipment do I need for product photography?
For product photography, you will need the following equipment:
- A camera with manual shooting mode
- A tripod for stability
- Lighting equipment (such as studio lights or natural light sources)
- A backdrop or surface for the products
- Optional: reflectors, diffusers, and other light modifiers
How can I make my product images stand out?
To make your product images stand out, you can try the following techniques:
- Focus on capturing sharp and detailed images
- Use interesting compositions and angles
- Show the product’s unique features or benefits
- Create a visually appealing background
- Consider using props or models to add context
Should I hire a professional photographer or do it myself?
The decision to hire a professional photographer or do it yourself depends on your budget, time, and desired quality. If you have the resources, hiring a professional photographer can ensure high-quality results. However, with practice and dedication, you can achieve satisfactory results on your own as well.
What are the key elements of a successful product photography shoot?
Key elements of a successful product photography shoot include:
- Thorough planning and preparation
- Attention to detail in styling and arrangement
- Proper lighting techniques
- Attention to product positioning and composition
- Post-processing and editing for a polished look
Where can I find inspiration for product photography?
You can find inspiration for product photography from various sources:
- Browsing photography websites and blogs
- Researching industry-specific magazines and advertisements
- Following professional photographers on social media
- Exploring online marketplaces and analyzing successful product listings
- Attending photography expos and workshops
Wrap Up
Now that you understand the art of product photography, it’s time to put these strategies into action. By following this guide, you’ll be able to create stunning images that effectively capture the essence of your products and compel customers to make a purchase.
Remember to invest in quality equipment, choose the right lighting and background, and showcase different angles and features of the product. And don’t forget about post-processing! Editing can greatly enhance the visual appeal of your images.
So, what are you waiting for? Grab your camera, get creative, and start shooting. Your products deserve to be showcased in the best possible way. If you have any questions or need further assistance, feel free to leave a comment below. Happy selling!