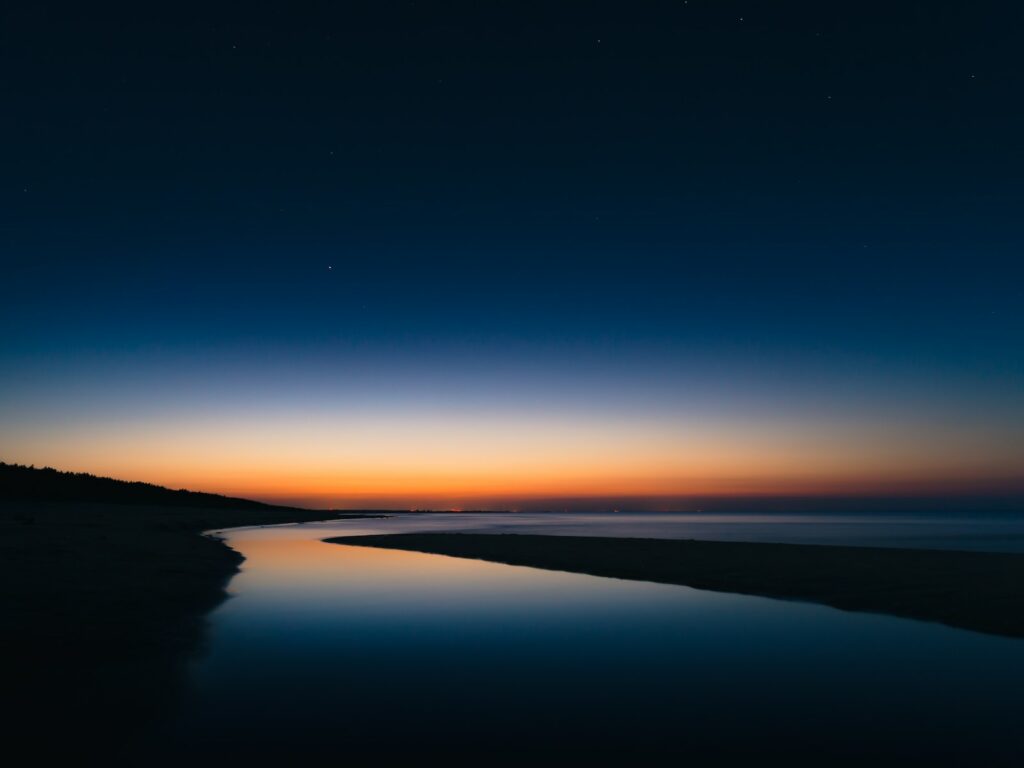
Welcome stargazers and photography enthusiasts! Are you ready to embark on a celestial journey through the lens of your camera? In this beginner’s guide to astrophotography, we will unlock the secrets to capturing breathtaking images of the night sky. Whether you’re passionate about the cosmos or simply looking to profit from your photography skills, this blog will provide you with the tools and knowledge to shoot stellar night sky images that will leave everyone in awe.
Table of Contents
- How to Capture the Night Sky: A Guide to ISO and Aperture Settings
- Profiting from Your Passion: Building an Online Presence
- A How-To Guide for Stunning Astrophotography
- Frequently Asked Questions
- 1. What is Astrophotography?
- 2. How do I get started with Astrophotography?
- 3. What are the best camera settings for Astrophotography?
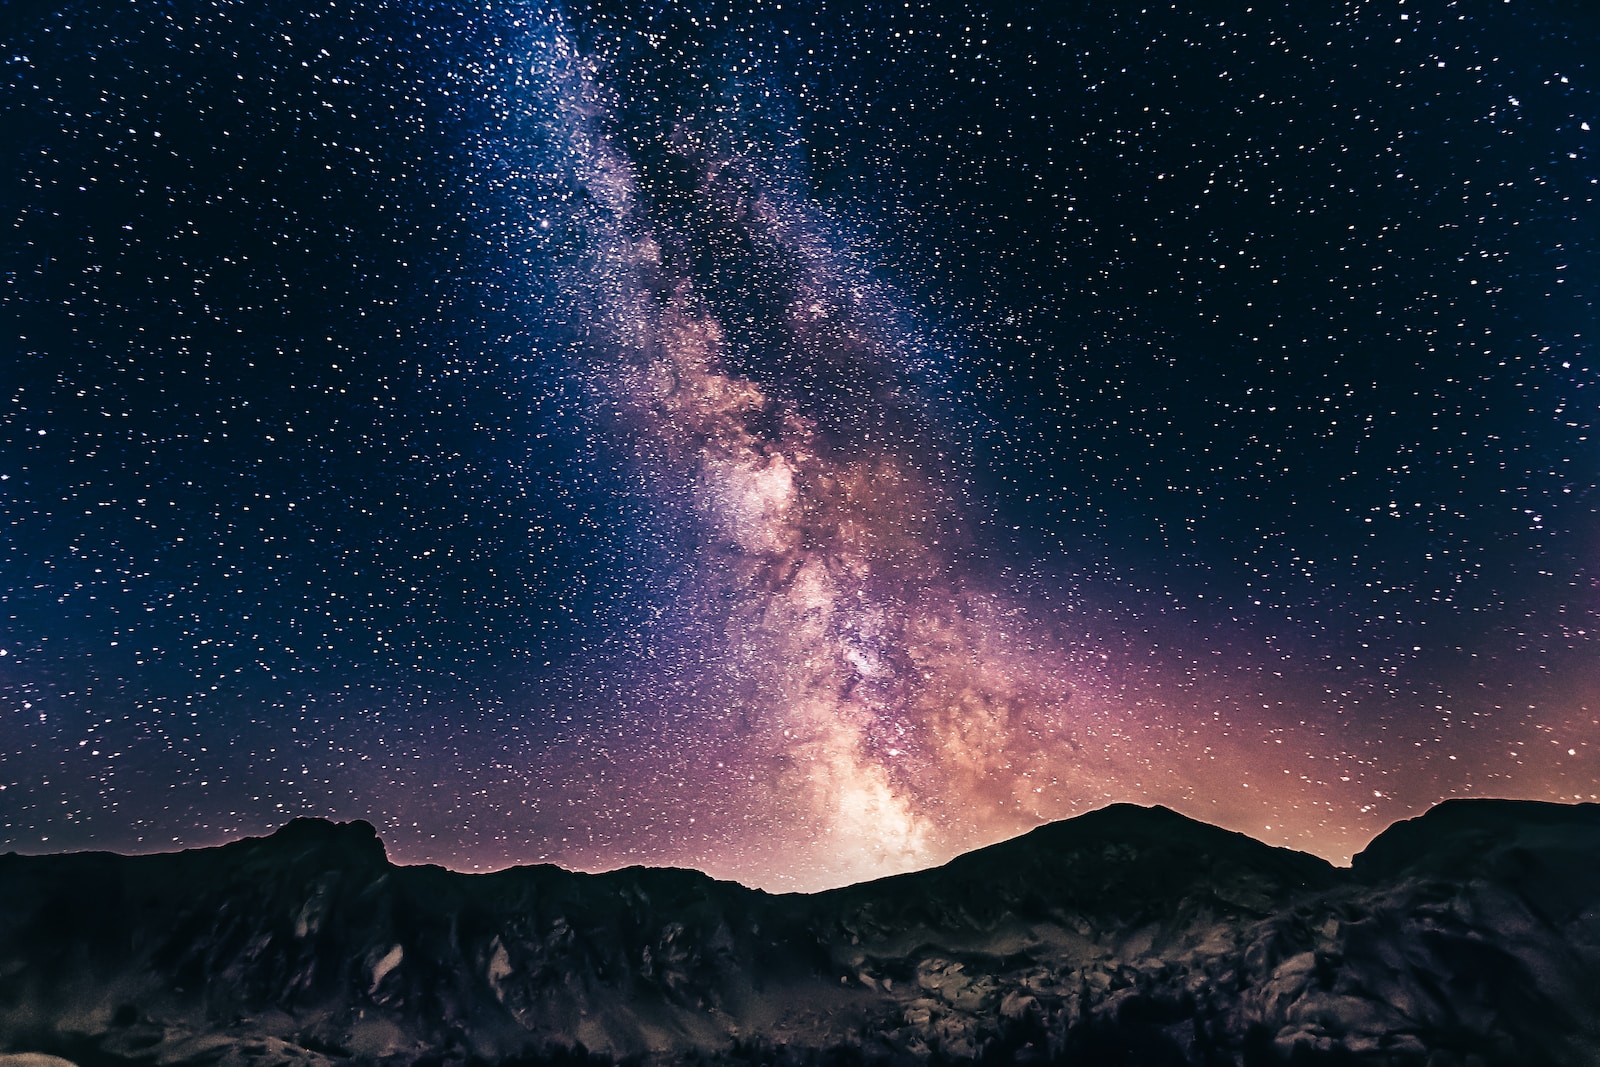
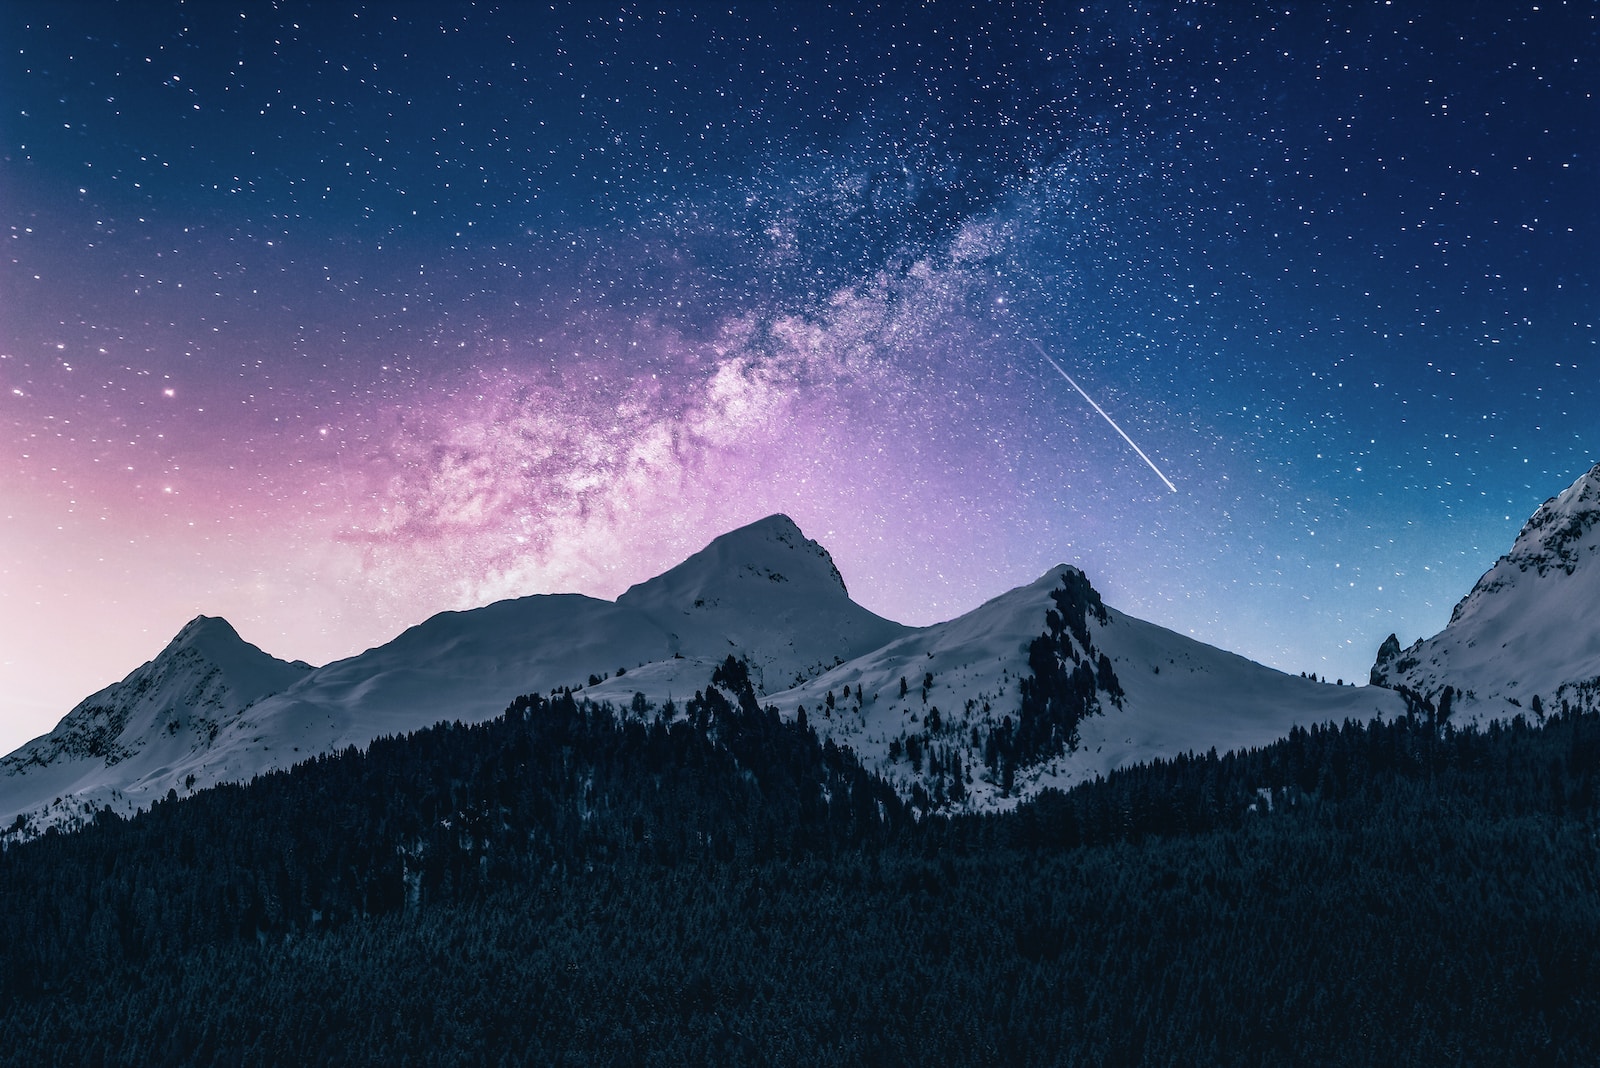
- 4. How can I capture the Milky Way in my Astrophotography?
- 5. Can I sell my Astrophotography images?
- 6. What other equipment might I need for Astrophotography?
- 7. Are there any recommended post-processing techniques for Astrophotography?
- Wrap Up
How to Capture the Night Sky: A Guide to ISO and Aperture Settings
Astrophotography is the art of photographing the stars and other celestial objects. It requires a combination of technical skills and creative vision to produce stunning images of the night sky. In this guide, we will focus on two key camera settings that are essential for astrophotography: ISO and aperture.
ISO: The Sensitivity of Your Camera Sensor
ISO is a measure of how sensitive your camera sensor is to light. The higher the ISO, the more light your camera can capture, but also the more noise or grain you will introduce in your images. Noise can reduce the quality and clarity of your photos, especially in dark areas.
For astrophotography, you want to use a high enough ISO to reveal the details of the night sky, but not so high that you lose contrast and color. The optimal ISO setting depends on several factors, such as the brightness of the sky, the focal length of your lens, and the exposure time. A good starting point is to use an ISO between 800 and 3200, and adjust it according to your results.
Aperture: The Size of Your Lens Opening
Aperture is the size of the opening in your lens that controls how much light enters your camera. The aperture is measured in f-stops, such as f/2.8, f/4, f/8, etc. The smaller the f-number, the larger the aperture, and vice versa.
For astrophotography, you want to use a large aperture to let in as much light as possible. This will allow you to use a shorter exposure time and reduce the effects of star trails caused by the Earth’s rotation. A large aperture also creates a shallow depth of field, which means that only a small portion of your image will be in focus. This can be useful for isolating your subject from the background.
The maximum aperture of your lens depends on its design and quality. Generally speaking, prime lenses (lenses with a fixed focal length) have larger apertures than zoom lenses (lenses with a variable focal length). For example, a 50mm prime lens can have an aperture of f/1.8 or f/1.4, while a 18-55mm zoom lens can have an aperture of f/3.5 or f/4 at its widest end.
A good rule of thumb is to use the widest aperture available on your lens, or stop down one or two stops for better sharpness and less vignetting (darkening of the corners). For example, if your lens has a maximum aperture of f/2.8, you can use f/2.8 or f/4 for astrophotography.
ISO and aperture are two important camera settings that affect how much light you can capture and how sharp your images will be. By understanding how they work and how to adjust them, you can improve your astrophotography skills and create amazing images of the night sky. Remember to experiment with different settings and review your results until you find what works best for you. Happy shooting!
Profiting from Your Passion: Building an Online Presence
Once you have mastered the art of astrophotography, why not share your stunning images with the world? Create a photography website or showcase your work on social media platforms to gain exposure and attract potential clients. Engage with your audience by sharing behind-the-scenes stories, camera settings, and tips to establish yourself as an authority in the field.
Selling Prints and Stock Images
Monetize your astrophotography skills by selling prints or licensing your images as stock photos. Set up an online store to sell high-quality prints, or partner with stock photography websites to reach a wider audience. Many people are eager to decorate their homes or use captivating night sky images for marketing campaigns, making this a viable avenue for generating income.
Conducting Photography Workshops and Tours
Share your knowledge and passion for astrophotography by organizing photography workshops or guided tours. Teach others the art of capturing the night sky while exploring picturesque locations. By offering personalized instruction and hands-on experiences, you can not only help others enhance their photography skills but also create an additional income stream.
Did you know that astronomy and astrophotography have a long history dating back to the 19th century? Pioneers like William Henry Fox Talbot and Warren De La Rue captured the moon and stars with early photographic techniques!
Are you ready to embark on an extraordinary journey beneath the stars? Armed with the knowledge of camera settings, composition techniques, and ways to profit from your passion, the possibilities are endless. So grab your camera, find a stunning location, and let the night sky unveil its secrets through your lens. Happy shooting!
A How-To Guide for Stunning Astrophotography
Are you captivated by the mesmerizing beauty of the night sky? Have you ever gazed up at the Milky Way, wishing you could capture its magnificence with your camera? If so, you’ve come to the right place! In this beginner’s guide, we will unveil the secrets to capturing stunning astrophotography and night sky images, and even how you can profit from your newfound skills. Let’s dive in!
Essential Camera Settings
Before embarking on your journey into astrophotography, it’s crucial to understand the camera settings that will help you capture those stellar shots. Here are a few key settings to consider:
- ISO: Set your ISO to a high value (typically between 1600-3200) to capture enough light in low-light conditions. However, be cautious not to set it too high, as it can introduce noise into your images.
- Aperture: Use a wide aperture (smaller f-number) to gather as much light as possible. This will help you capture the details of stars and the Milky Way effectively.
- Shutter Speed: Use a longer shutter speed (around 15-30 seconds) to allow enough time for light to reach your camera’s sensor. Experiment with different values to find the perfect exposure for your desired shot.
Remember, these are just starting points, and adjusting them based on your specific equipment and shooting conditions may be necessary. Don’t be afraid to experiment!
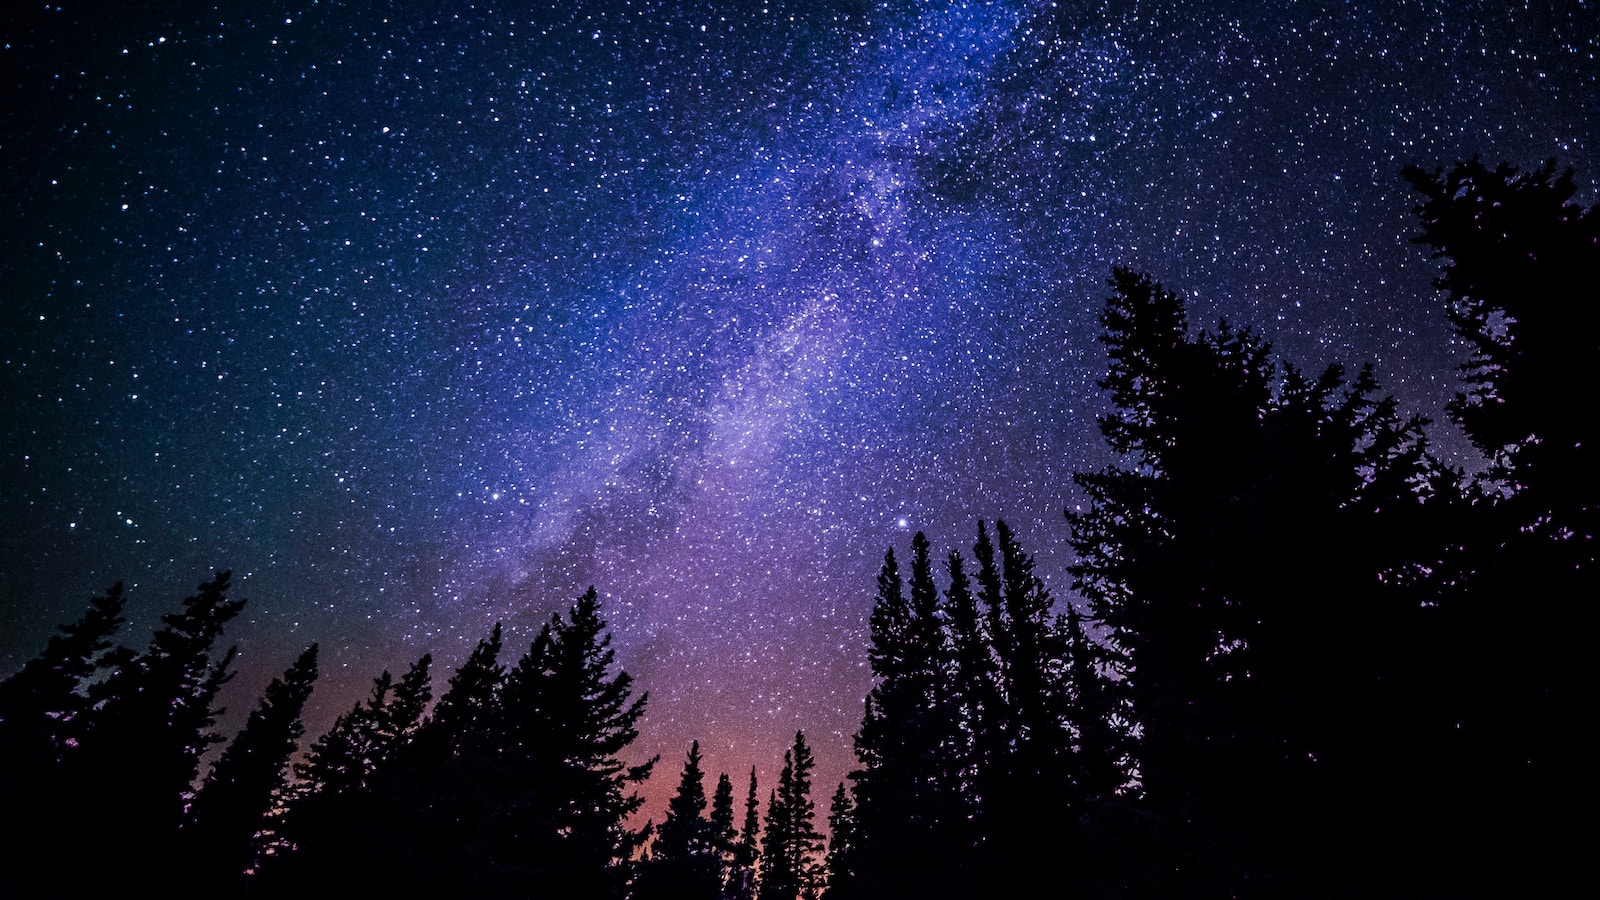
Finding the Perfect Location
Choosing the right location is key to capturing breathtaking astrophotography. Look for areas with minimal light pollution, such as rural or remote places, away from cities’ bright lights. Websites and mobile apps like Dark Sky Finder and Light Pollution Map can help you find suitable locations near you.
Additionally, consider elements that can add interest to your composition, such as incorporating elements of nature or landmarks into your frame. Experiment with different perspectives and foregrounds to create visually appealing and captivating images.
Essential Gear
Aside from your camera, there are a few other essential items you’ll need to capture stunning astrophotography:
- Sturdy Tripod: Using a tripod is crucial for astrophotography, as it helps minimize camera shake during long exposures.
- Remote Shutter Release: A remote release prevents any potential movement when pressing the camera’s shutter button, resulting in sharper images.
- Wide-Angle Lens: Invest in a wide-angle lens with a low aperture to capture a broader field of view and allow more light to reach your camera’s sensor.
- Headlamp or Flashlight: A headlamp or flashlight will help you navigate and adjust your camera settings in the dark without disturbing your composition.
Having these essential gear items in your toolkit will greatly enhance your astrophotography experience and increase your chances of capturing stunning shots.
As you embark on your astrophotography journey, remember that patience and perseverance are key. Don’t be discouraged by initial challenges or setbacks; instead, view them as opportunities to learn and grow as a photographer. With practice and dedication, you’ll soon be capturing breathtaking images of the night sky and unlocking the secrets of astrophotography. So go out there, explore the universe with your camera, and let your creativity shine!
Frequently Asked Questions
1. What is Astrophotography?
Astrophotography is the art of capturing stunning images of the night sky, including stars, galaxies, and other celestial objects. It requires specialized techniques and equipment to capture the beauty of the universe.
2. How do I get started with Astrophotography?
To get started with astrophotography, you’ll need a camera capable of manual mode and long exposures, a sturdy tripod, and a remote shutter release. Research camera settings for astrophotography, find a dark location away from city lights, and experiment with different techniques to capture breathtaking images of the night sky.
3. What are the best camera settings for Astrophotography?
The ideal camera settings for astrophotography may vary depending on the conditions and the specific subject you are capturing. However, here are some general settings to start with:
- Shoot in manual mode
- Set the ISO to a high value, such as 1600 or 3200, to capture more light
- Use a wide aperture, such as f/2.8 or lower, to gather more light
- Set the exposure time to a long duration, typically around 20-30 seconds
4. How can I capture the Milky Way in my Astrophotography?
To capture the Milky Way in your astrophotography, you’ll need to find a location with minimal light pollution and plan your shoot during a time when the Milky Way is visible in the night sky. Use a wide-angle lens with a low aperture and experiment with longer exposure times to capture the intricate details of the Milky Way galaxy.
5. Can I sell my Astrophotography images?
Yes, you can profit from astrophotography by selling your images. There are various platforms where you can showcase and sell your work, such as photography websites, stock photography agencies, or even setting up your own online store. Make sure to research the market and copyright laws to protect your work and maximize your earnings.
6. What other equipment might I need for Astrophotography?
In addition to a camera and tripod, you may consider investing in other equipment for astrophotography, such as:
- Telephoto lens for zooming in on distant celestial objects
- Tracking mount or star tracker to compensate for Earth’s rotation
- Light pollution filter to reduce the impact of artificial light
- Remote intervalometer for capturing time-lapse sequences
7. Are there any recommended post-processing techniques for Astrophotography?
Post-processing is an essential step in astrophotography to enhance and bring out the best in your images. Some recommended techniques for post-processing astrophotography include stacking multiple exposures to reduce noise, adjusting white balance and exposure, enhancing details using selective editing, and applying noise reduction algorithms. Experiment with different software tools such as Adobe Photoshop or specialized astrophotography software like DeepSkyStacker to achieve stunning results.
Wrap Up
In conclusion, capturing stunning astrophotography and night sky images is an exhilarating journey that anyone can embark on. By understanding the basics of camera settings, finding dark locations, and utilizing the right equipment, you’ll be able to capture breathtaking shots of the Milky Way and the stellar night sky. Don’t let the darkness intimidate you – embrace the dimly lit world above and unlock a whole new realm of photography. Remember, practice makes perfect, so don’t be discouraged if your first attempts don’t come out as expected. Keep honing your skills and experimenting with different techniques to create truly captivating images. Now it’s your turn to take on the challenge and share your astrophotography adventures with the world. Leave a comment below and let us know about your experiences and any additional tips you may have!